Woodworking
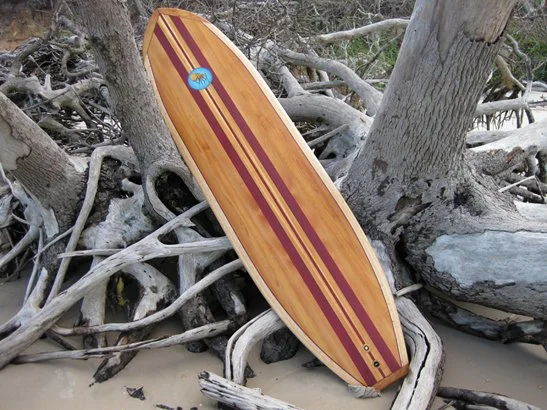
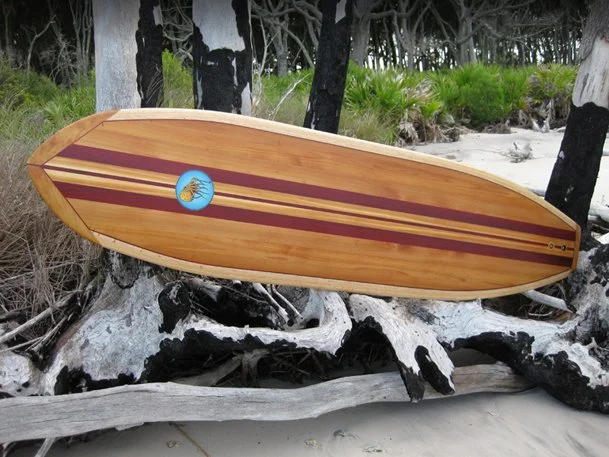
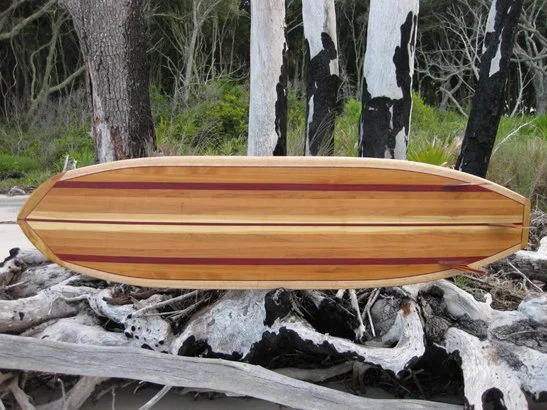
Hollow Wooden Surfboard
-
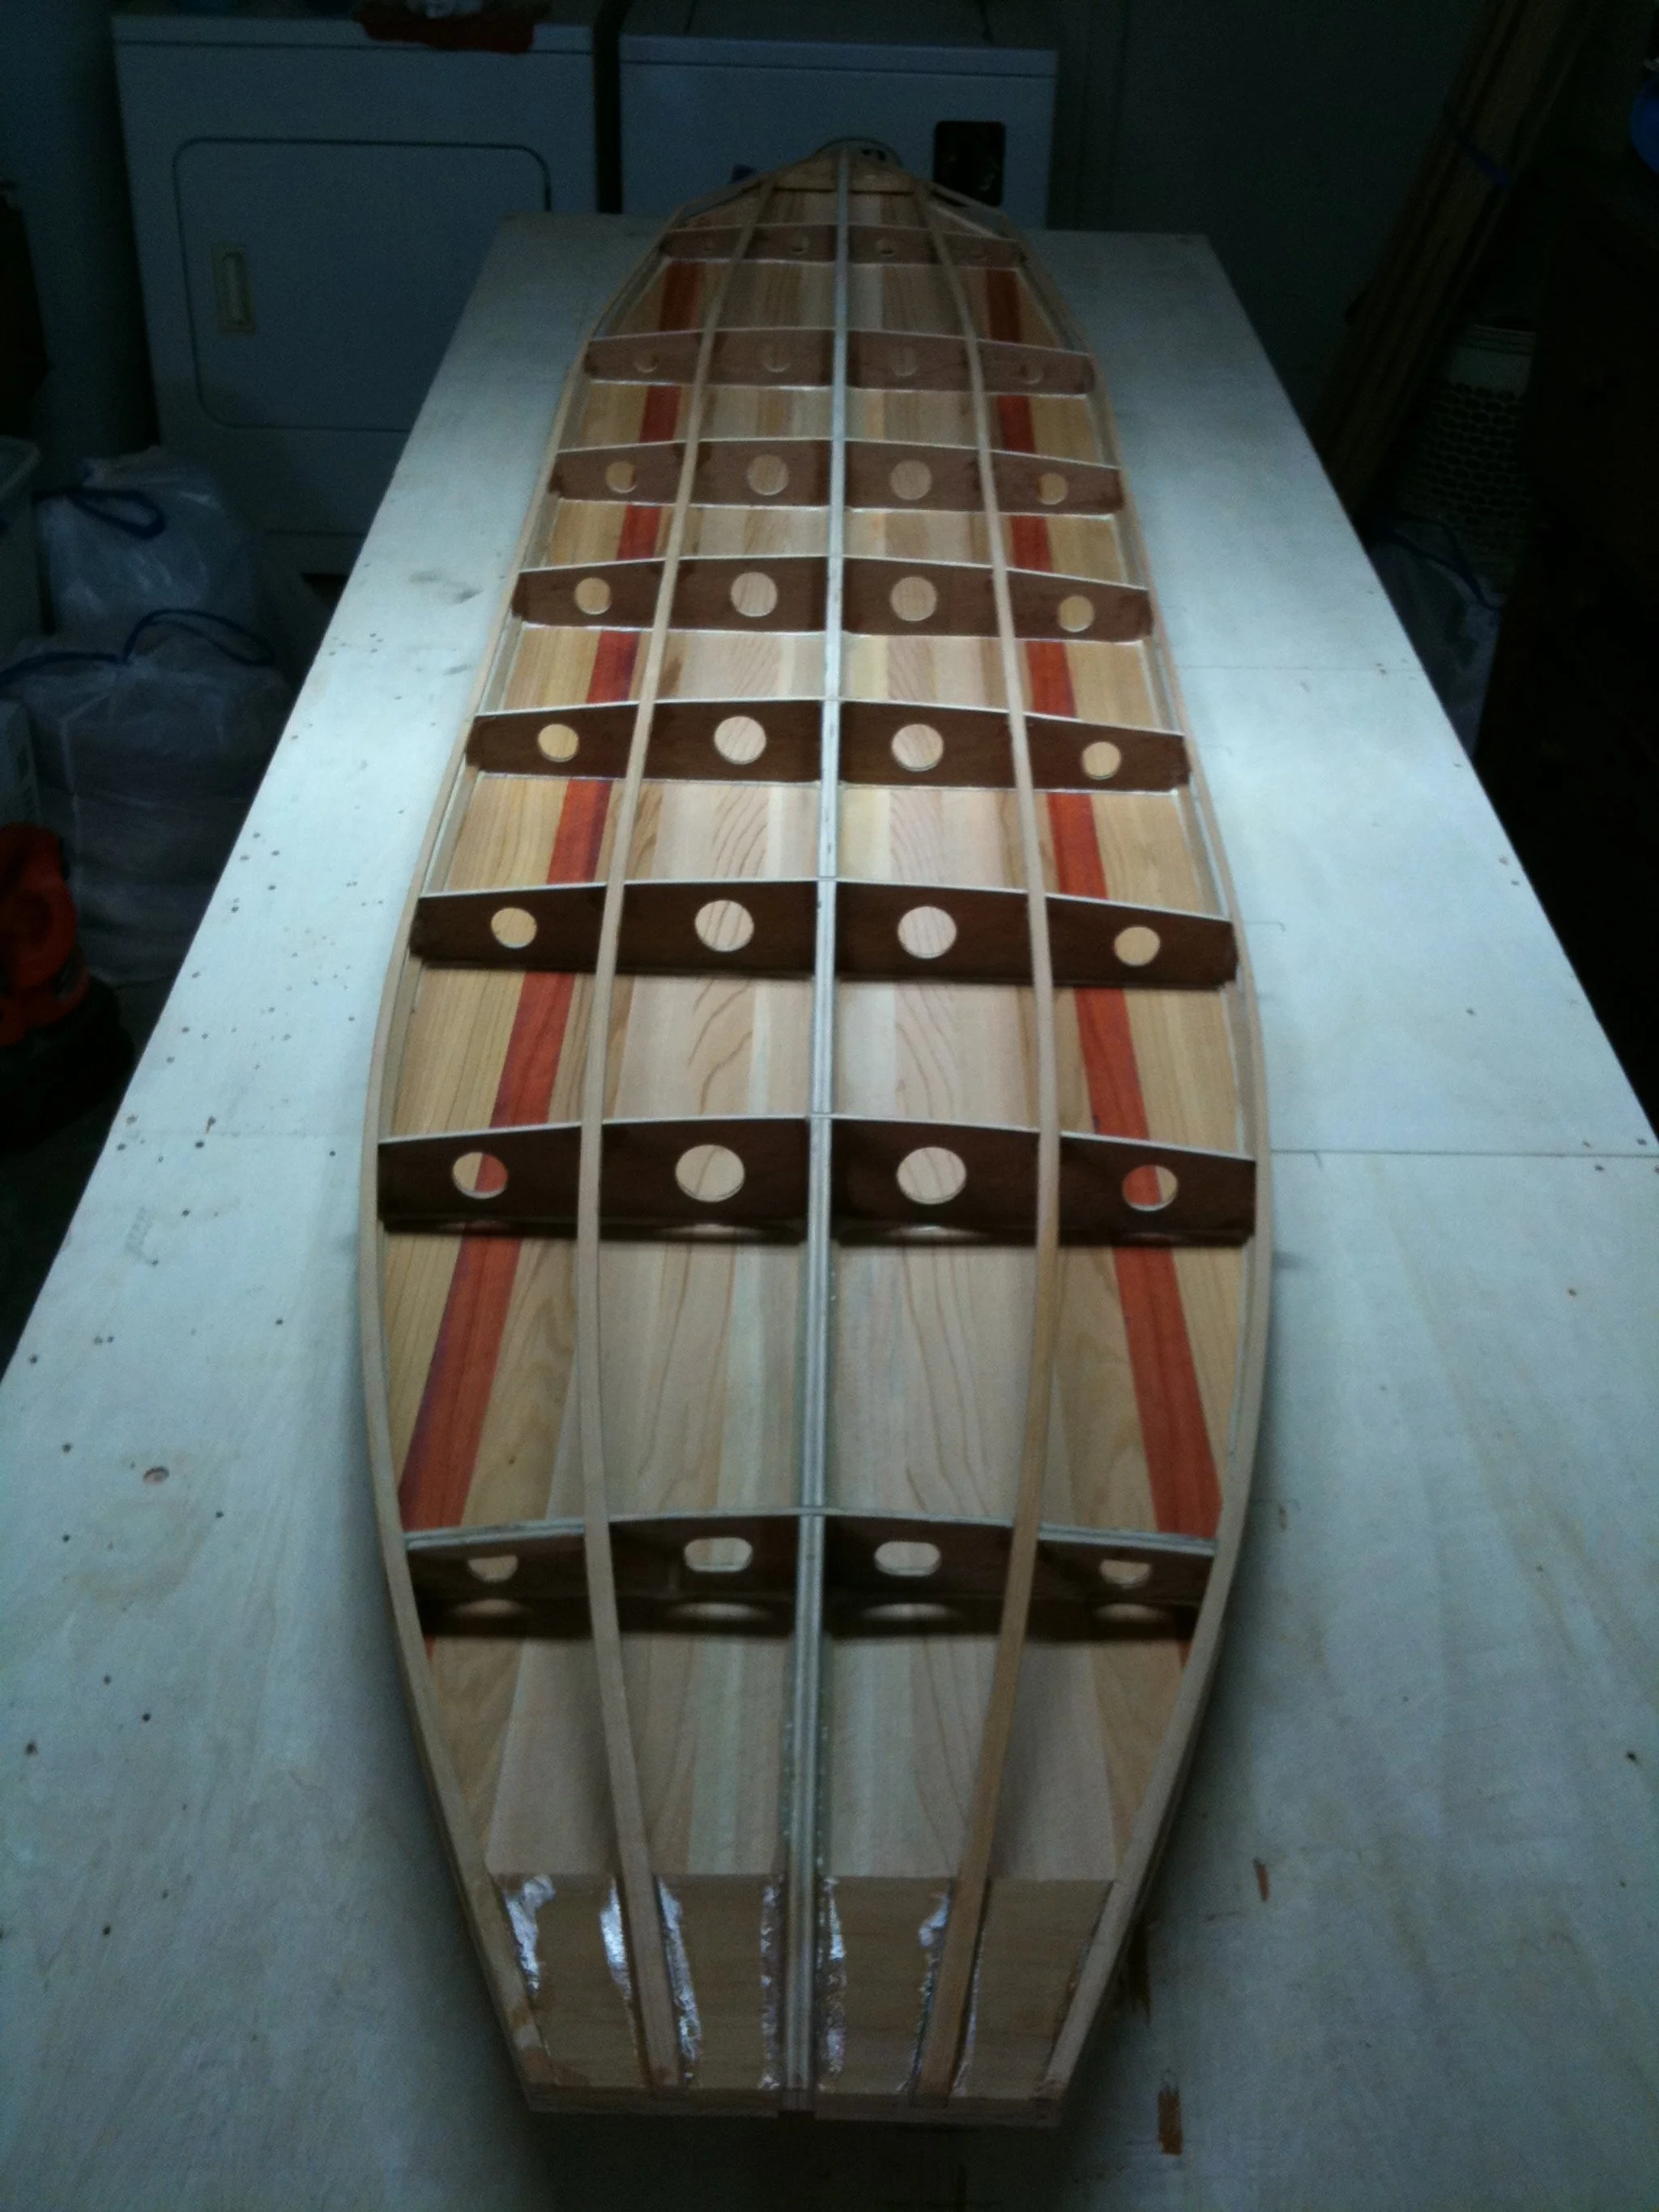
Template Creation: Designed the dimensions on paper and transferred templates for the spine and ribs onto 1/4” marine-grade plywood.
Structural Cutting: Rough-cut pieces on a bandsaw and refined them with a belt sander; the spine was doubled for extra rigidity.
Pressure Management: Cut airflow holes in the ribs and spine to connect to a tail vent, allowing the board to "breathe" during temperature-induced pressure changes.
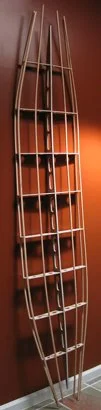
Skeleton Assembly: Aligned and glued the ribs and spine, adding cedar support strips and nose/tail blocking for structural integrity.
-
Laminating Planks: Created decorative top and bottom planks by planing cedar and padauk wood to 3/16” and gluing them in a striped pattern.
Skinning the Frame: Glued and clamped the planks to the rib structure, using a router to trim excess wood along the rail guides.
Custom Hardware: Machined a brass vent and stainless steel leash plug, then installed them into the deck using epoxy.
-
Rail Construction: Built up the side rails using stacked, oversized balsa wood strips and added cedar blocks to the nose and tail.
Hand Carving: Used a spoke shave and hand planer to carve the rails, nose, and tail into their final hydrodynamic shapes.
Surface Prep: Hand-sanded the entire board until smooth before the initial lamination.
-
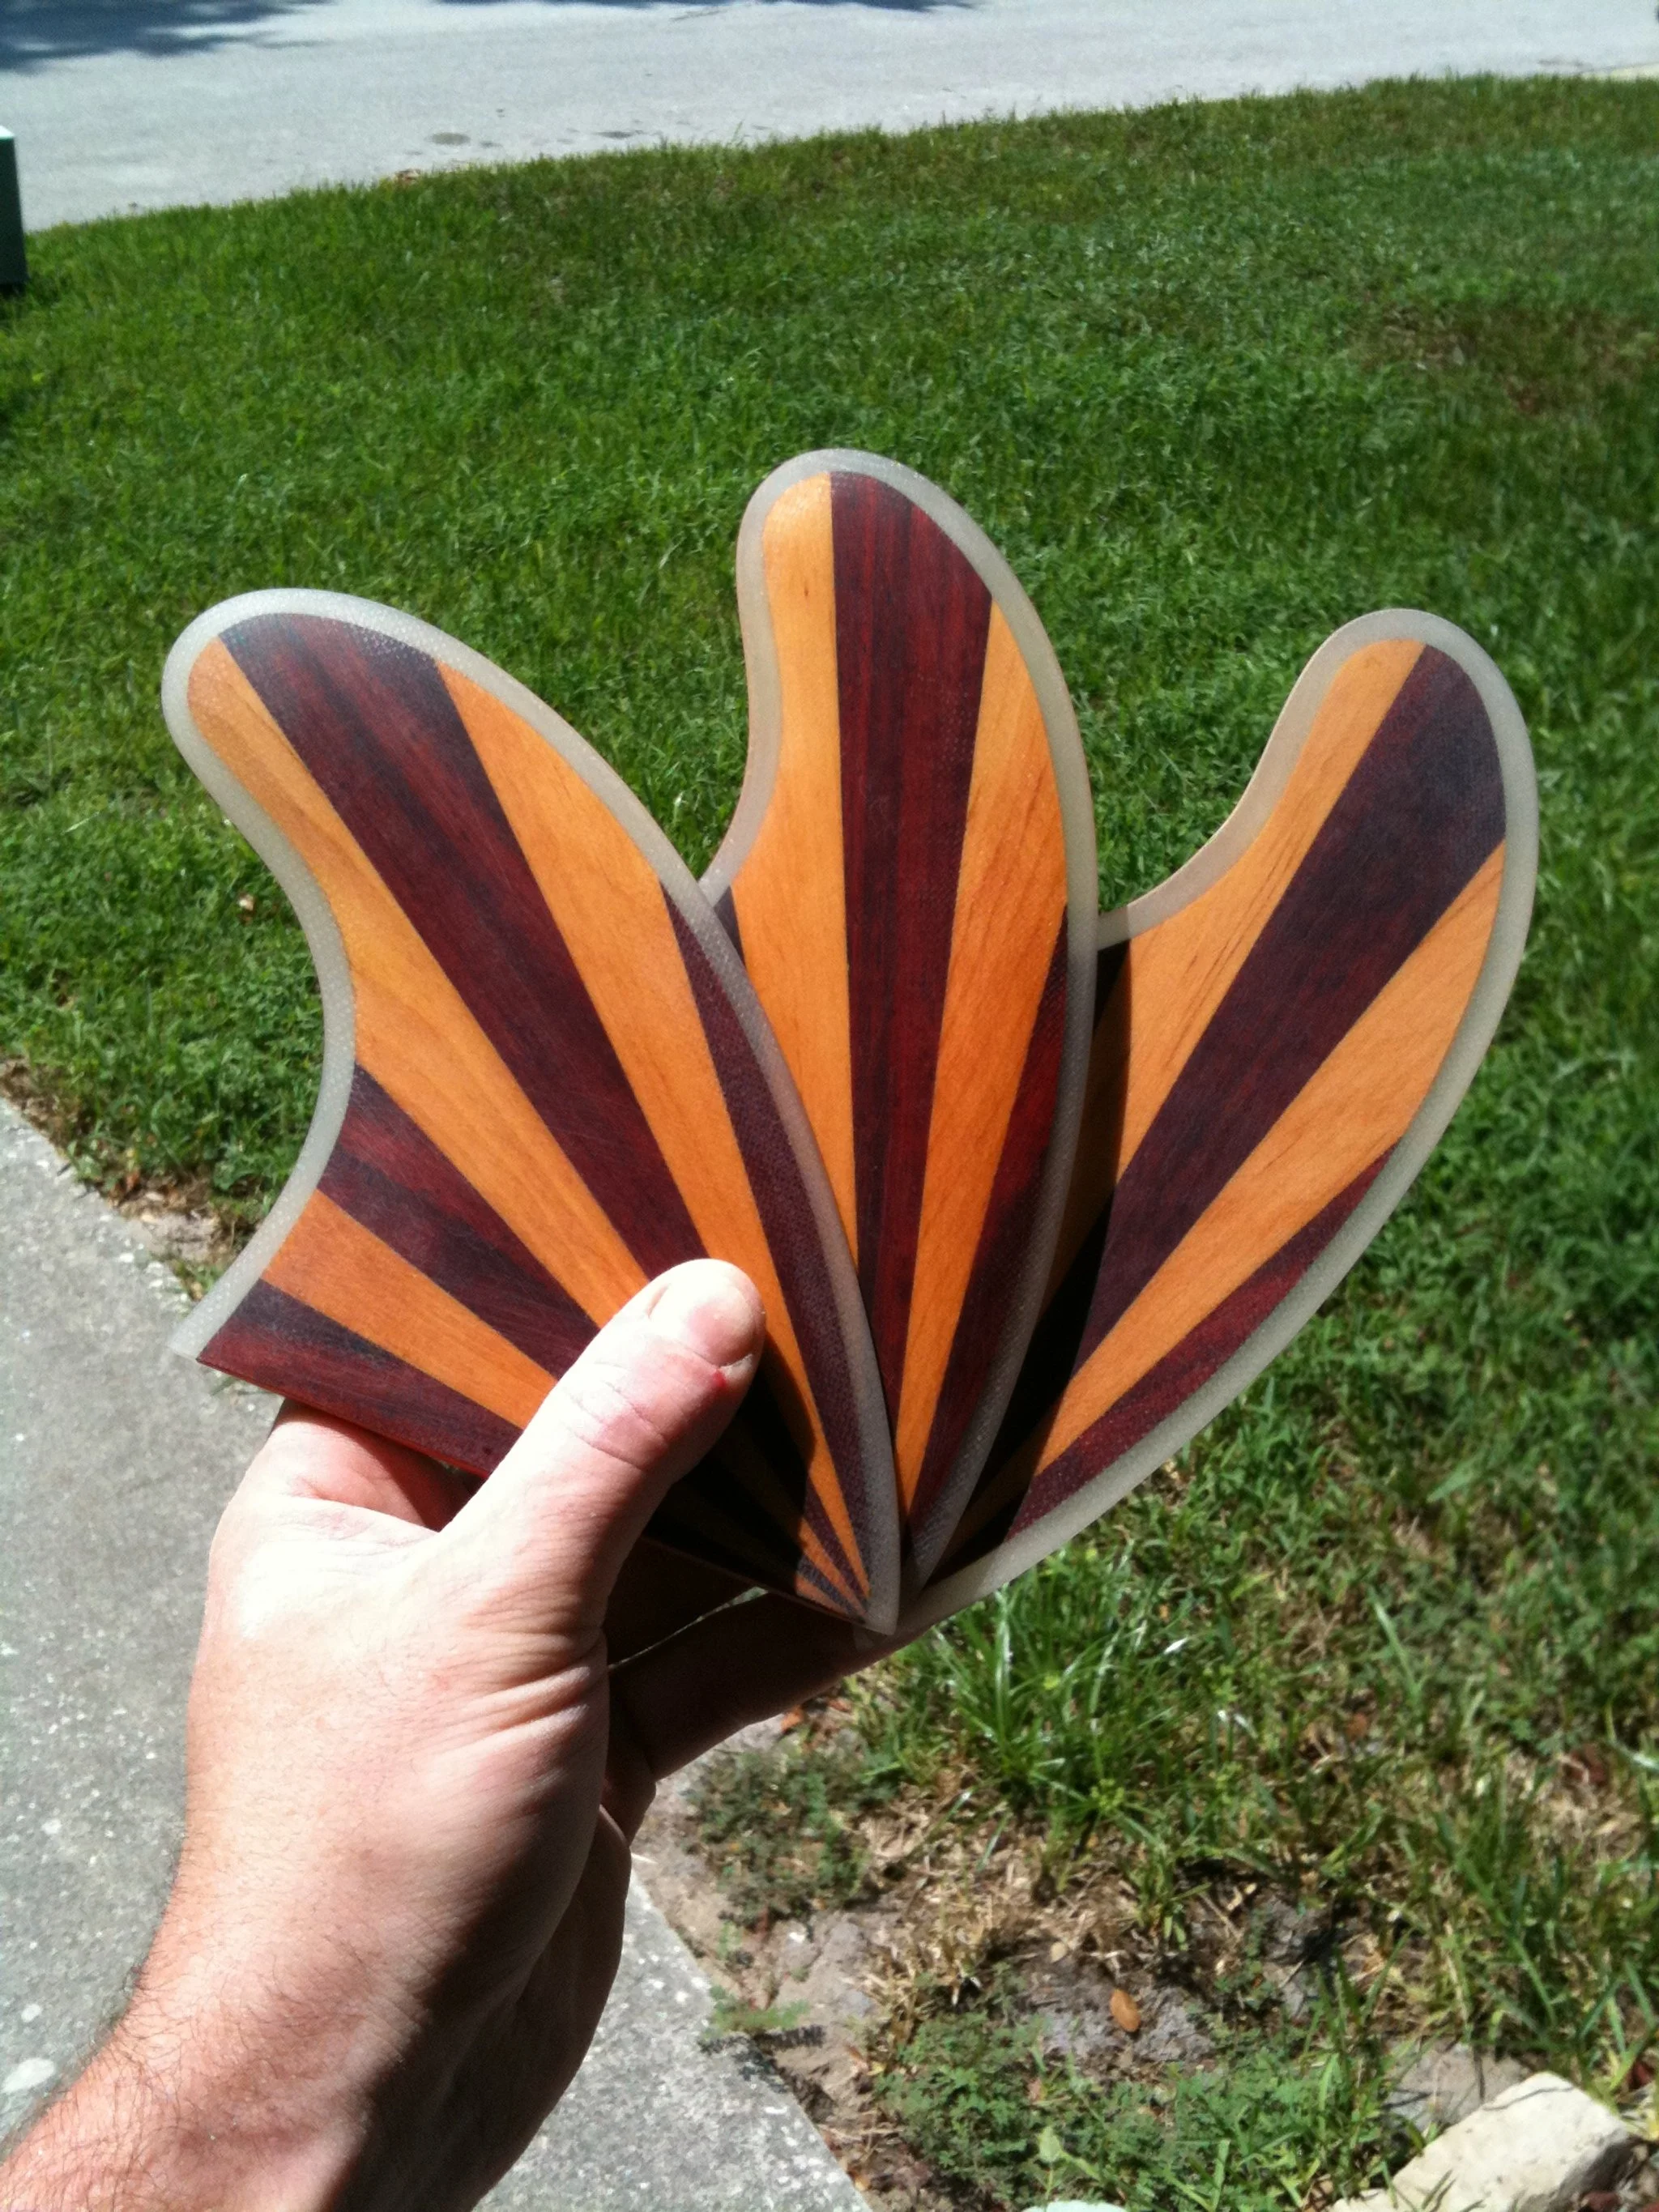
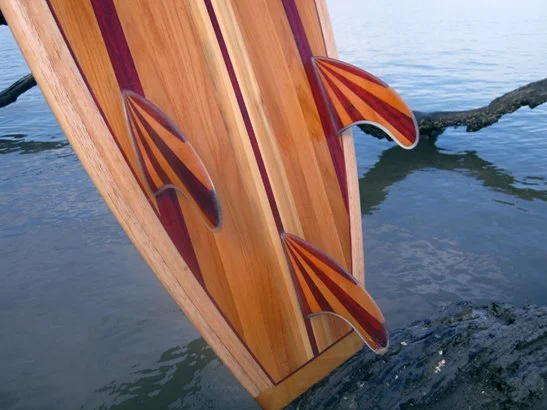
Fin Fabrication: Crafted fins with a cedar and padauk "sunburst" pattern.
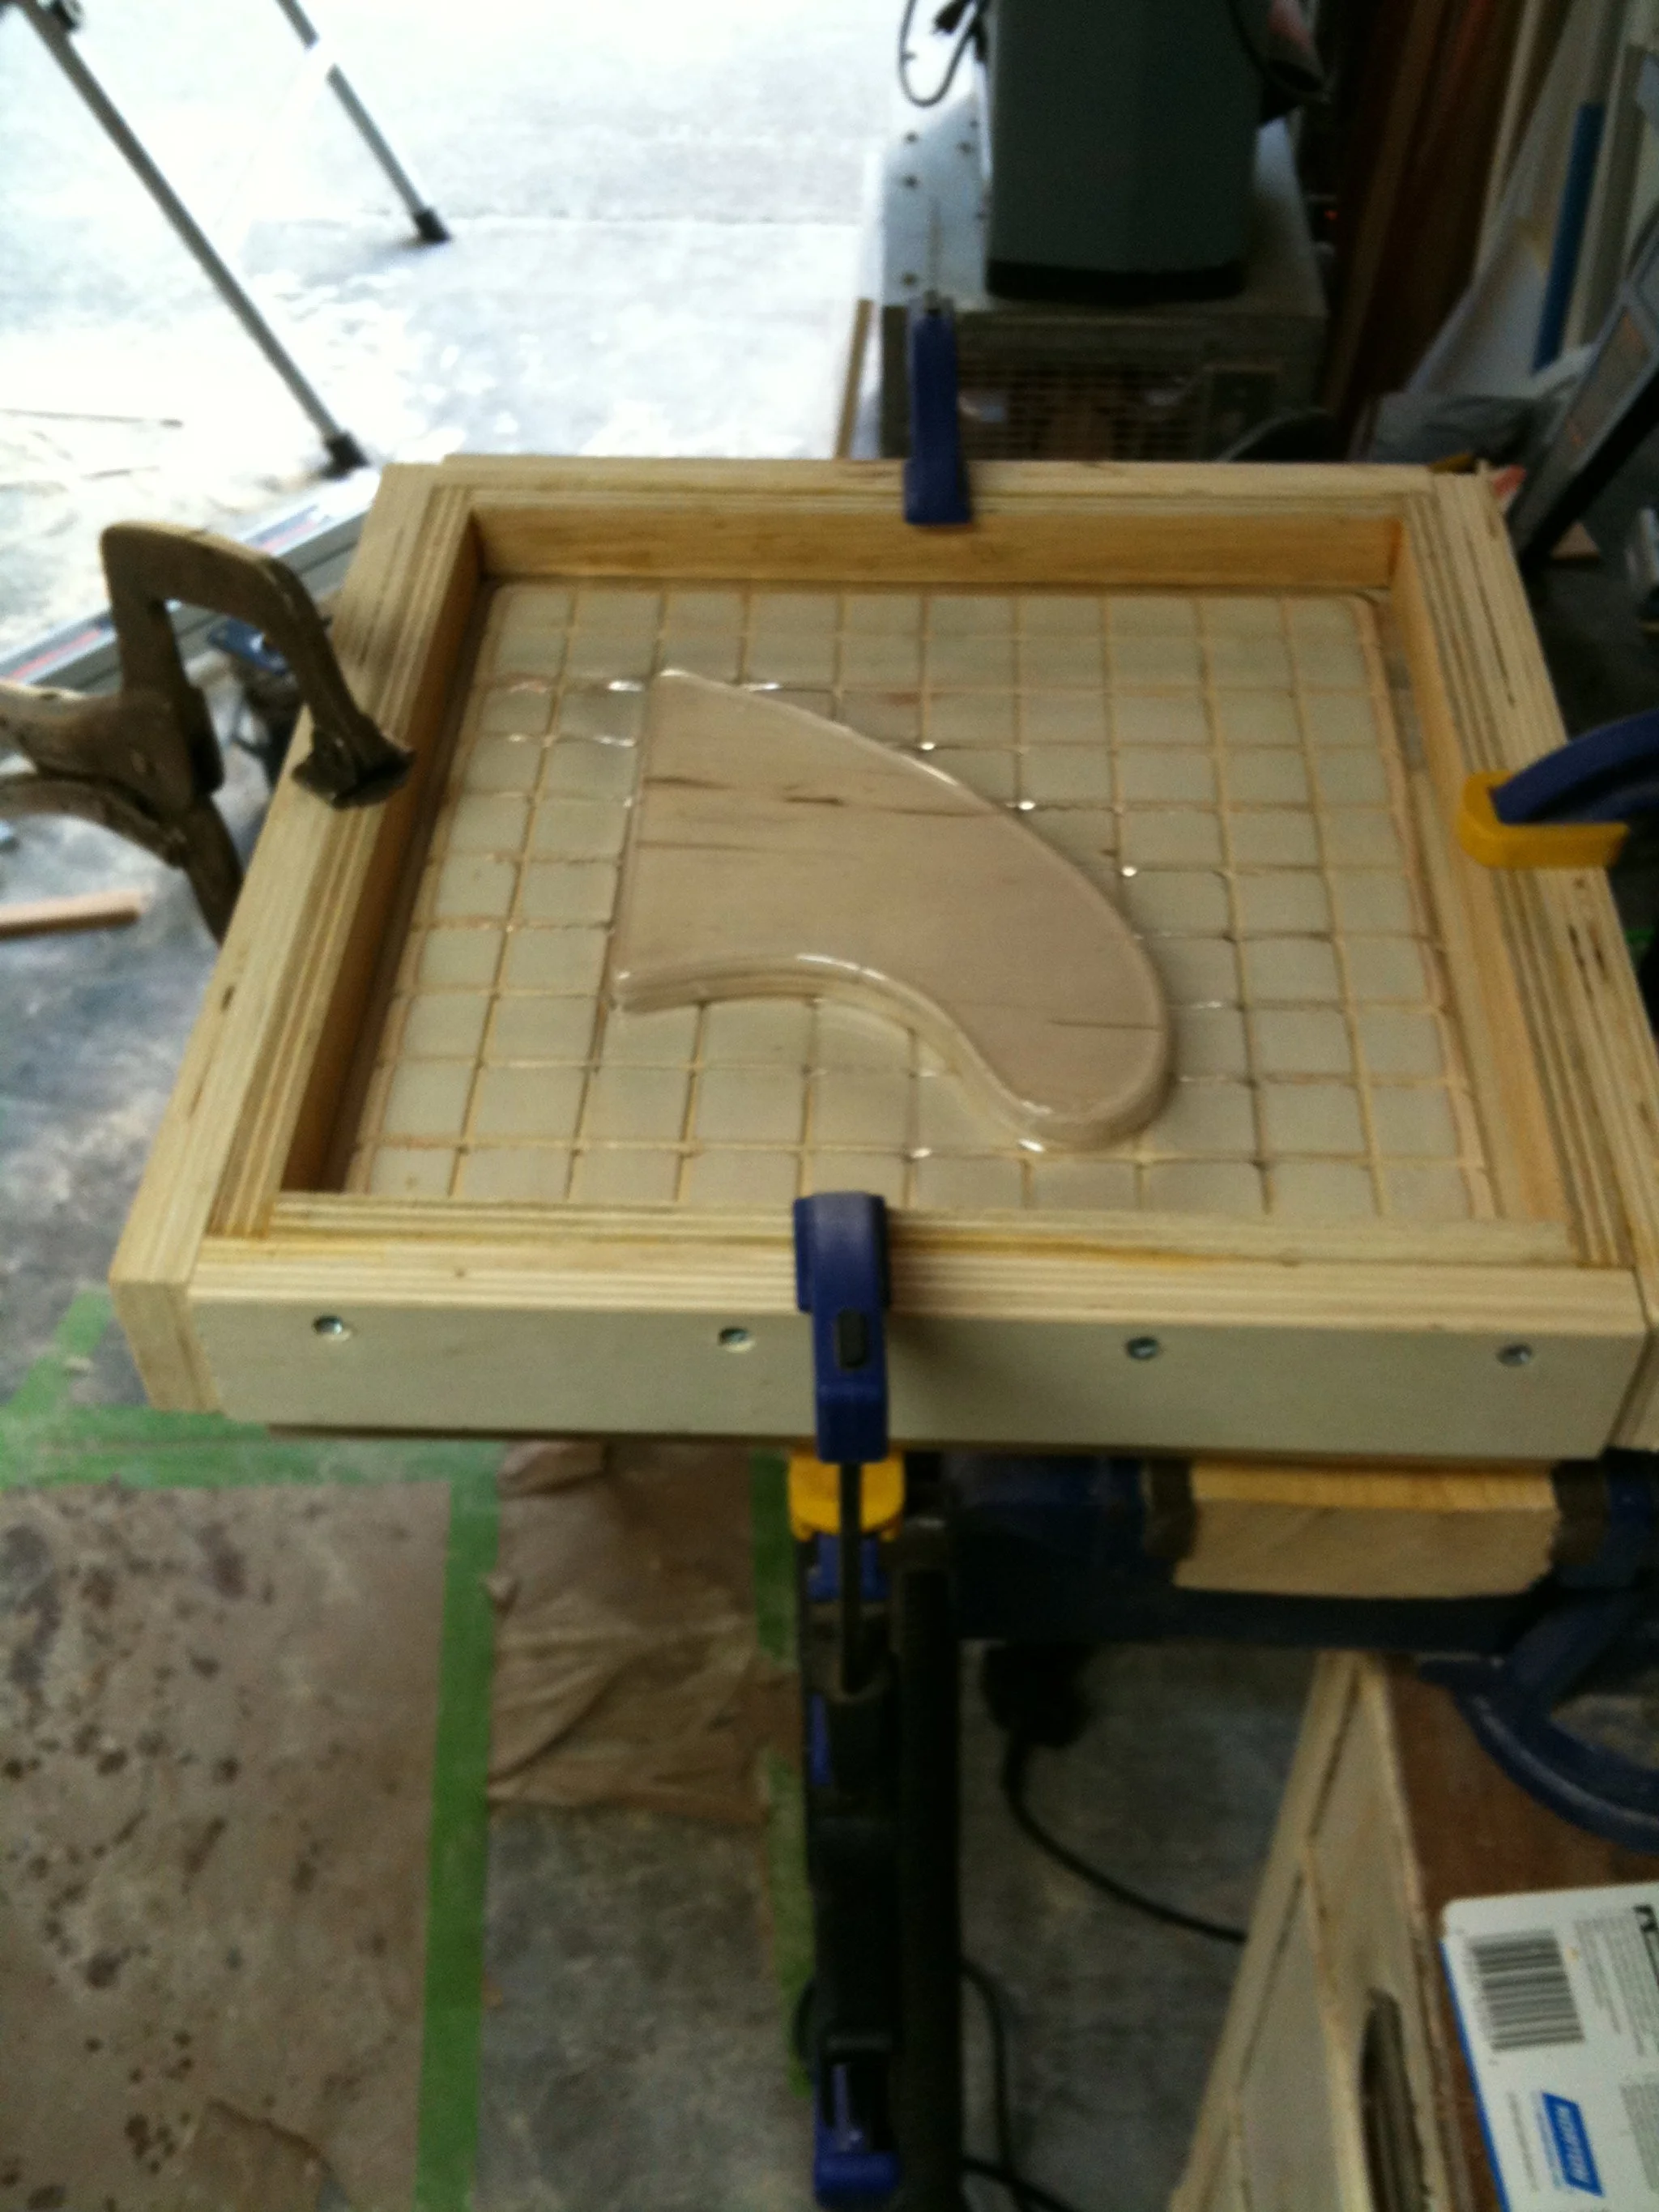
Reinforcement: Used a DIY vacuform machine to create molds for the fins, allowing for reinforced fiberglass edges and protective epoxy sealing.
Fin Attachment: Routed slots into the bottom of the board and used a custom template to glue the fins at the precise position and pitch.
Structural Fillets: Added fiberglass strips and epoxy "fillets" at the base of the fins for a seamless, high-strength bond
-
Glassing: Applied multiple layers of thin fiberglass cloth and epoxy resin over the entire board and fins.
Final Coat: Applied a sealing top coat of epoxy resin.
Polishing: Sanded and polished the final coat to a high-gloss, smooth finish.
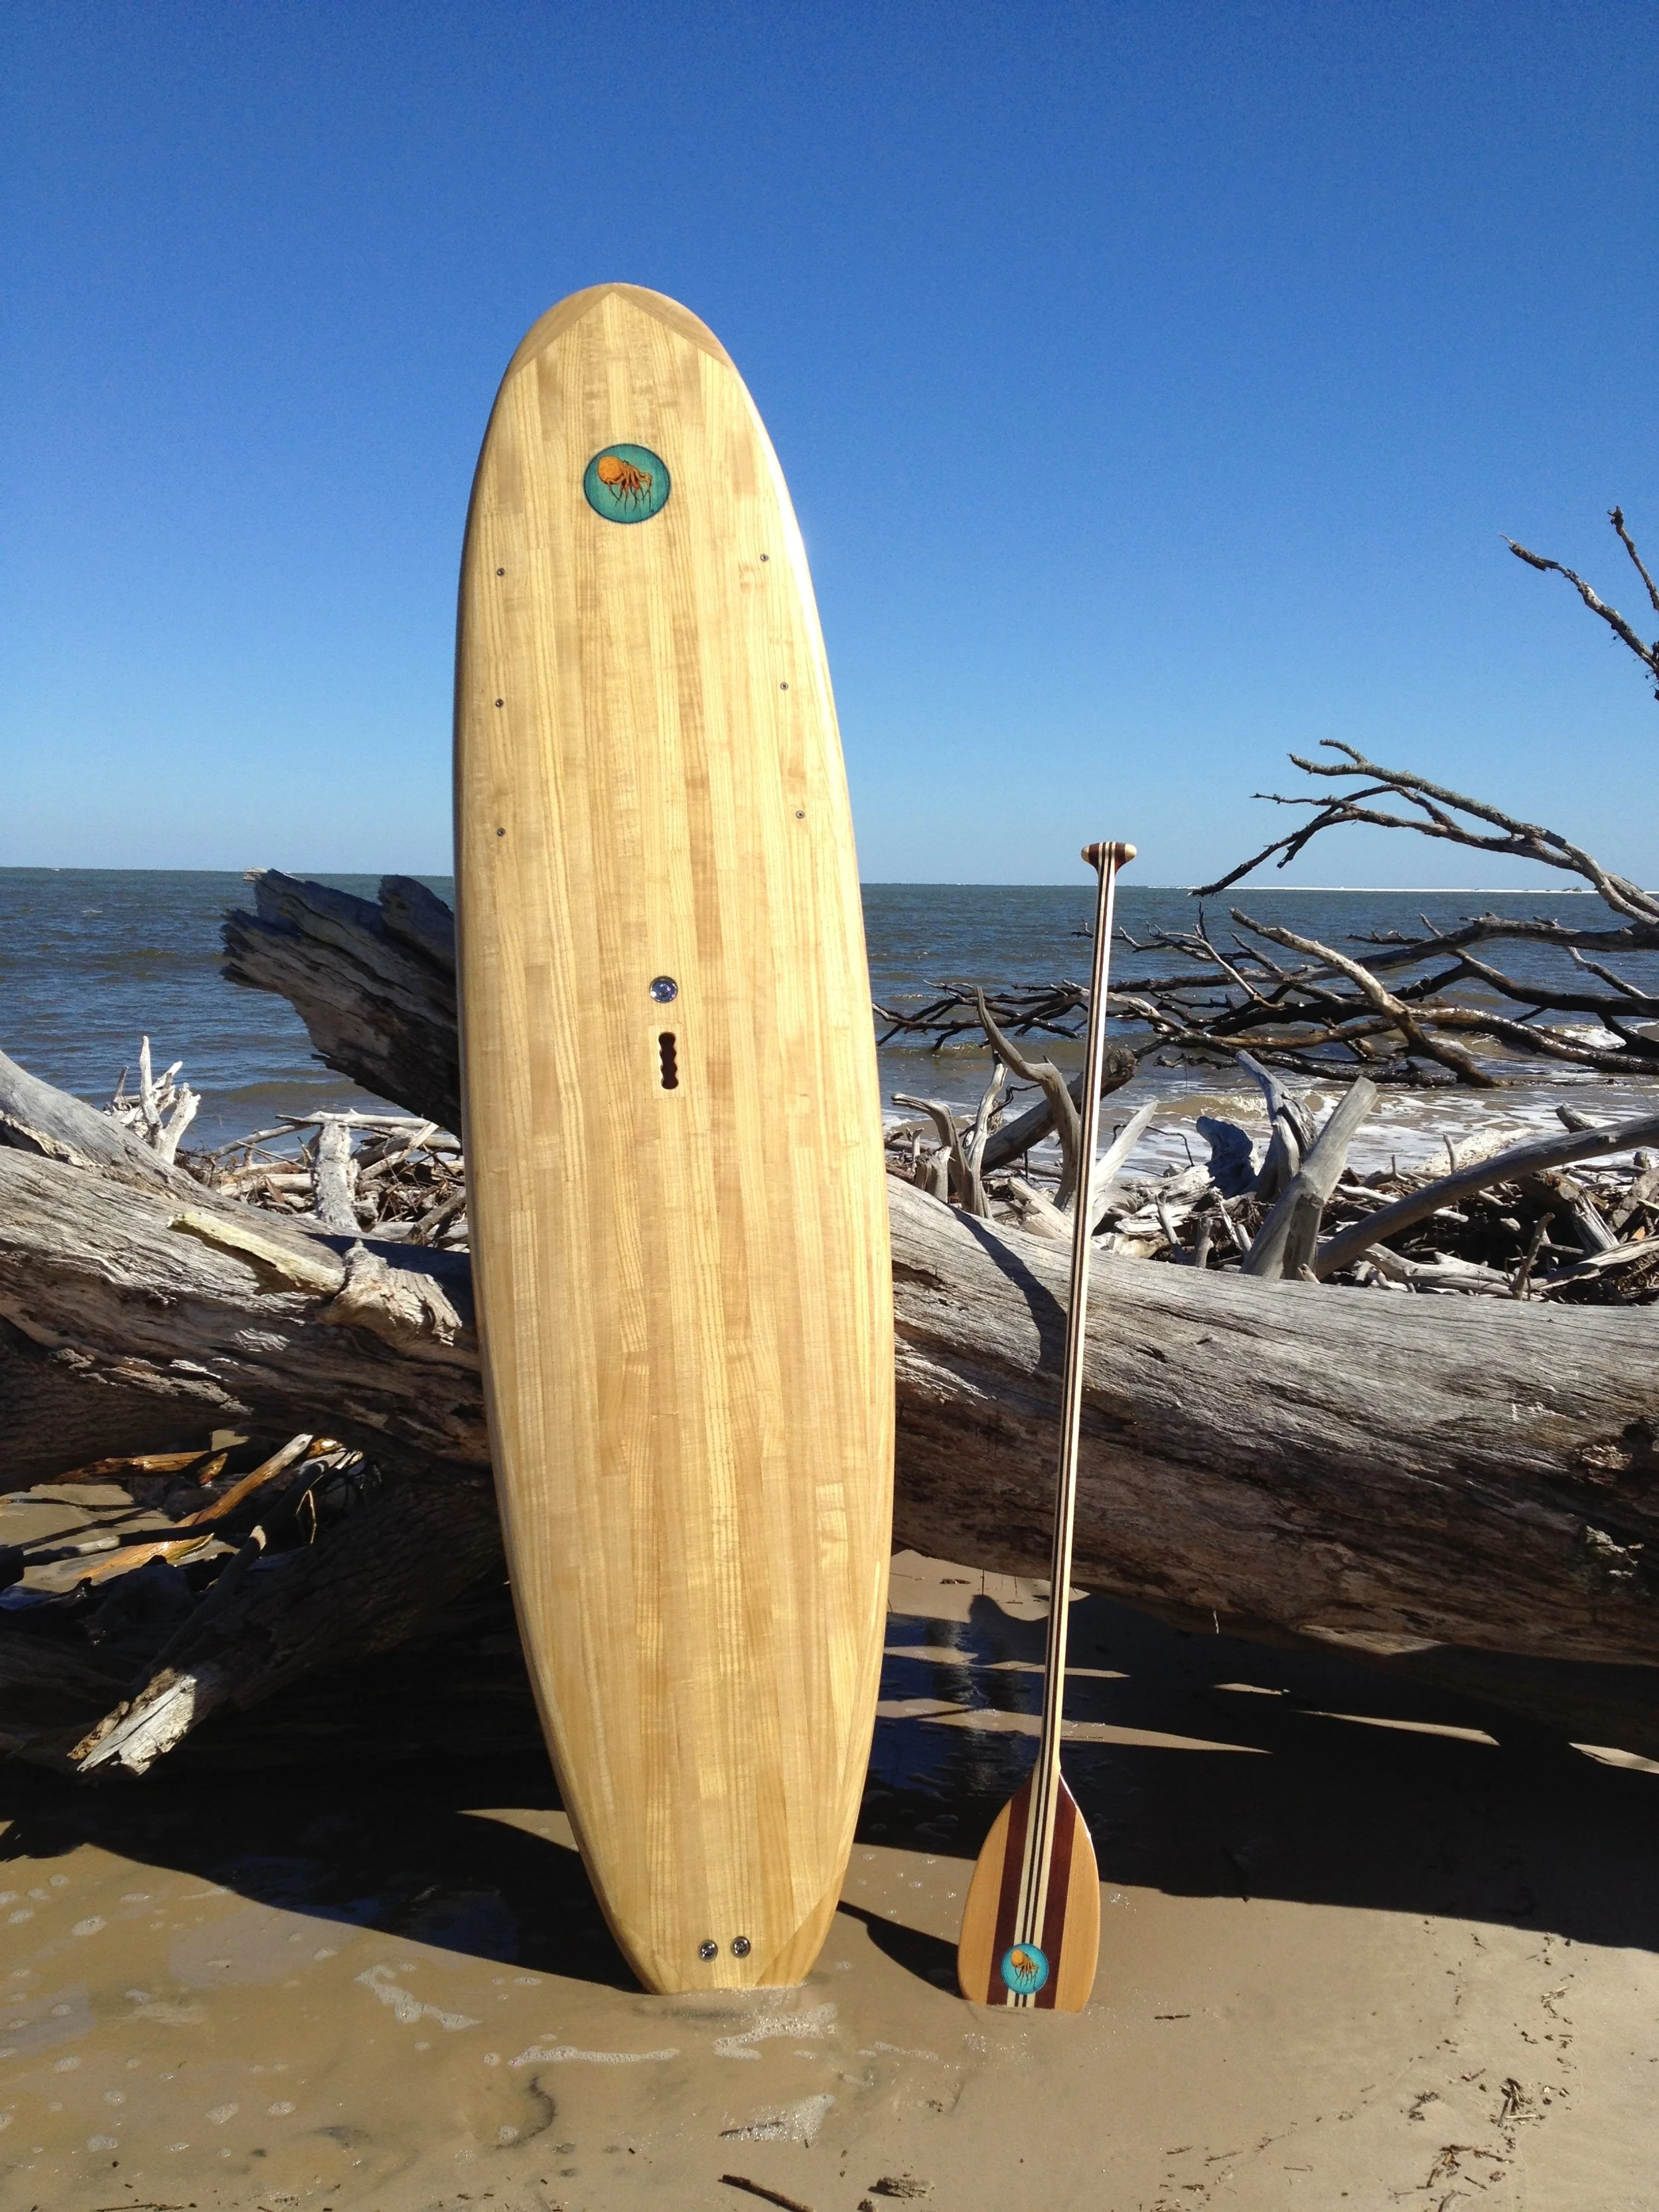
hollow wooden Stand up Paddleboard & Paddle
-
Template Creation: Designed the dimensions on paper and transferred templates for the spine and ribs onto 1/4” marine-grade plywood.
Structural Cutting: Rough-cut pieces on a bandsaw and refined them with a belt sander; the spine was doubled for extra rigidity.
Pressure Management: Cut airflow holes in the ribs and spine to connect to a tail vent, allowing the board to "breathe" during temperature-induced pressure changes.
Skeleton Assembly: Aligned and glued the ribs and spine, adding paulownia support strips and nose/tail blocking for structural integrity.
-
Wood Selection: Purchased paulownia lumber to use as the material for most of the board. Paulownia was chosen for its strength-to-weight ratio, given it’s twice as strong as balsa wood and almost as light in weight by comparison. This SUP board needed to be as light as possible considering its size.
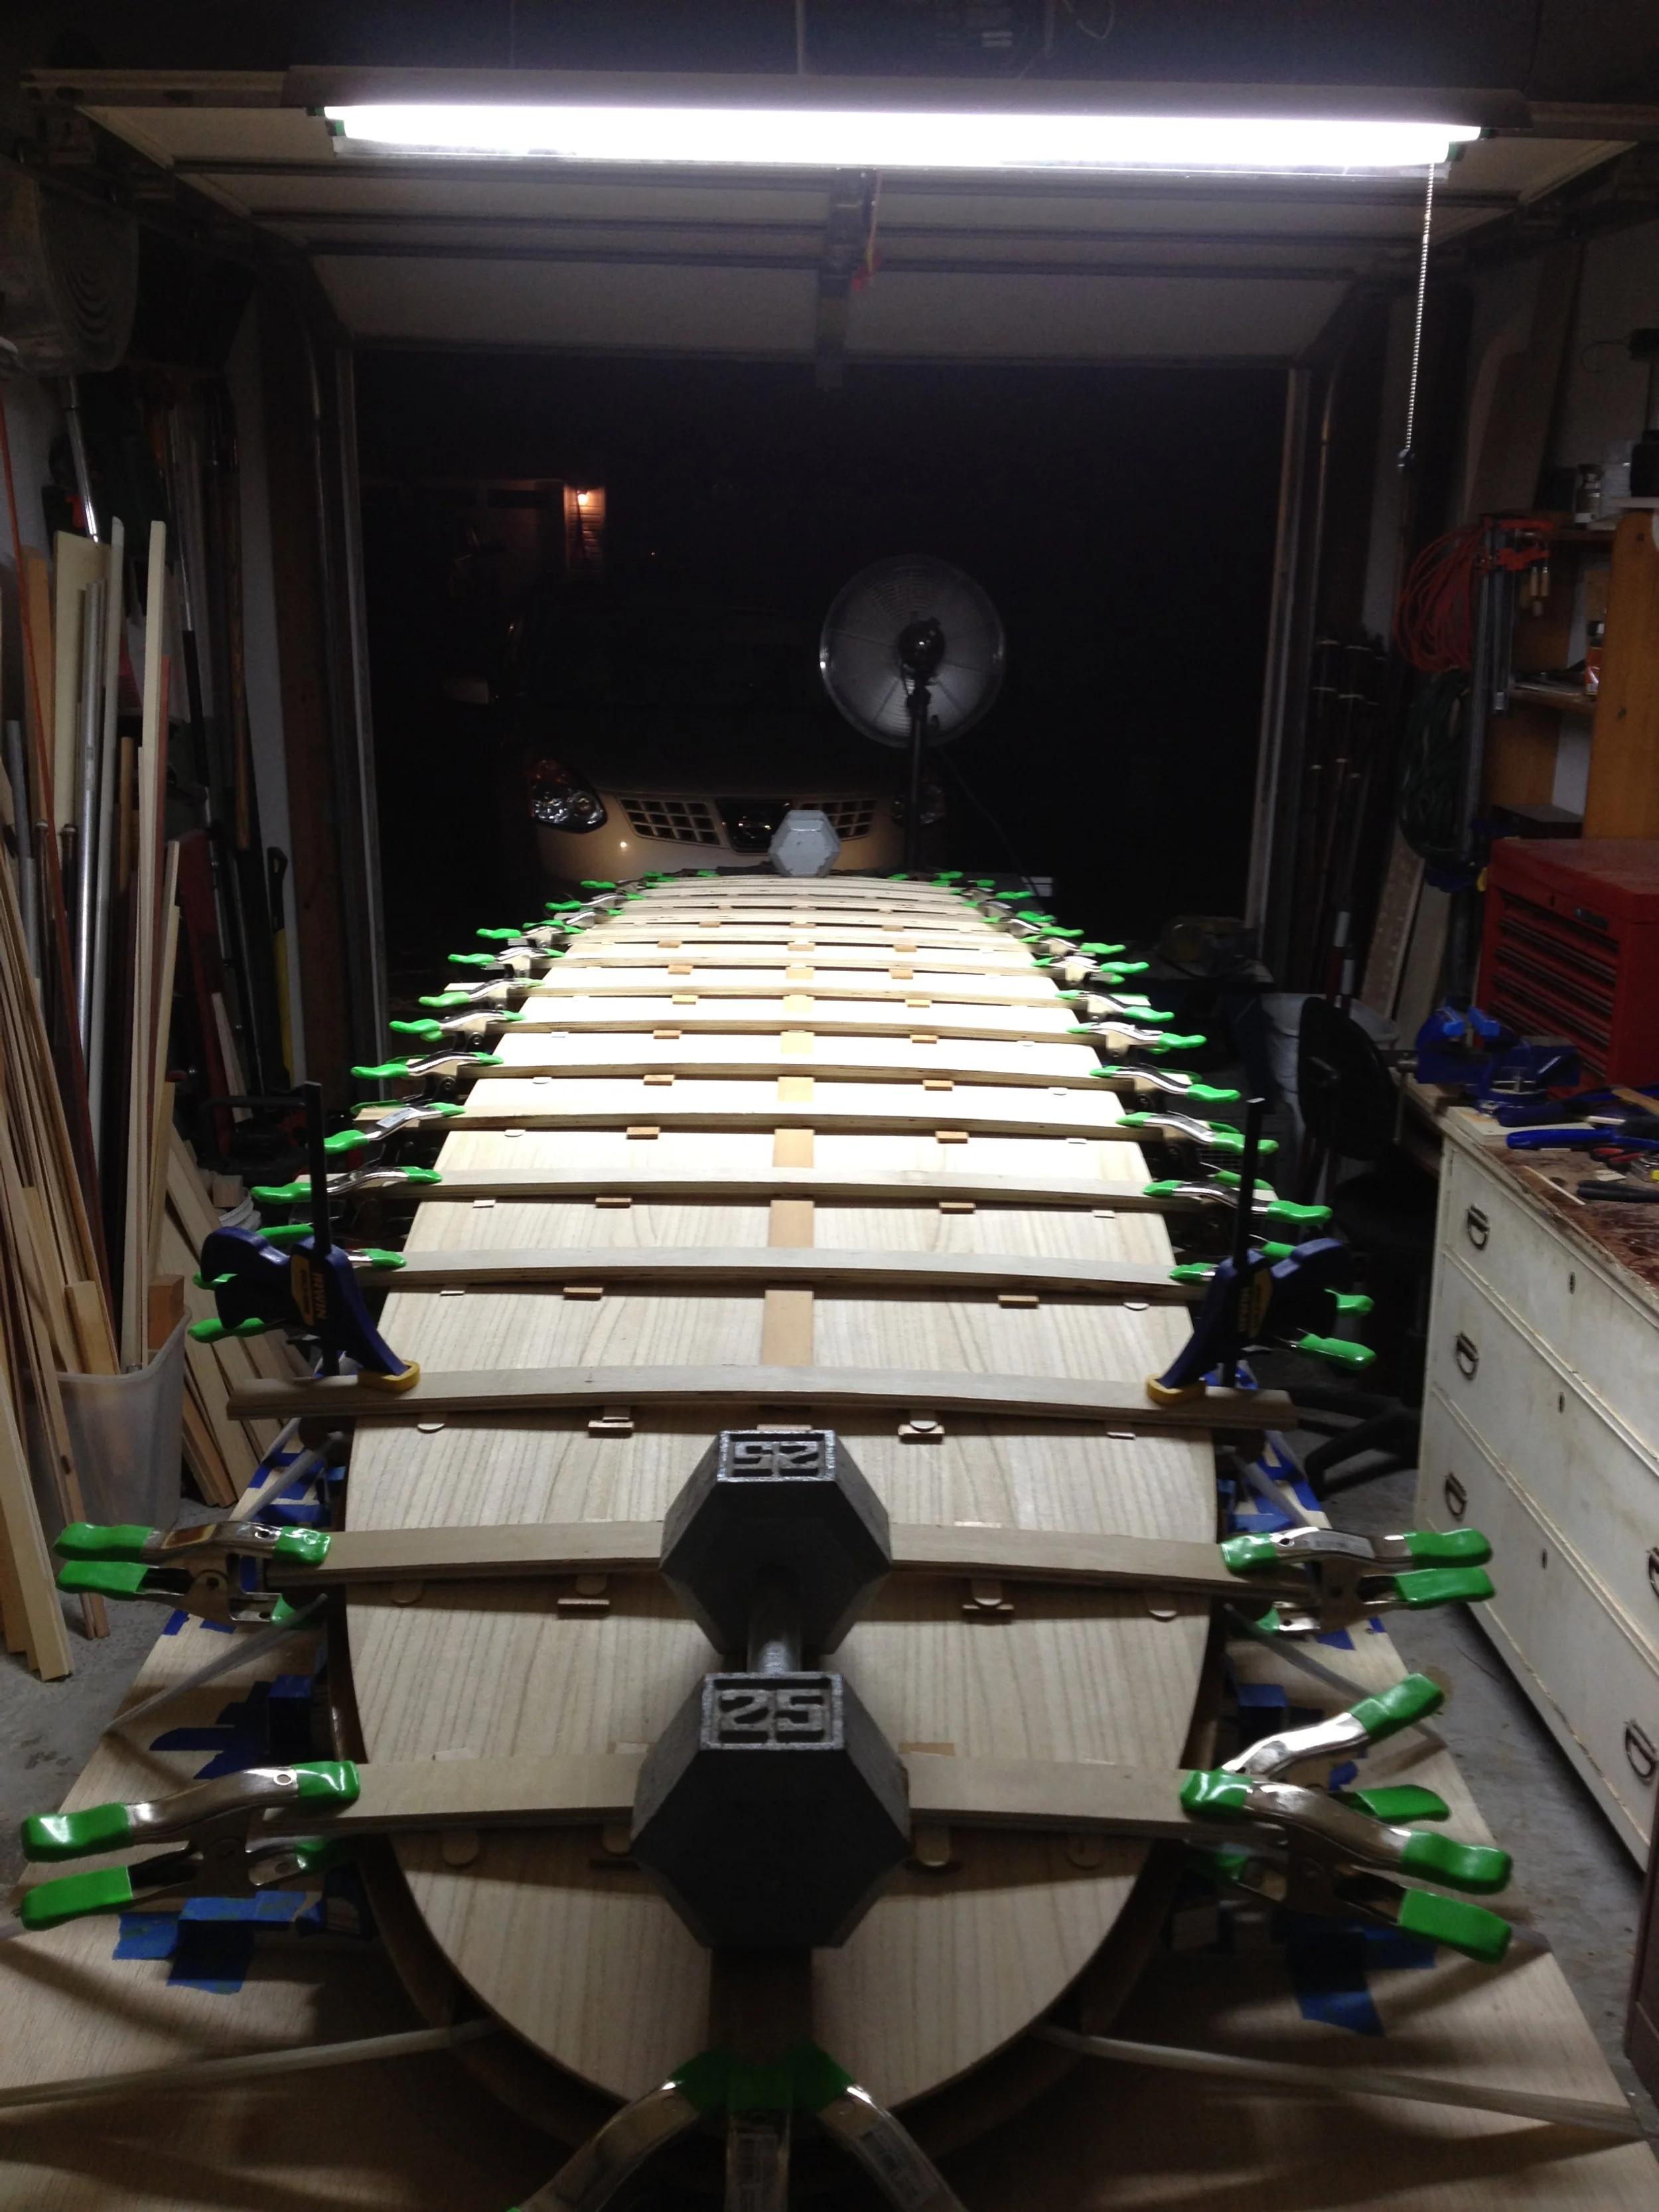
Laminating Planks: Created top and bottom planks by planing paulownia wood to 5/16” and gluing them end to end to create the skinning sheets.
Skinning the Frame: Glued and clamped the planks to the rib structure, using a router to trim excess wood along the rail guides.
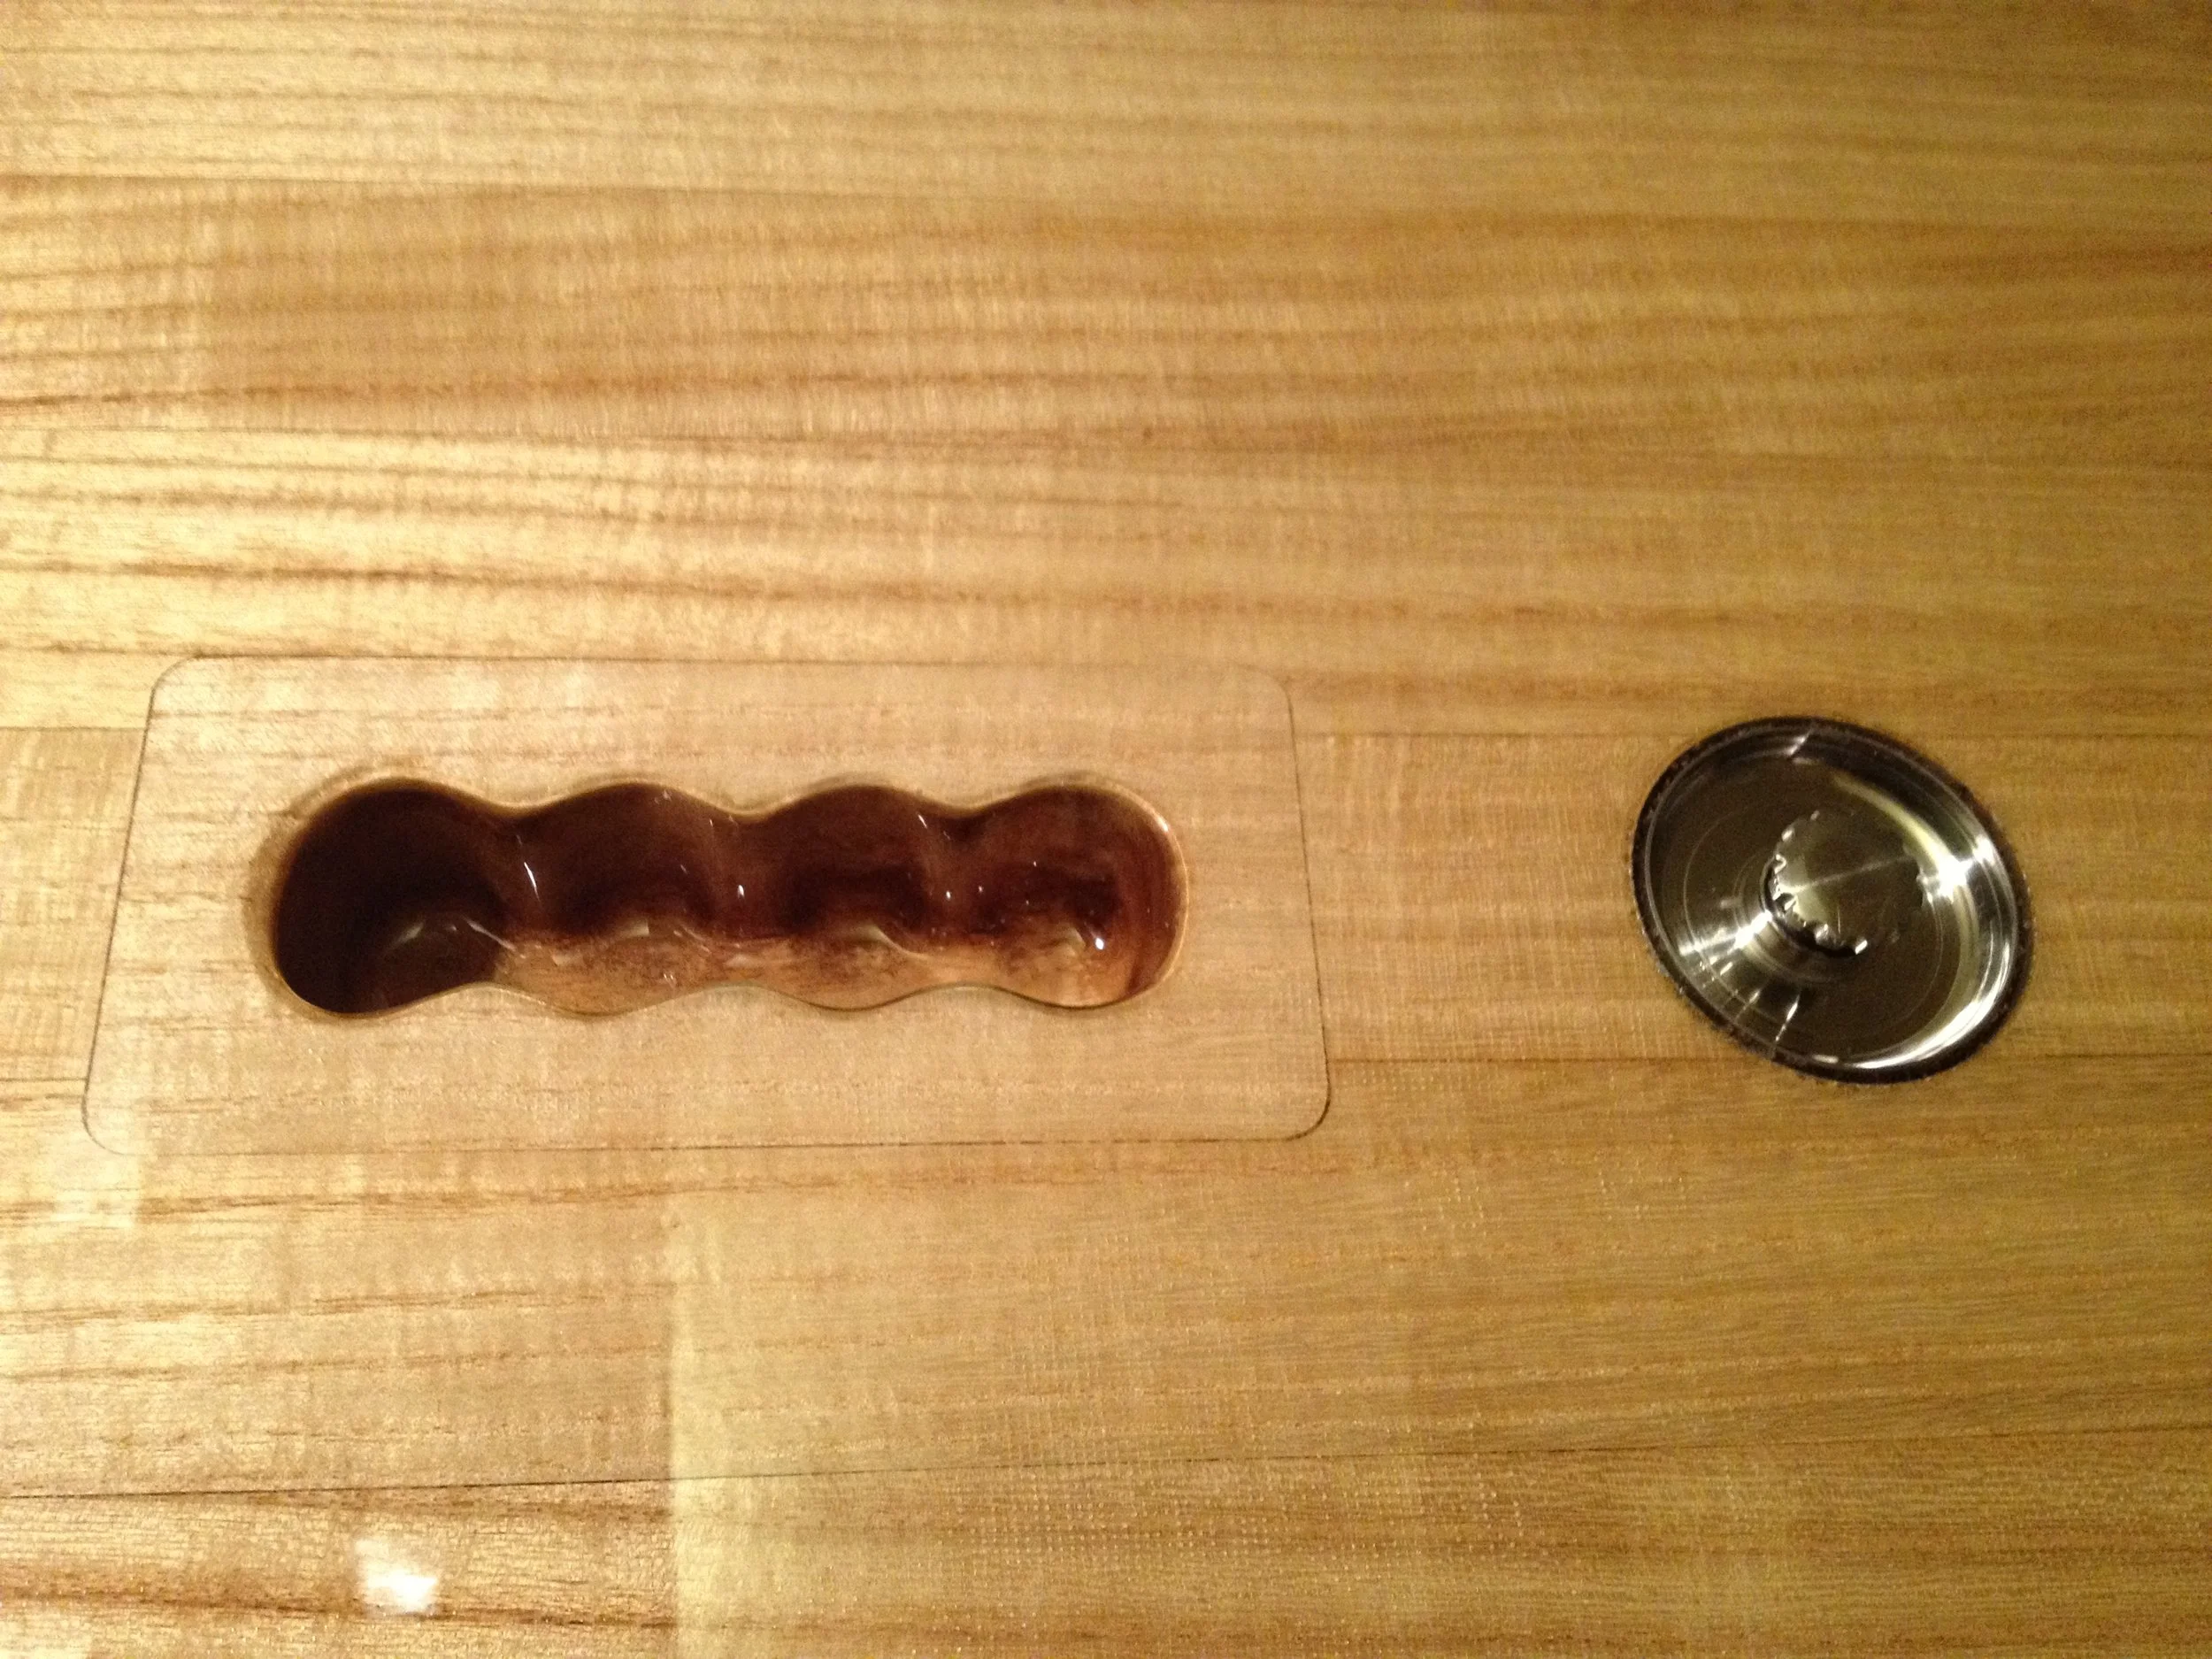
Custom Hardware: Machined a manual vent, two leash plugs, and six 1/4”-20 threaded inserts (for deck rigging). Cut a block if paulownia wood and carved out a grip handle to mount in the center of the board, then installed them into the deck using epoxy.
-
Rail Construction: Built up the side rails using interlocking paulownia wood strips, gluing them together one at a time with polyurethane foaming glue while following the rounded side contours of the frame ribs and added paulownia wood blocks to the nose and tail.
Hand Carving: Used a spoke shave and hand planer to carve the rails, nose, and tail into their final hydrodynamic shapes.
Surface Prep: Hand-sanded the entire board until smooth before the initial lamination.
-
Fin Boxes: Purchased plastic fin box inserts so the fins are removable and/or replaceable. Also to be able to try different combinations to see what would work best in different situations.
Fin Attachment: Routed slots into the bottom of the board and used a custom template and epoxy to glue the fin box inserts at the precise position.
-
Glassing: Applied multiple layers of thin fiberglass cloth and epoxy resin over the entire board.
Final Coat: Applied a sealing top coat of epoxy resin.
Polishing: Sanded and polished the final coat to a high-gloss, smooth finish.
-
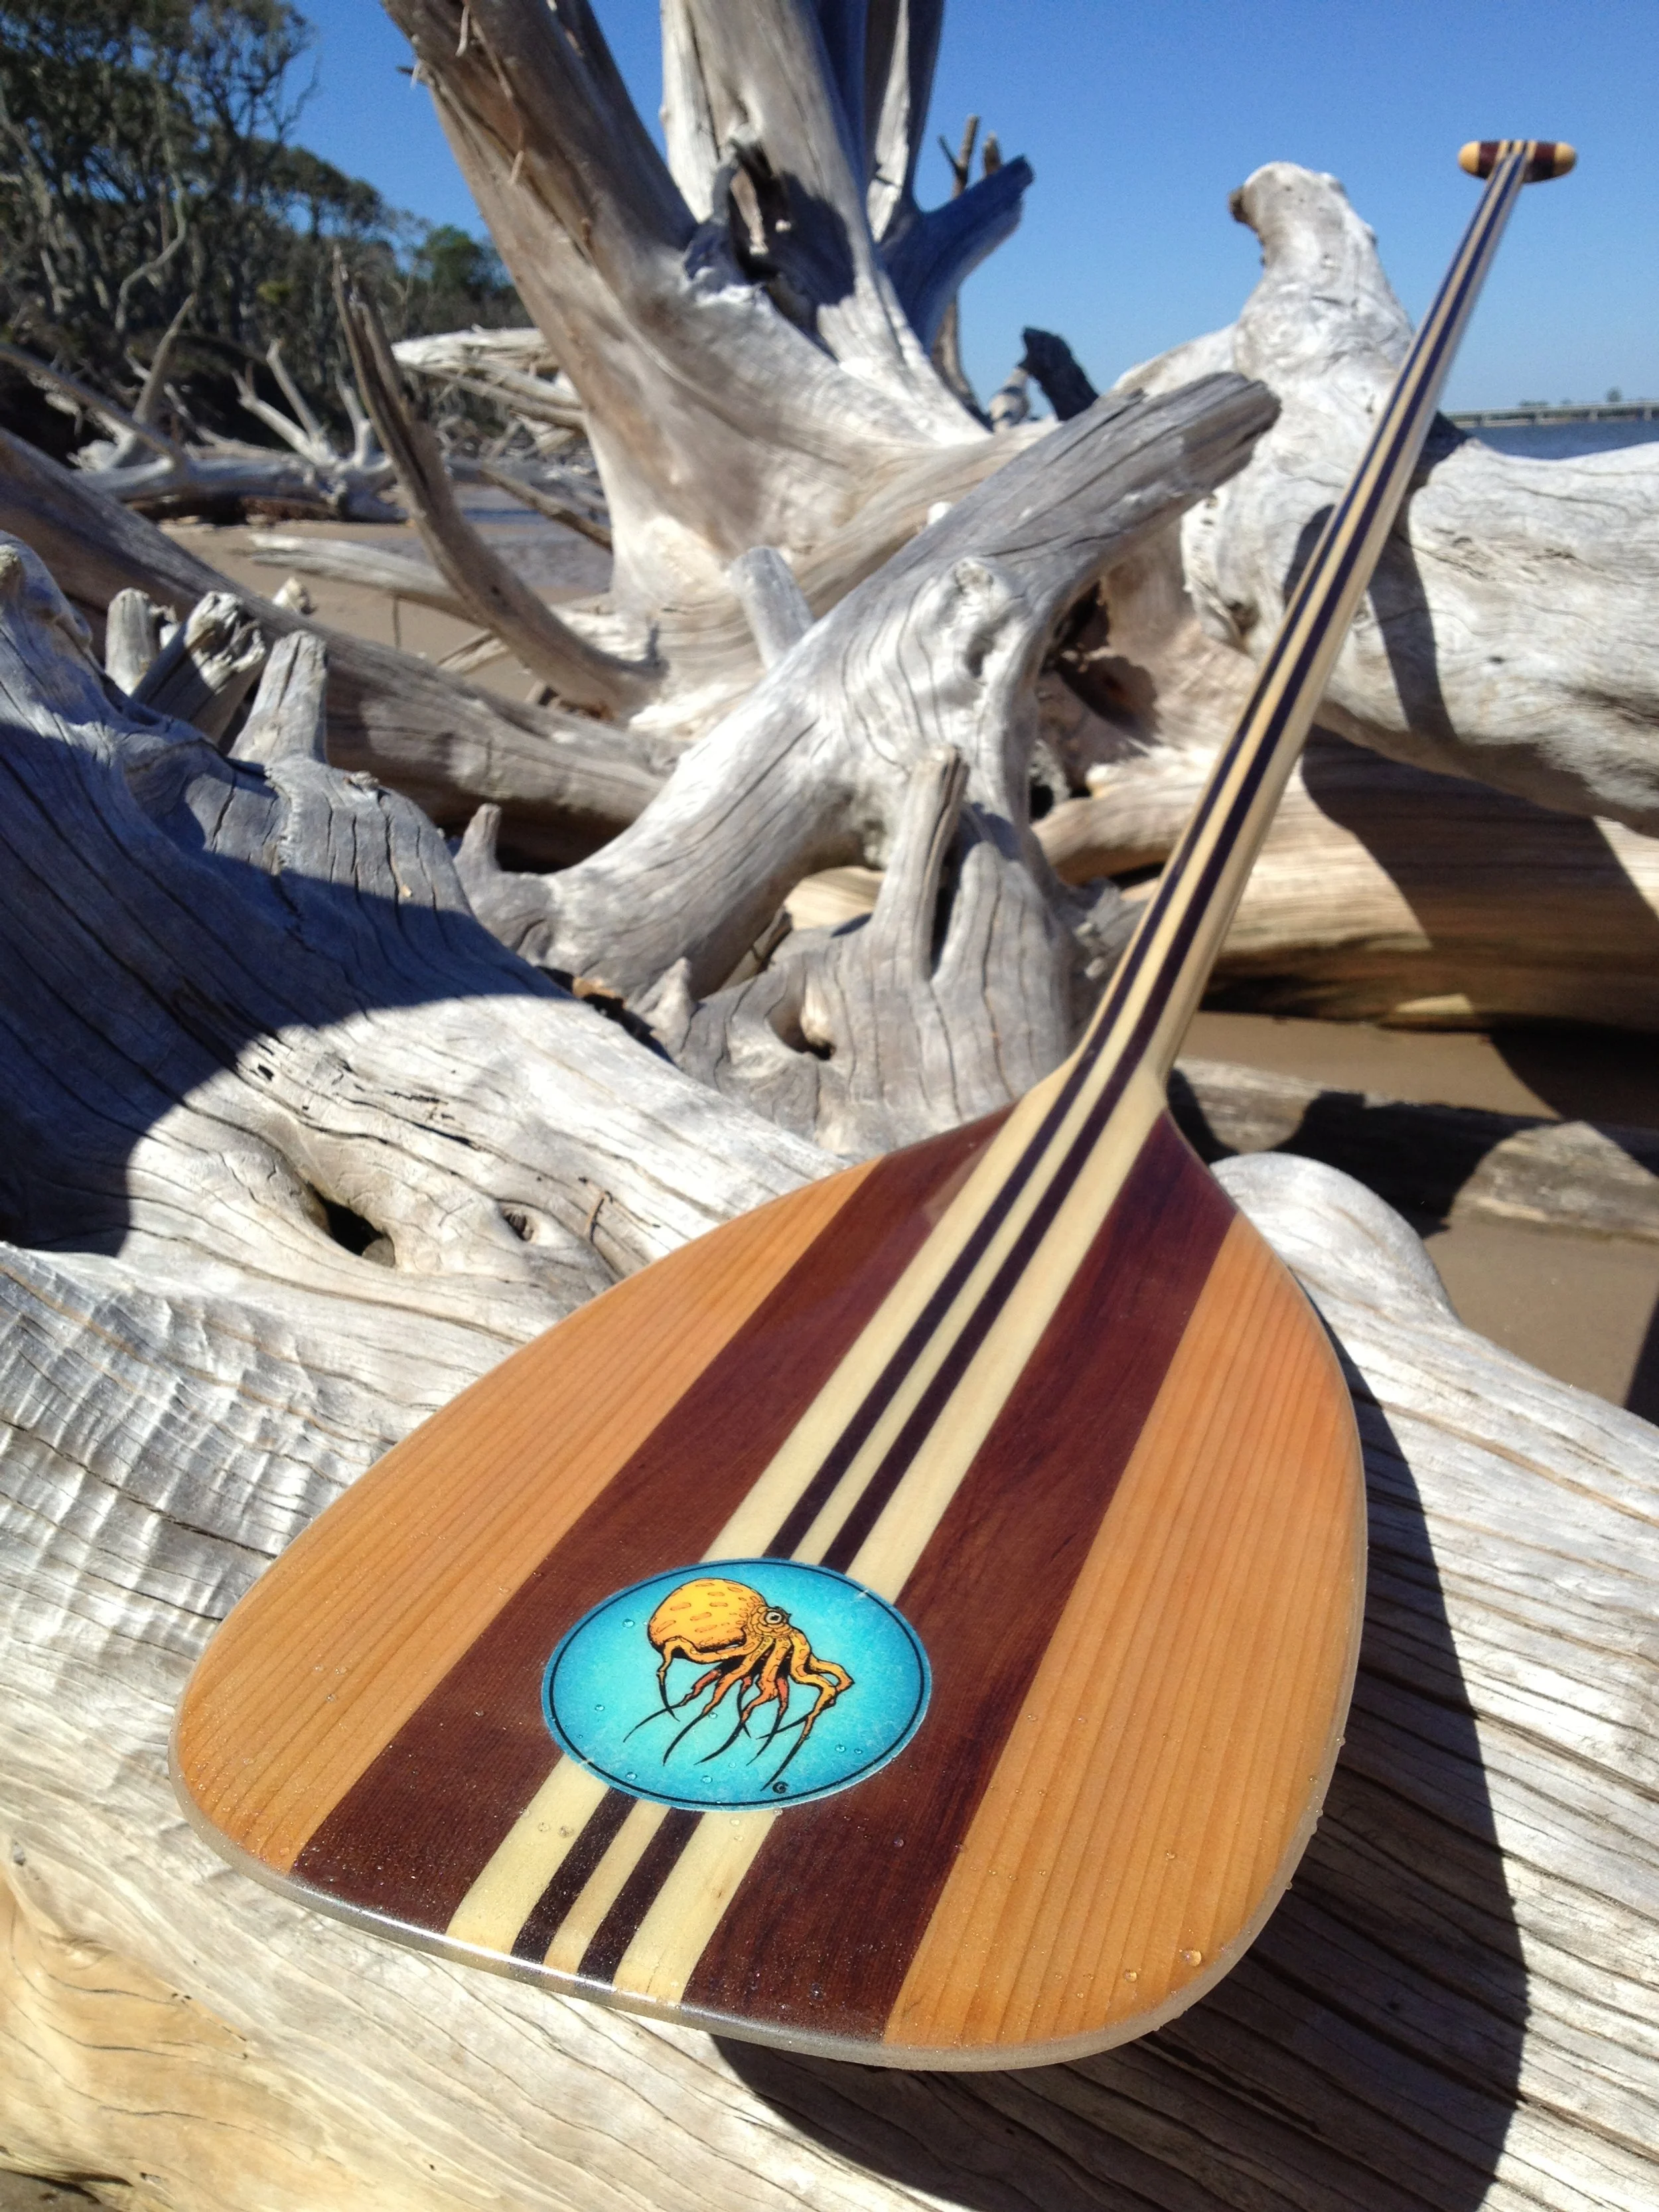
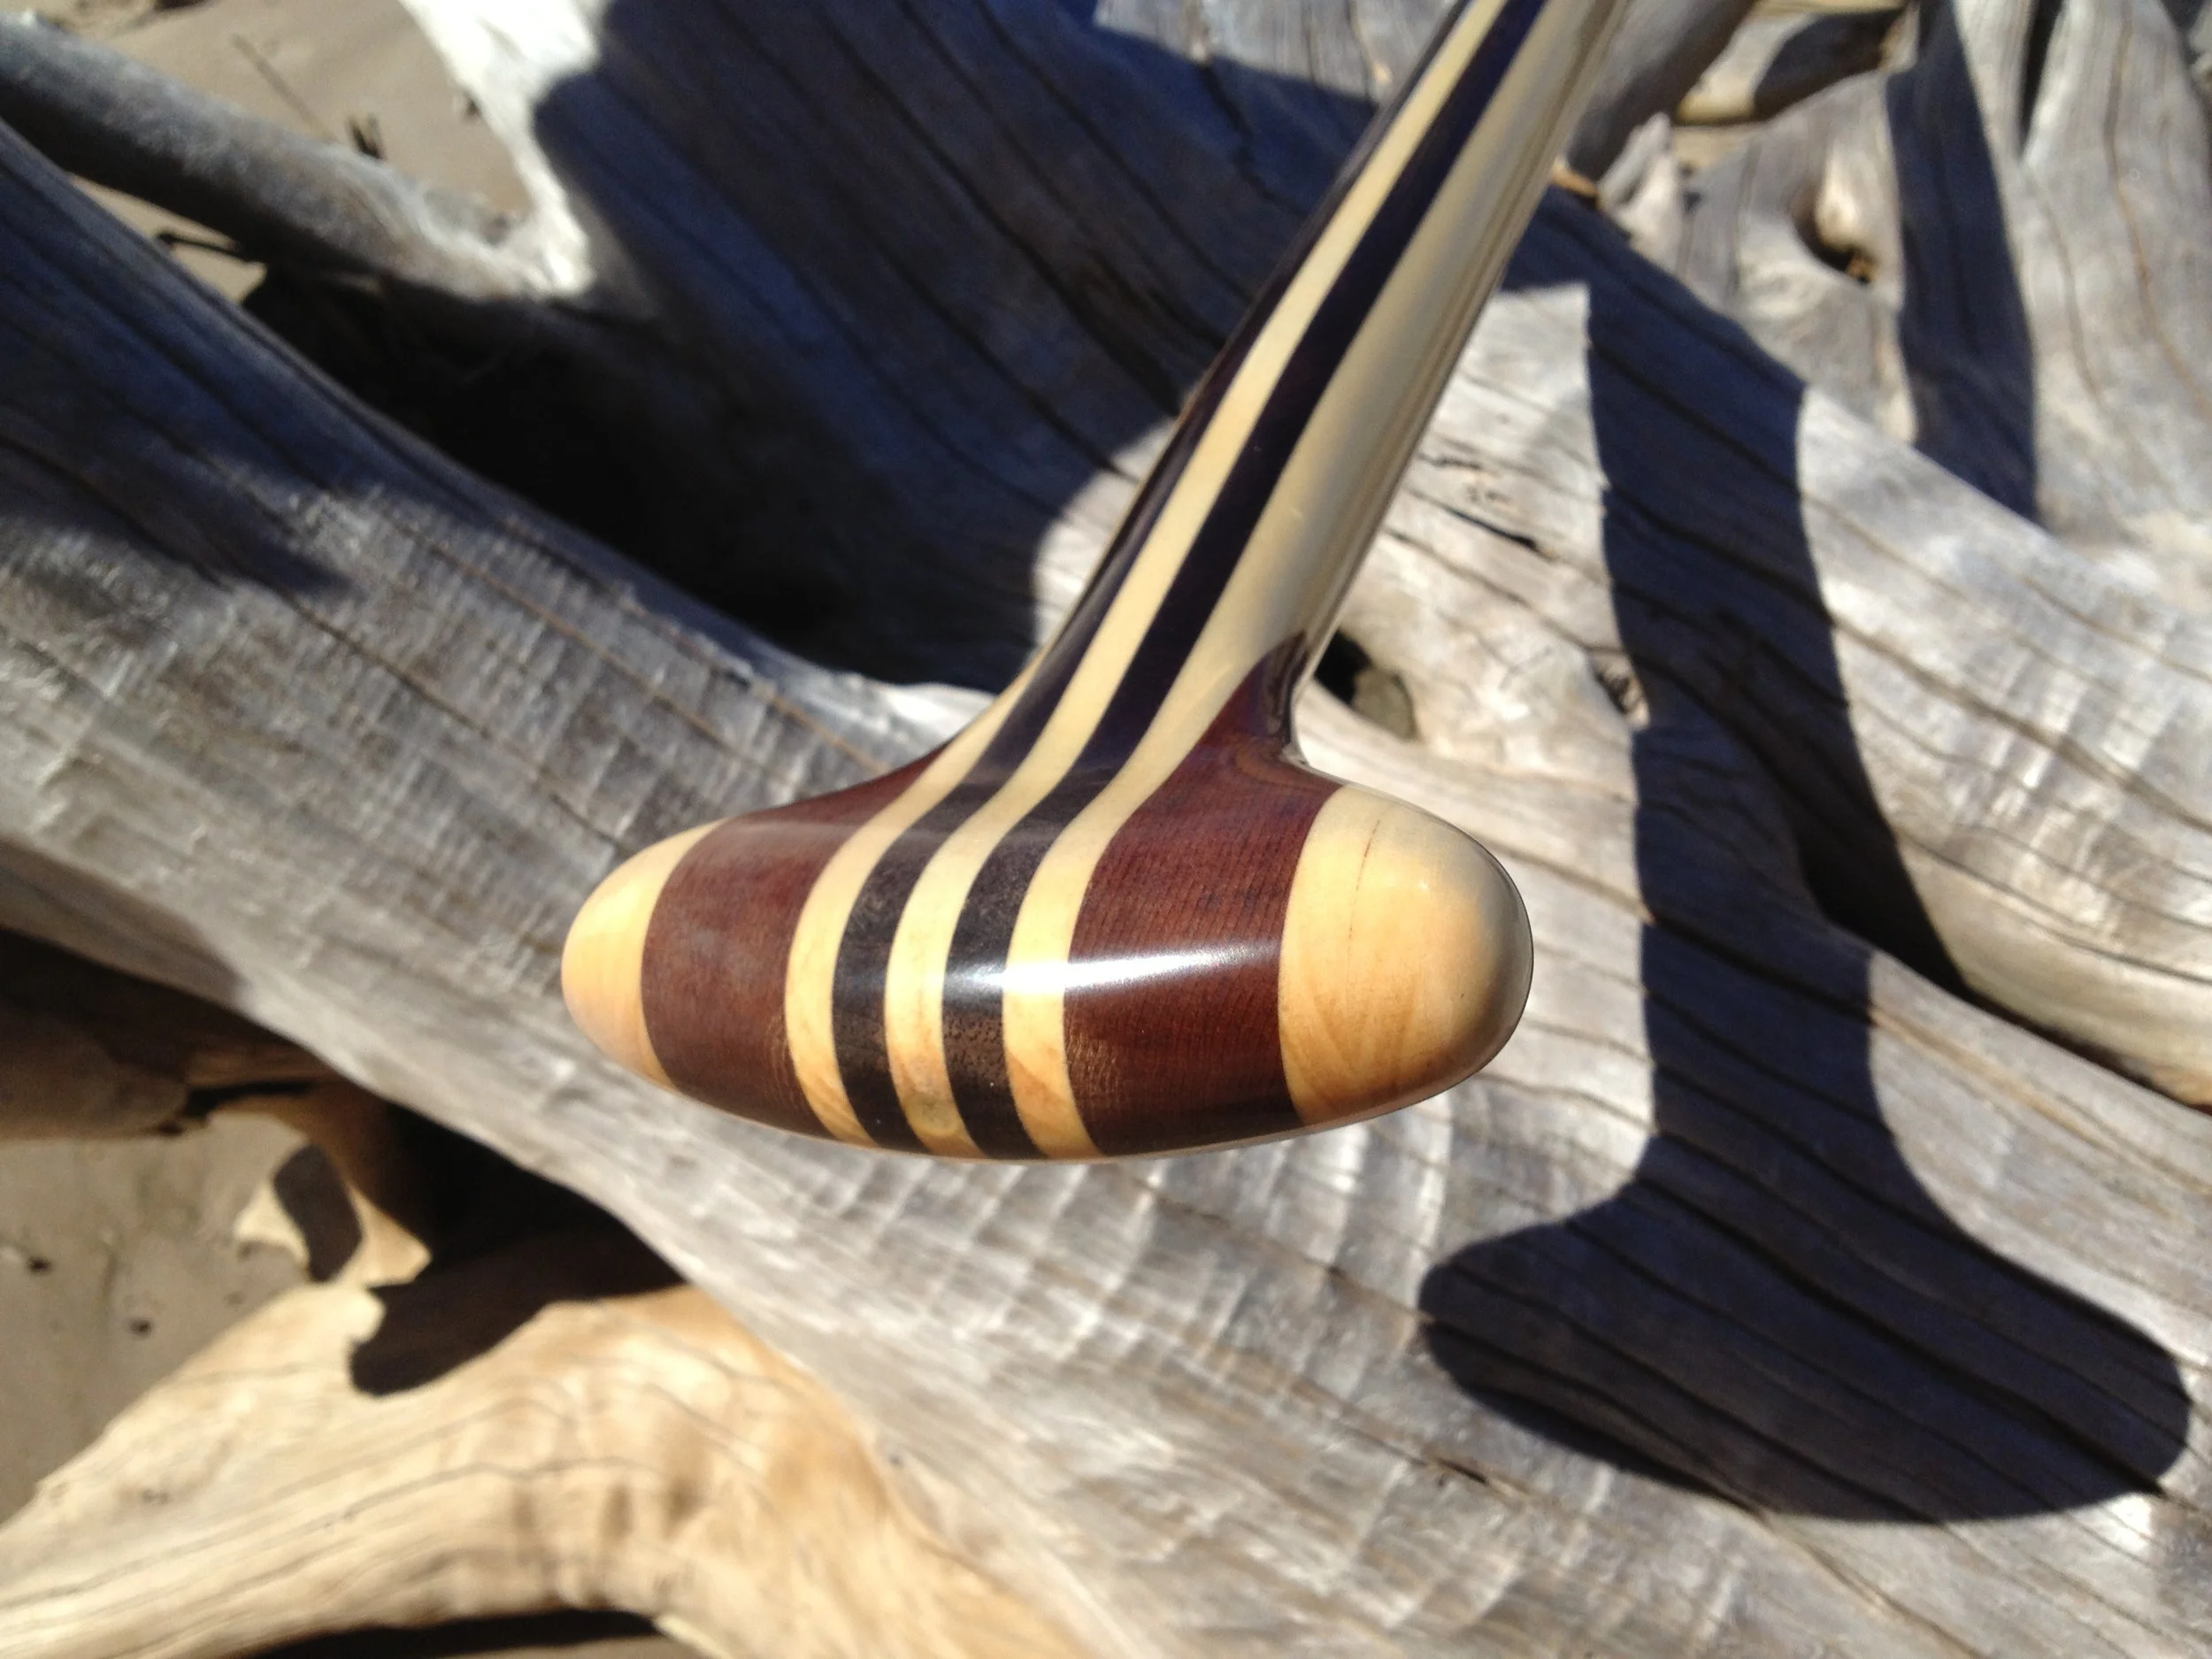
Paddle Design: Designed the paddle by researching the most versatile size, shape, and angle of the paddle blade along with the proper length of the entire paddle based on my height.
Construction: Aspen and walnut woods were stacked and glued together to create the continuous support the full length of the paddle. Cedar wood was used for the sides of the blade and handle.
Shaping: Formed the shape of the paddle, handle, and shaft using various hand planes and finished by sanding.
Finishing: Applied multiple layers of thin fiberglass cloth leaving extra overlapping the blade to protect an strengthen the thin wood edges. Followed by a thick sealing coat of epoxy resin over the entire paddle.
Polishing: Sanded and polished the final coat to a high-gloss, smooth finish.
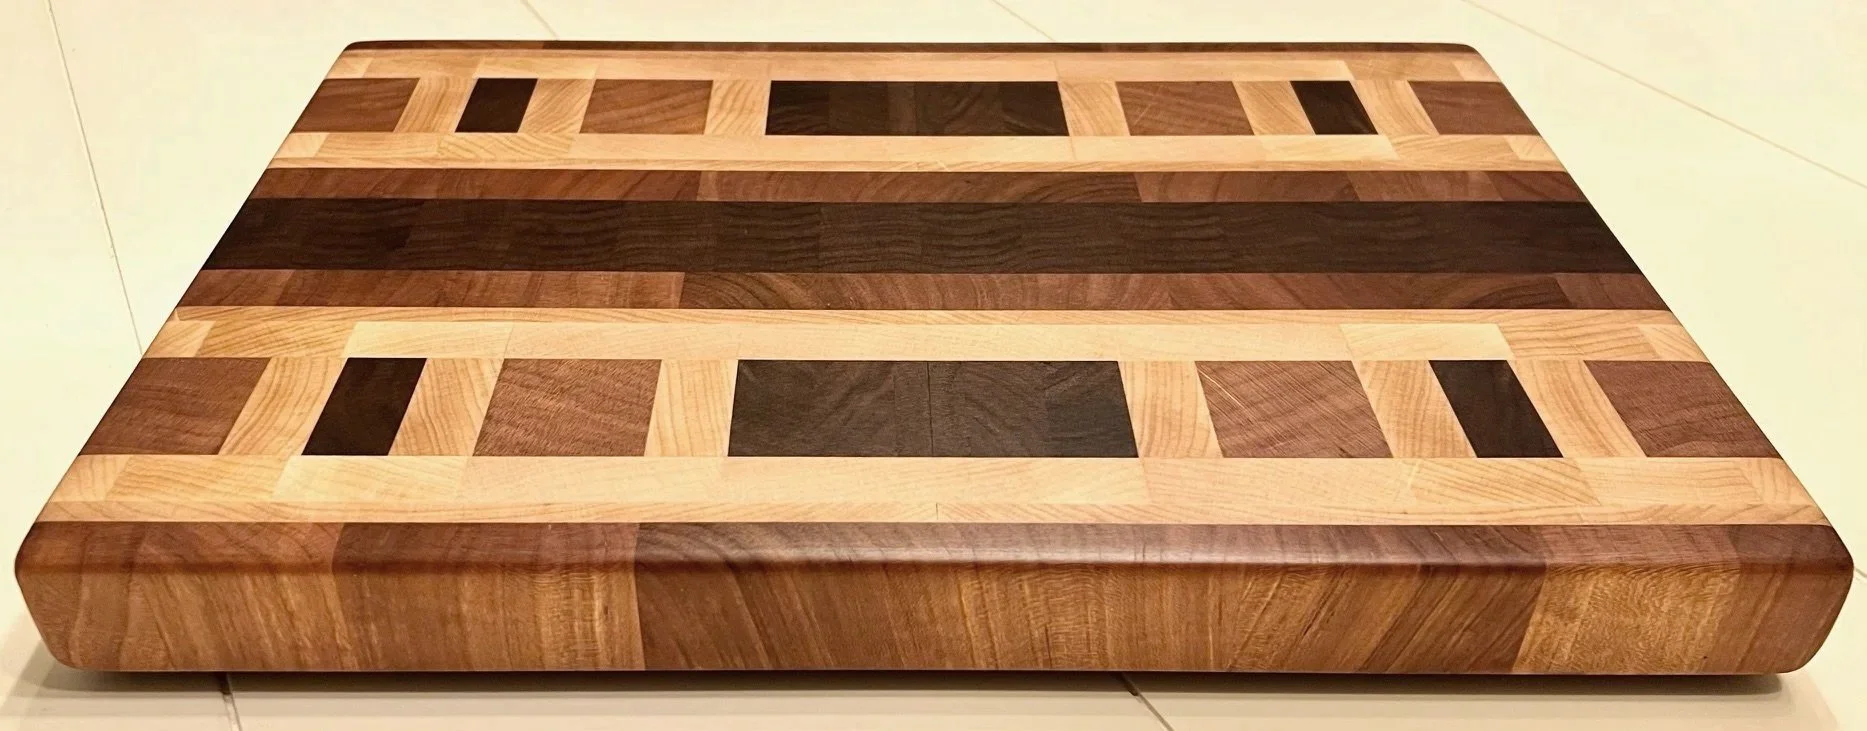
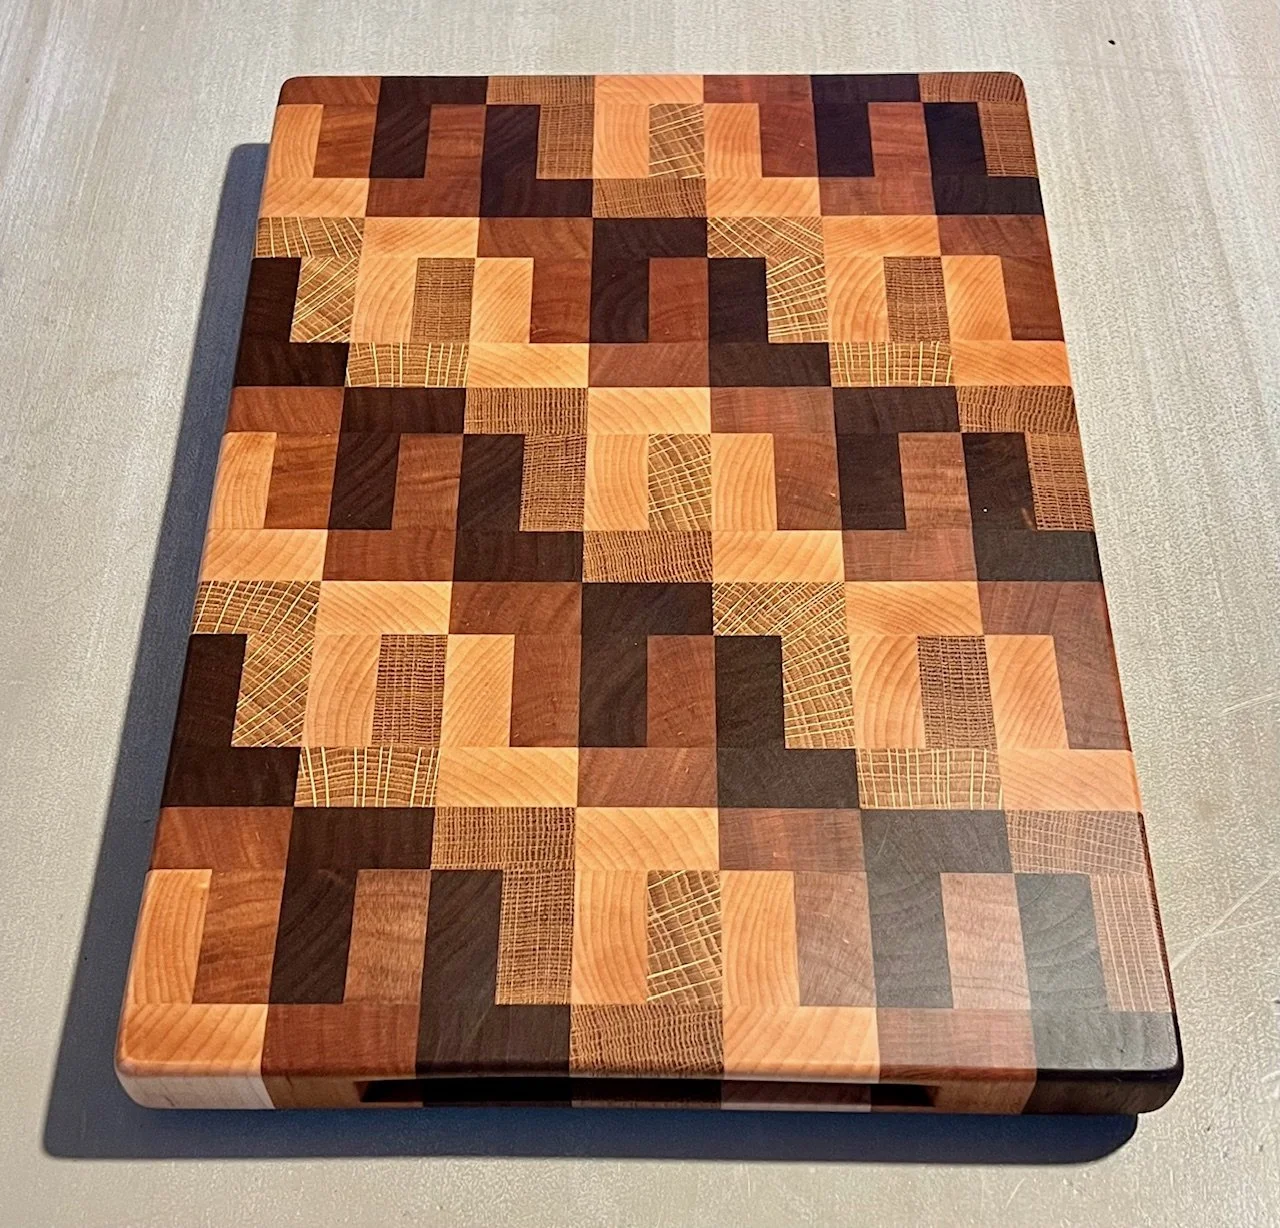
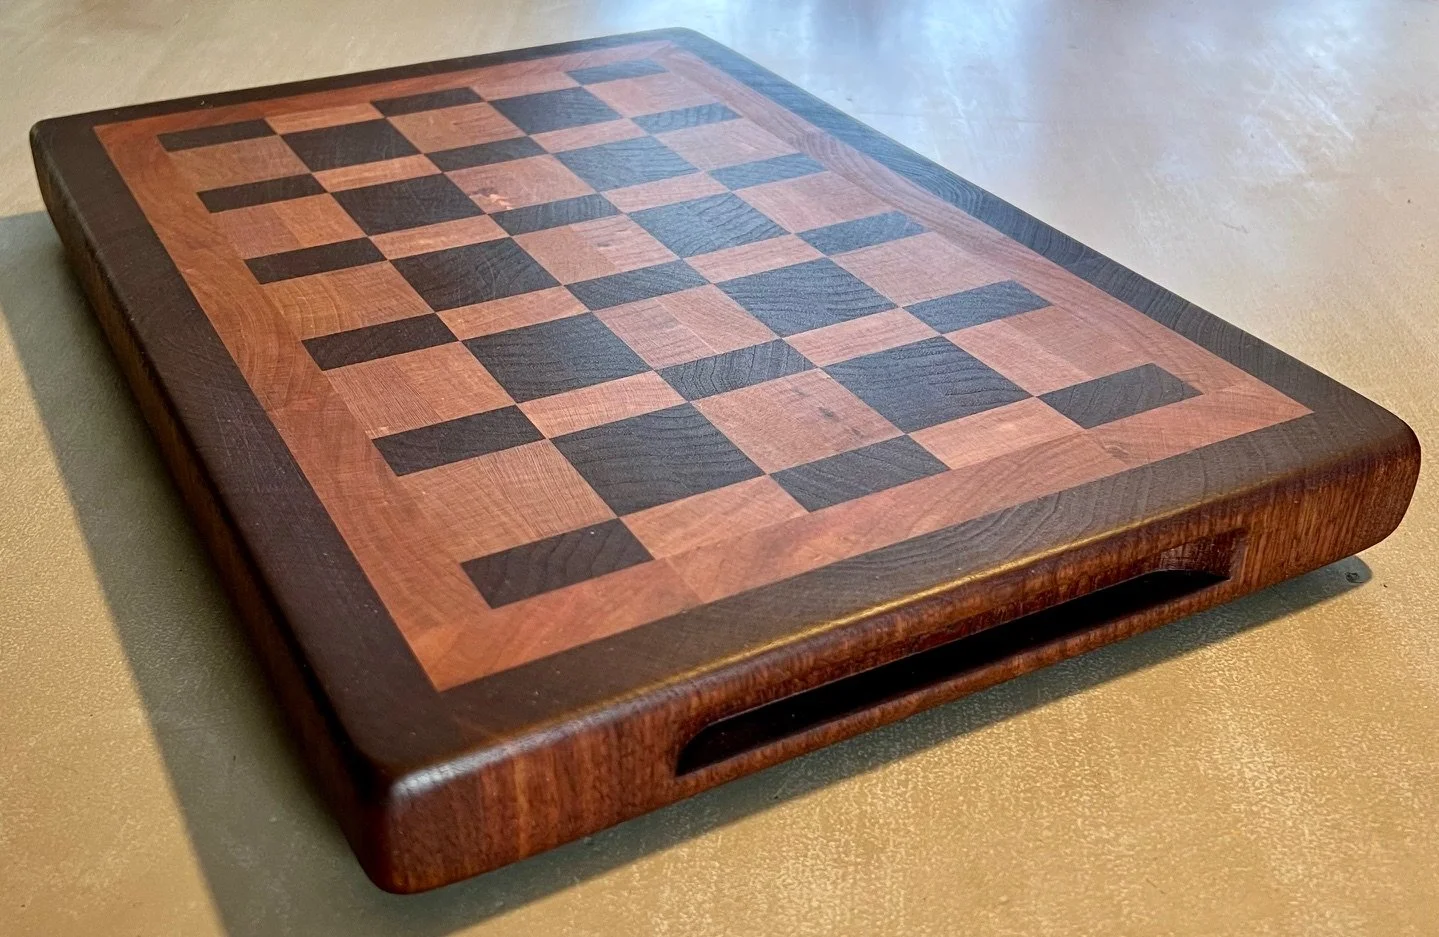
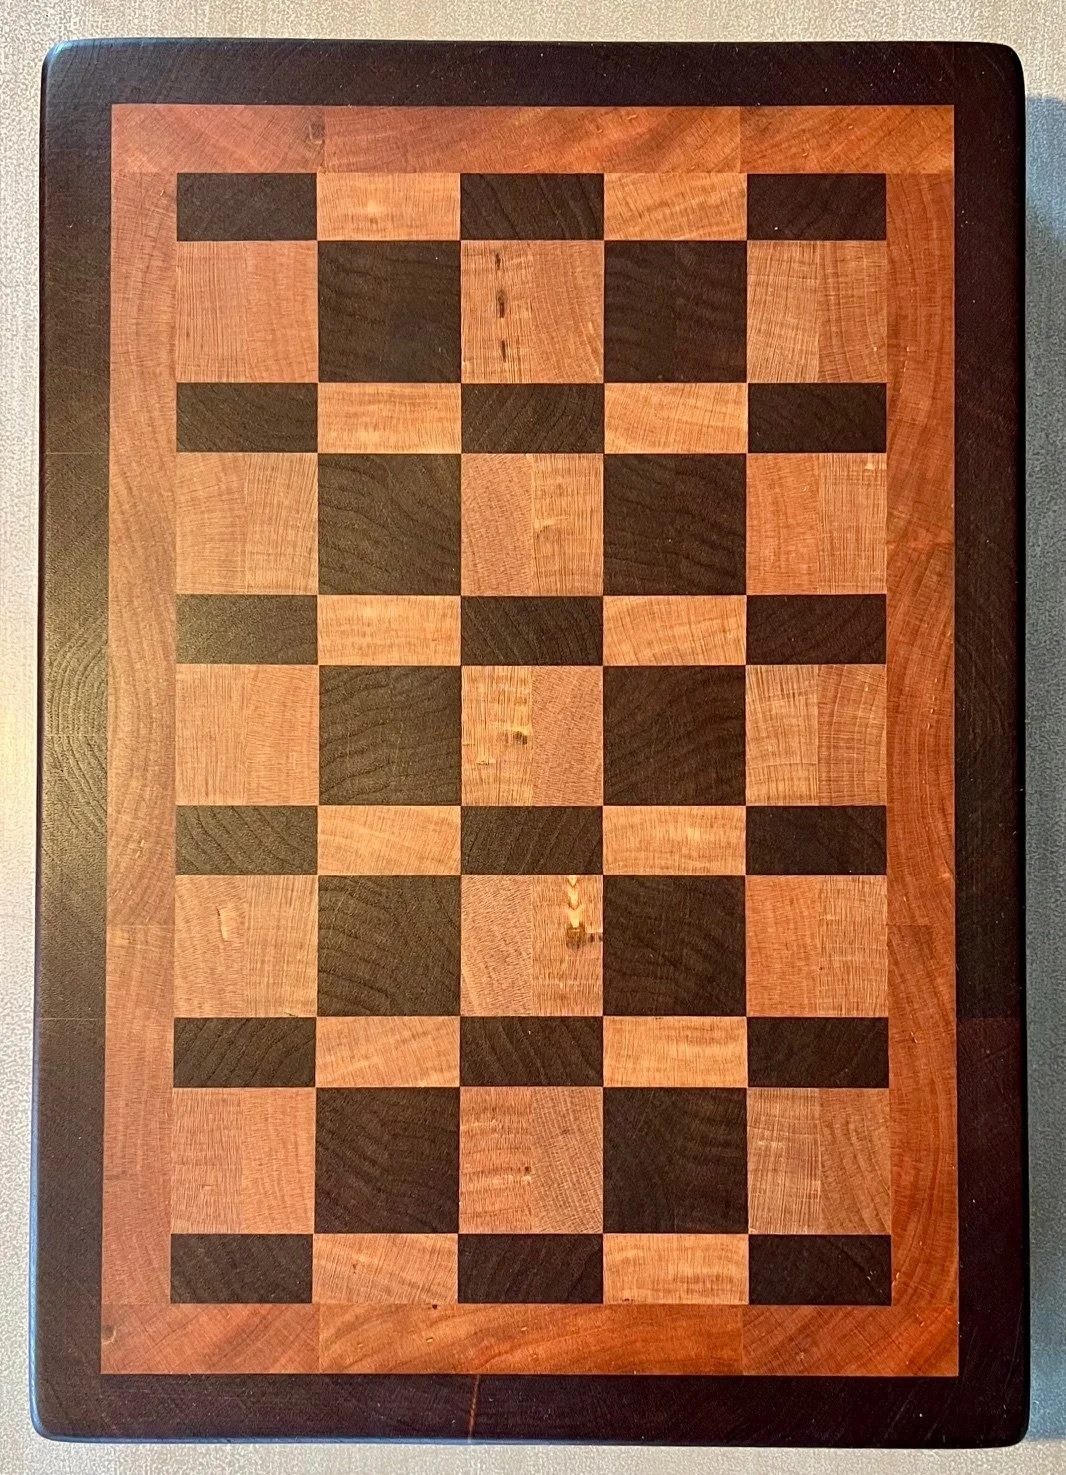
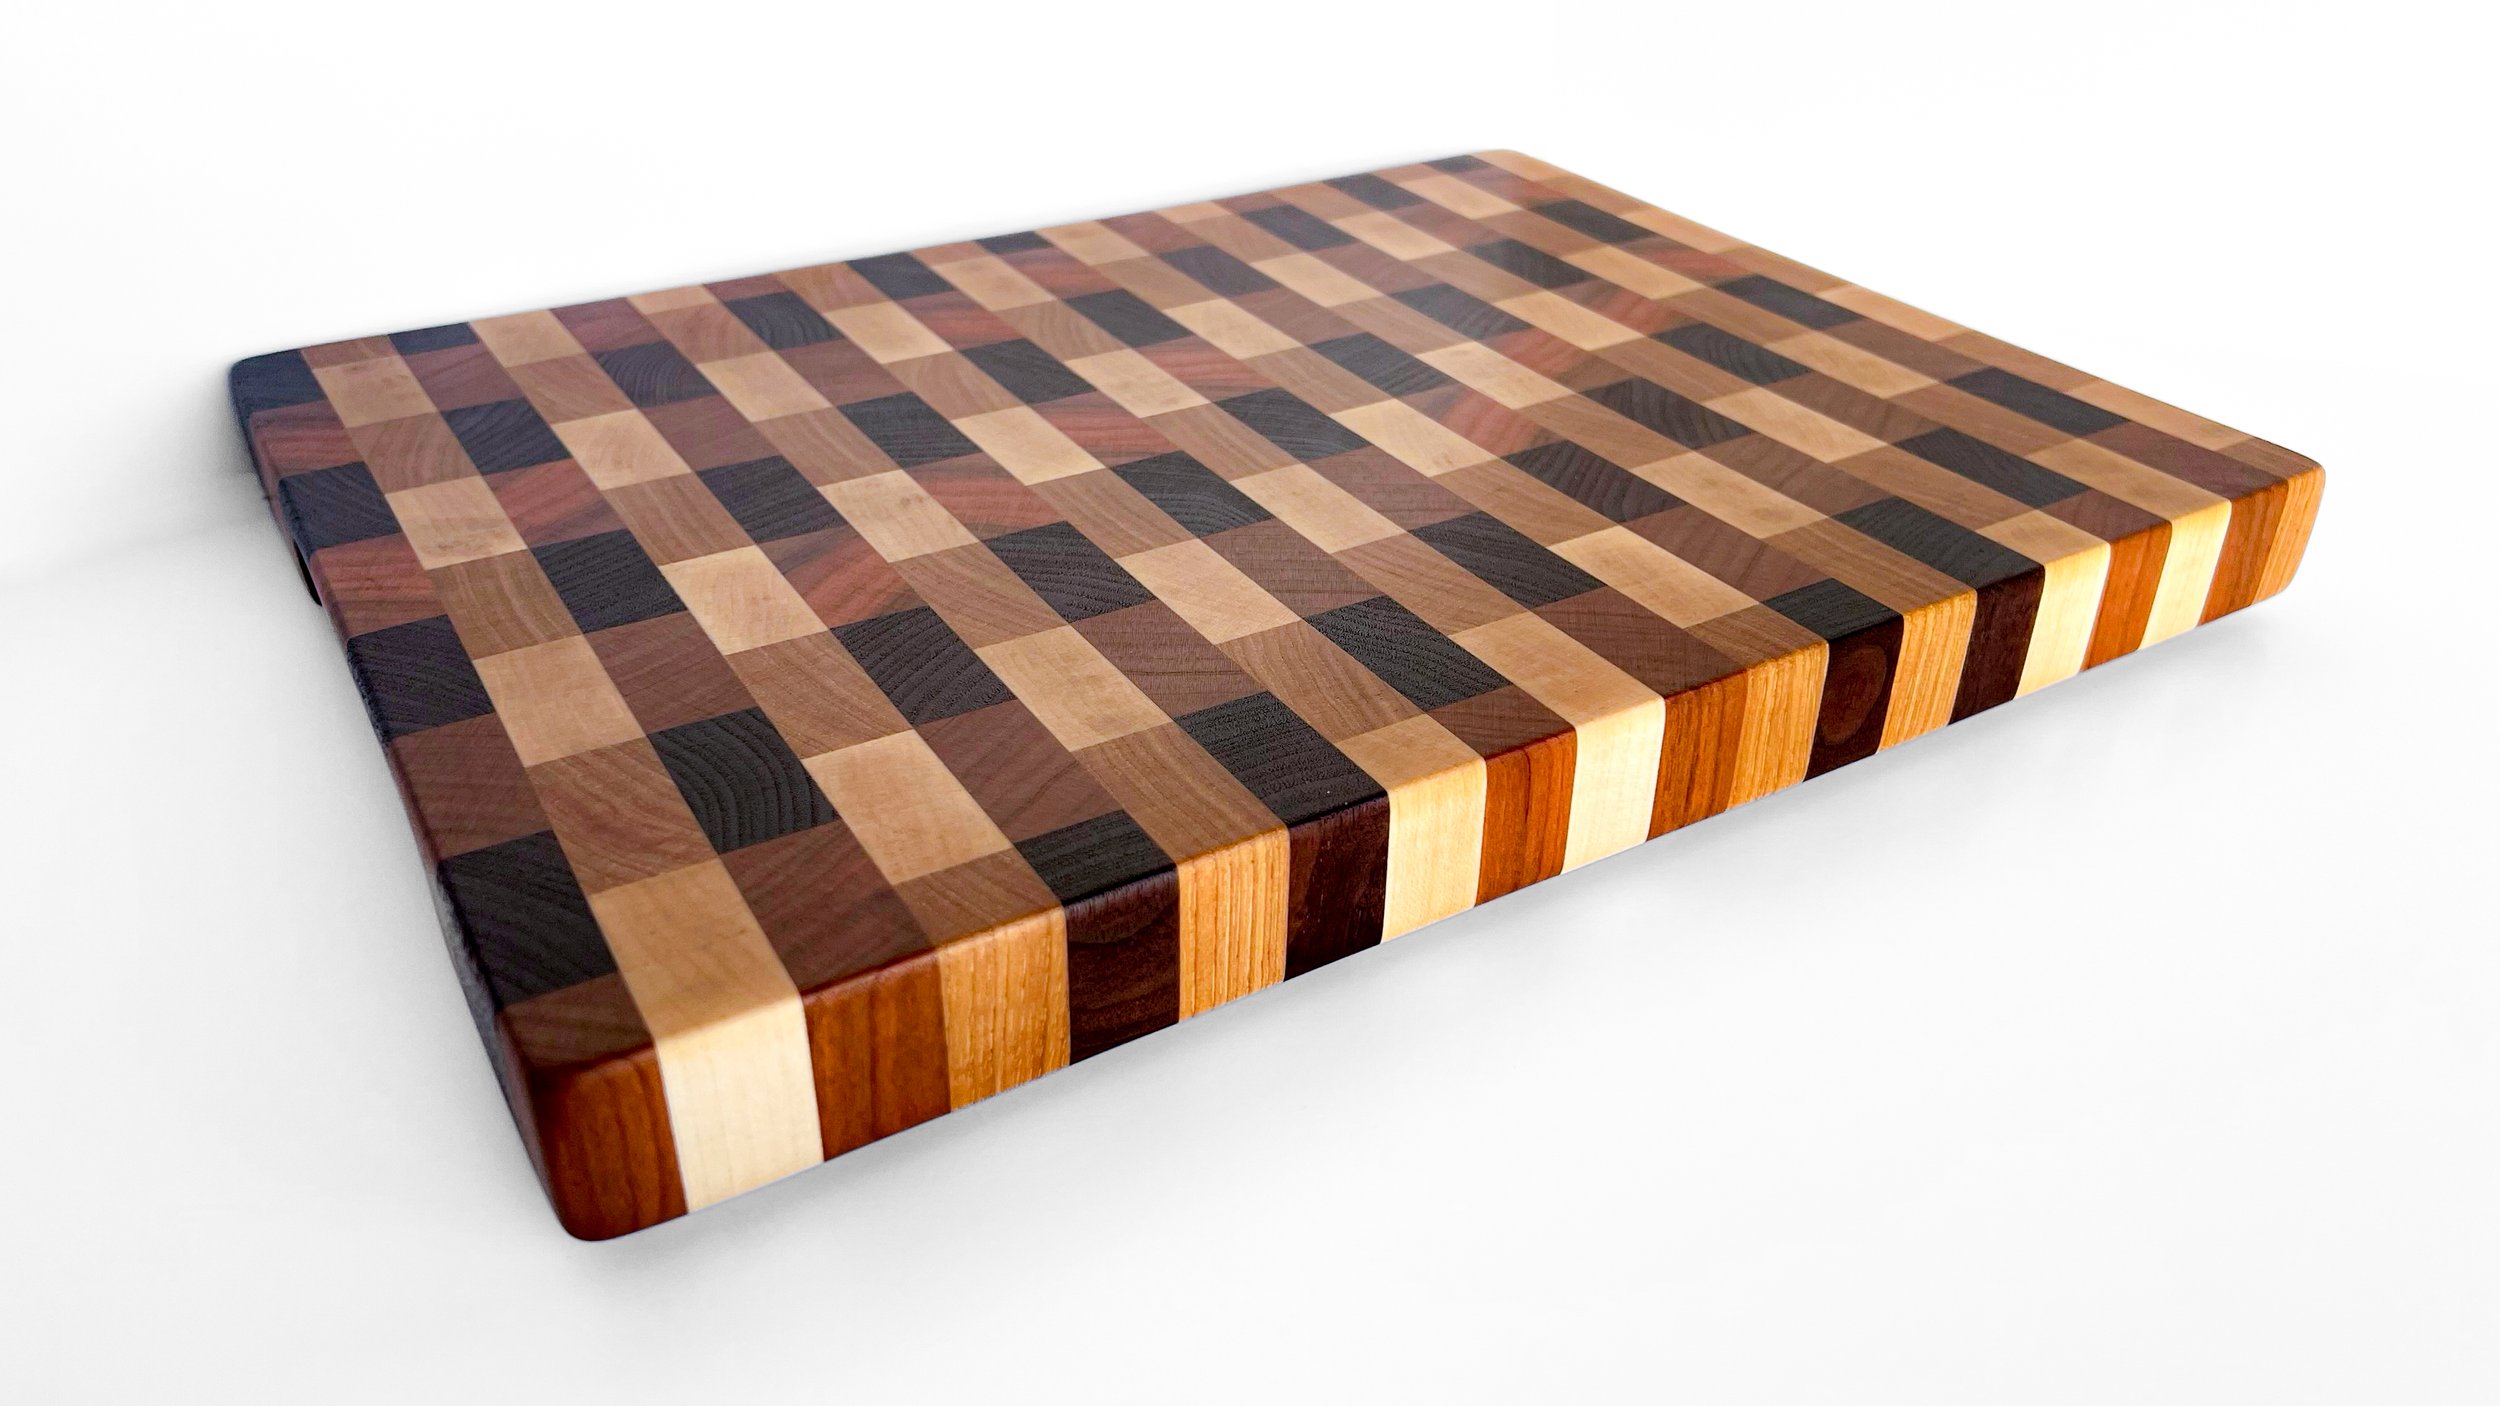
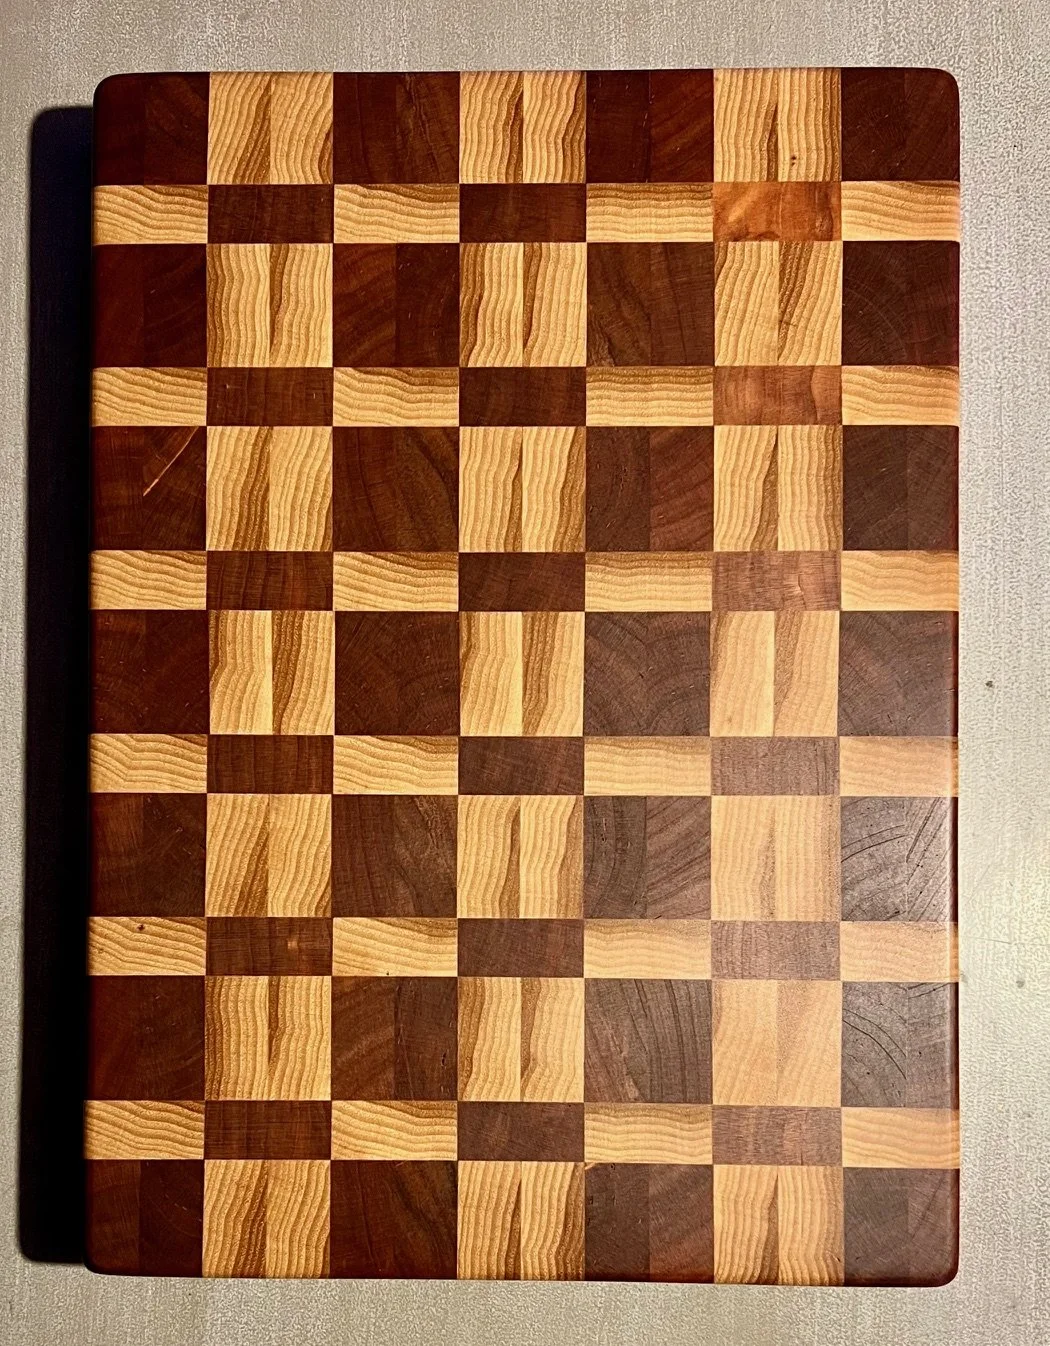
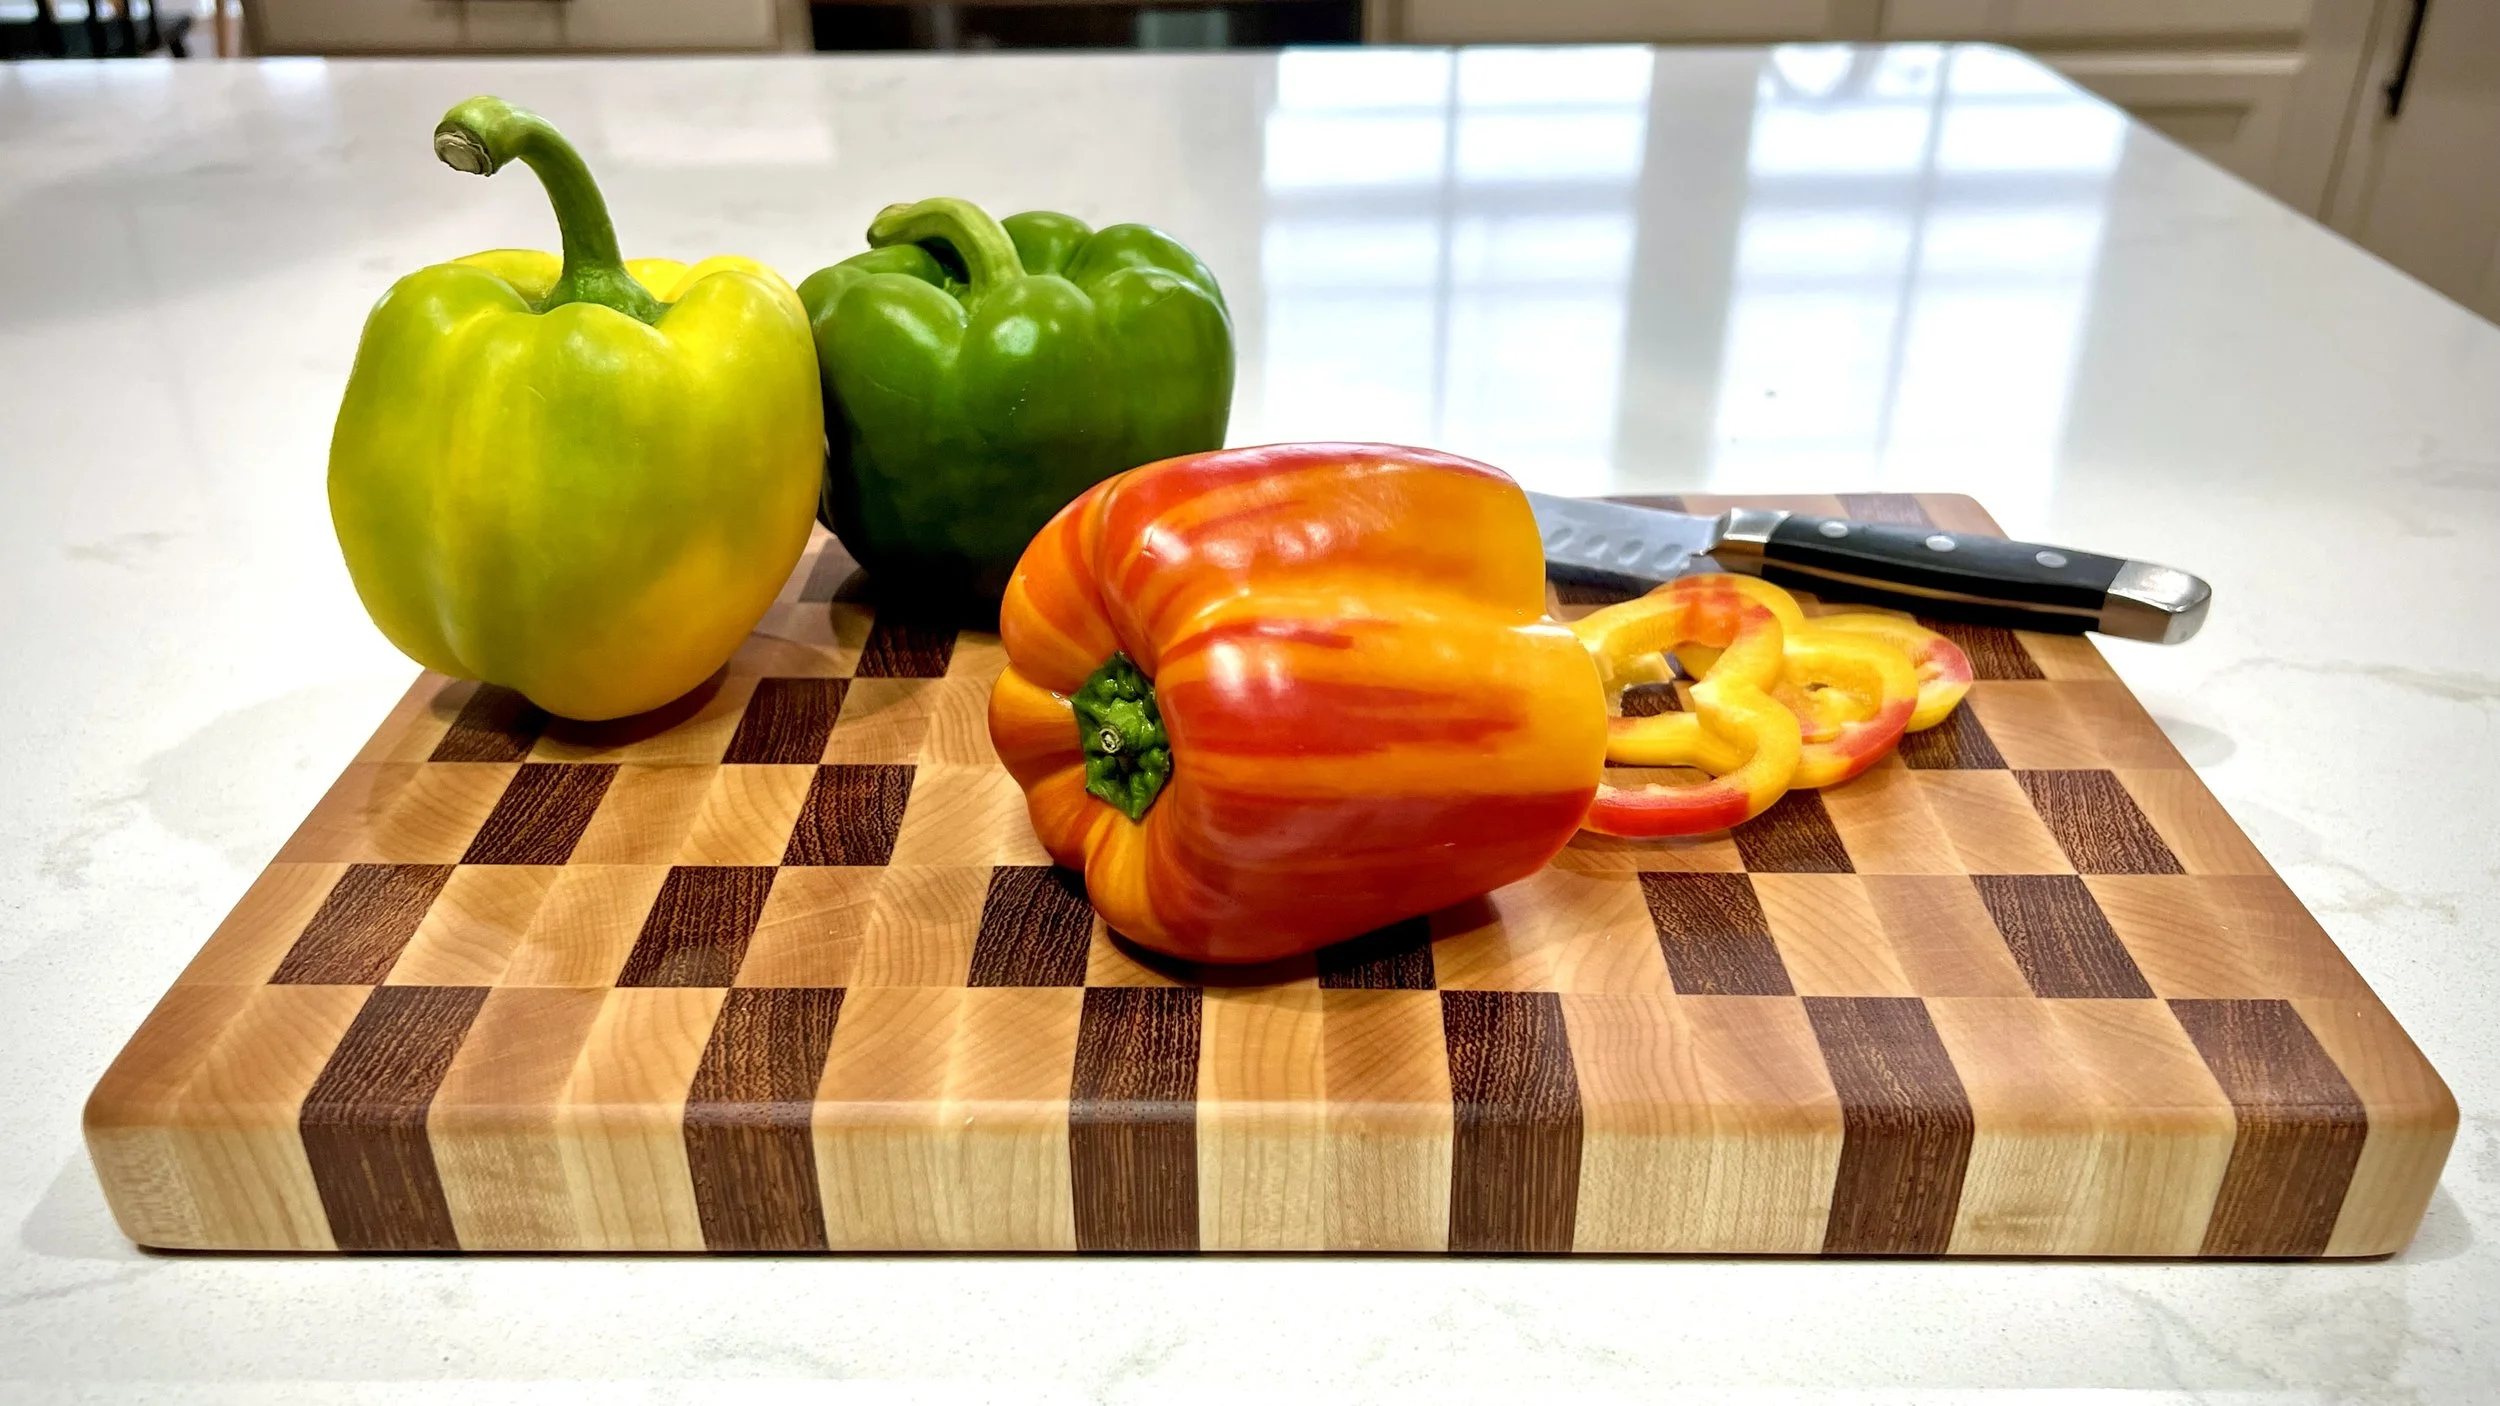
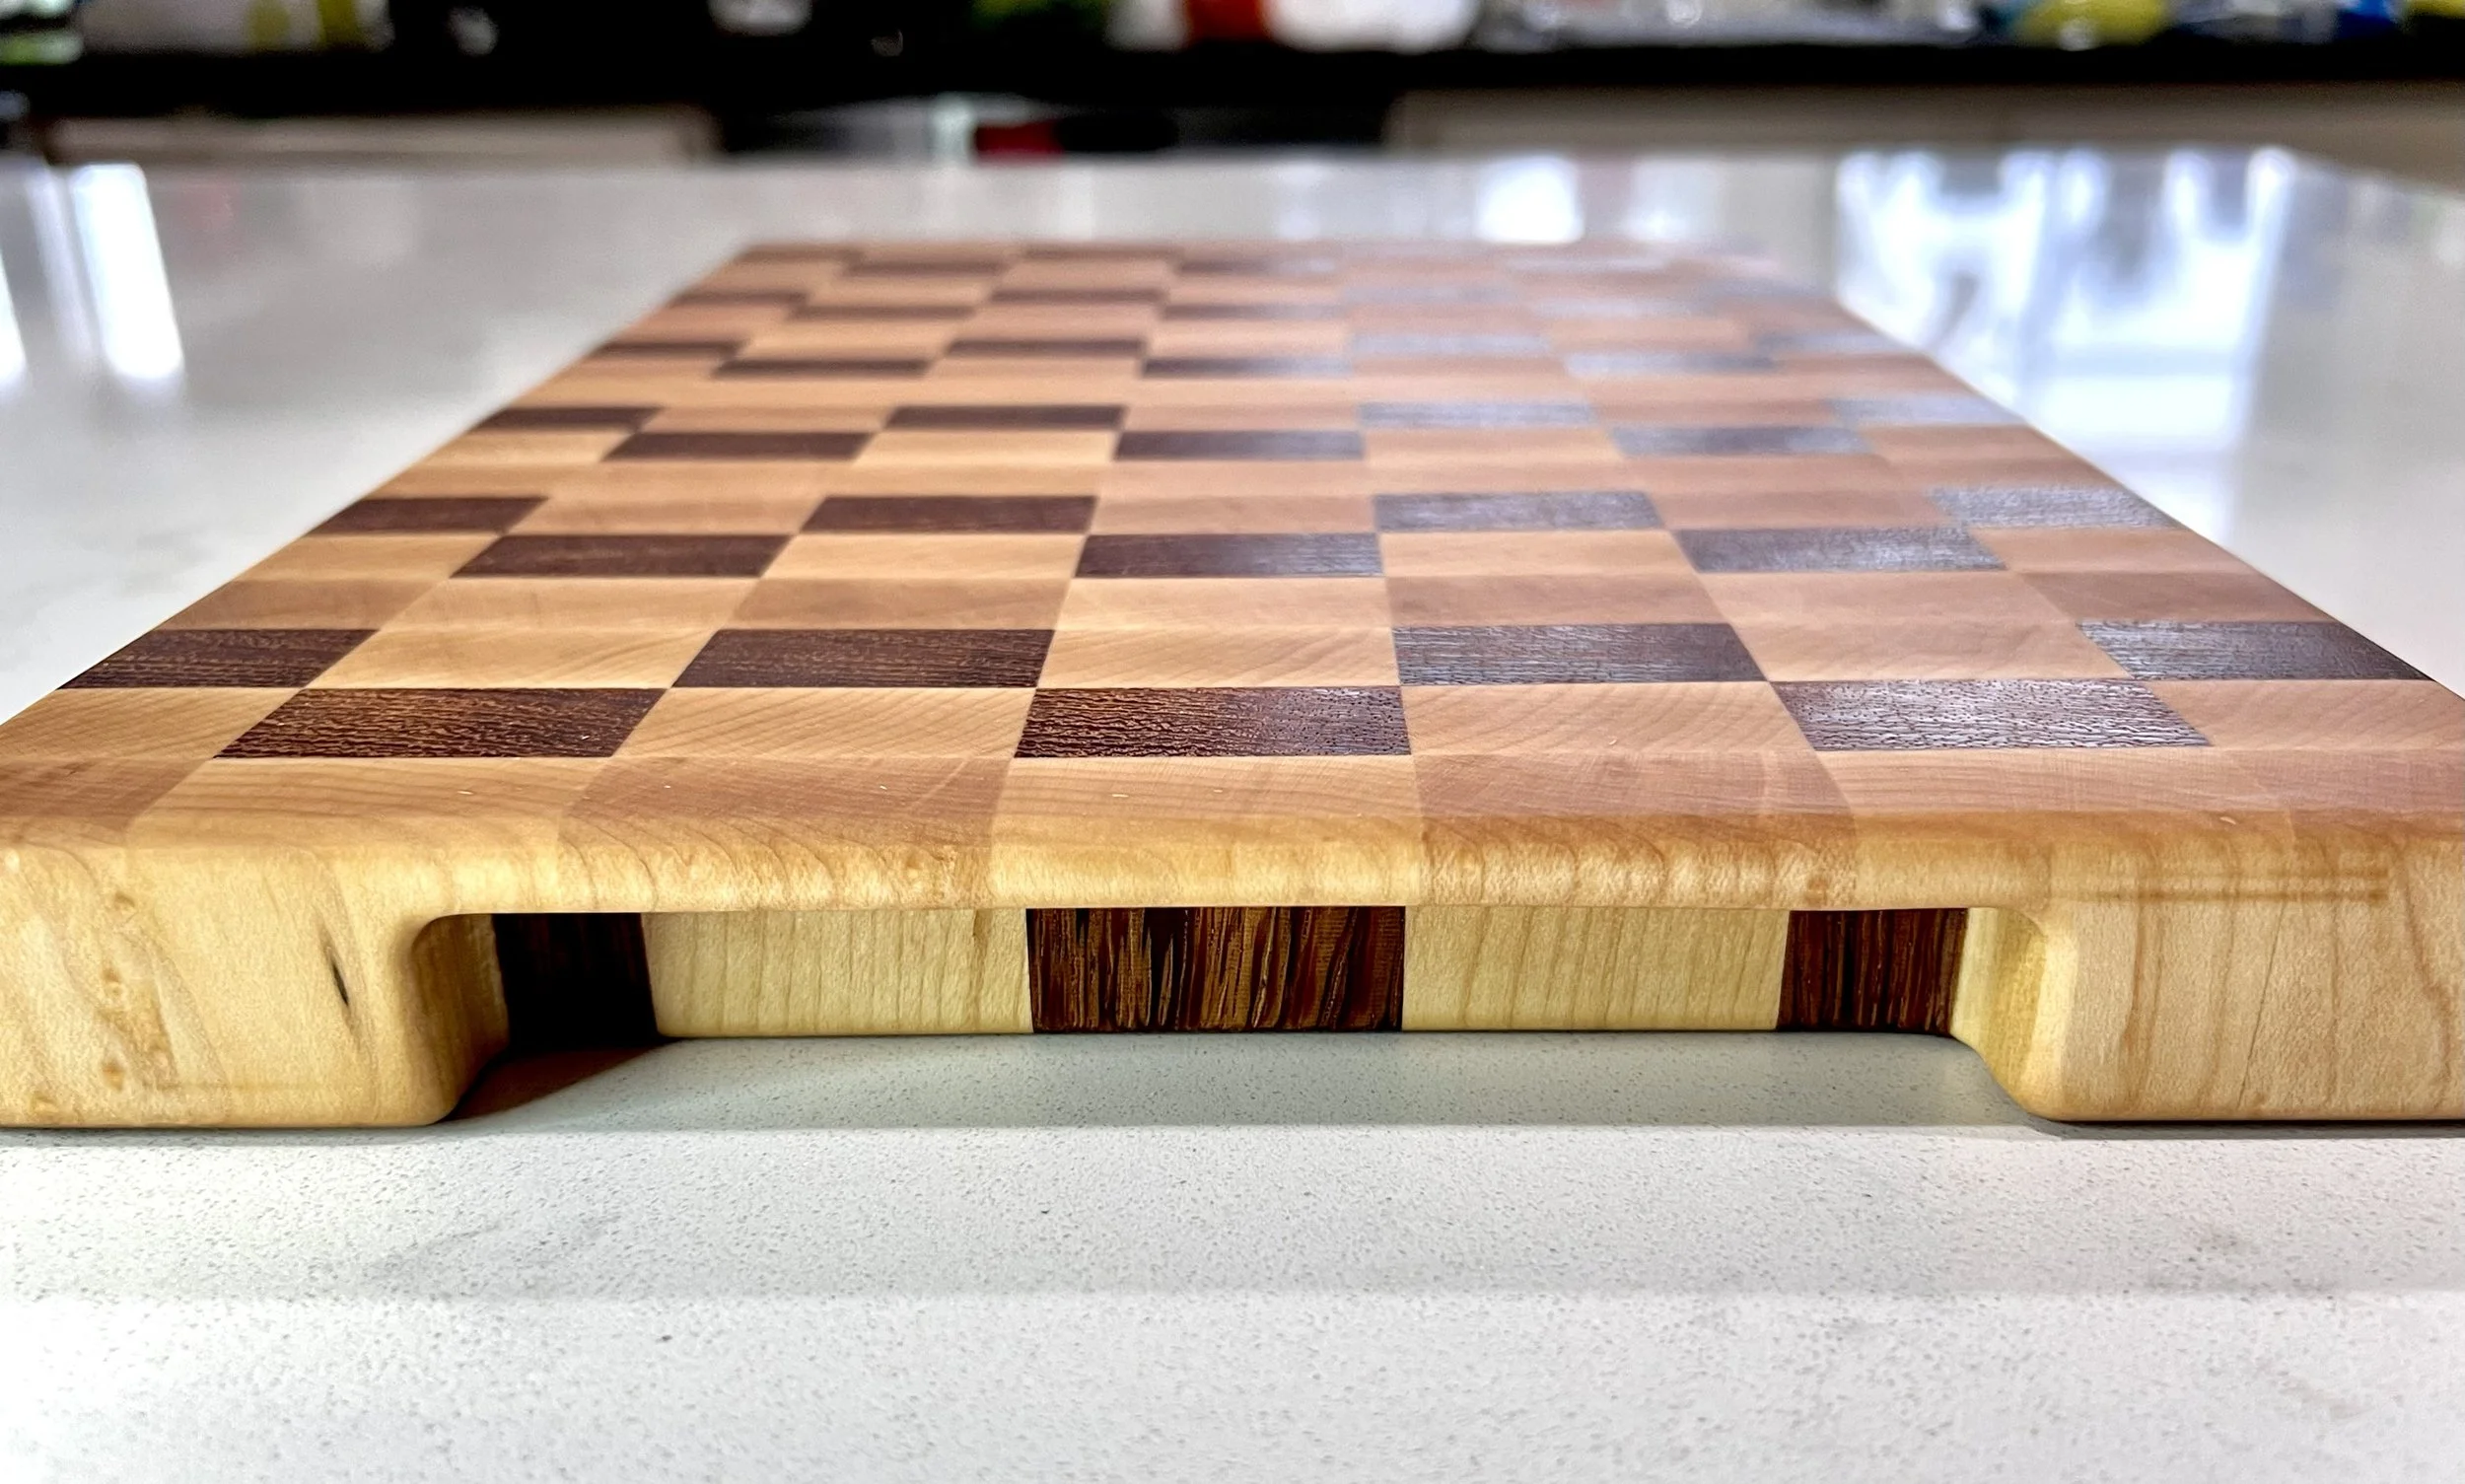
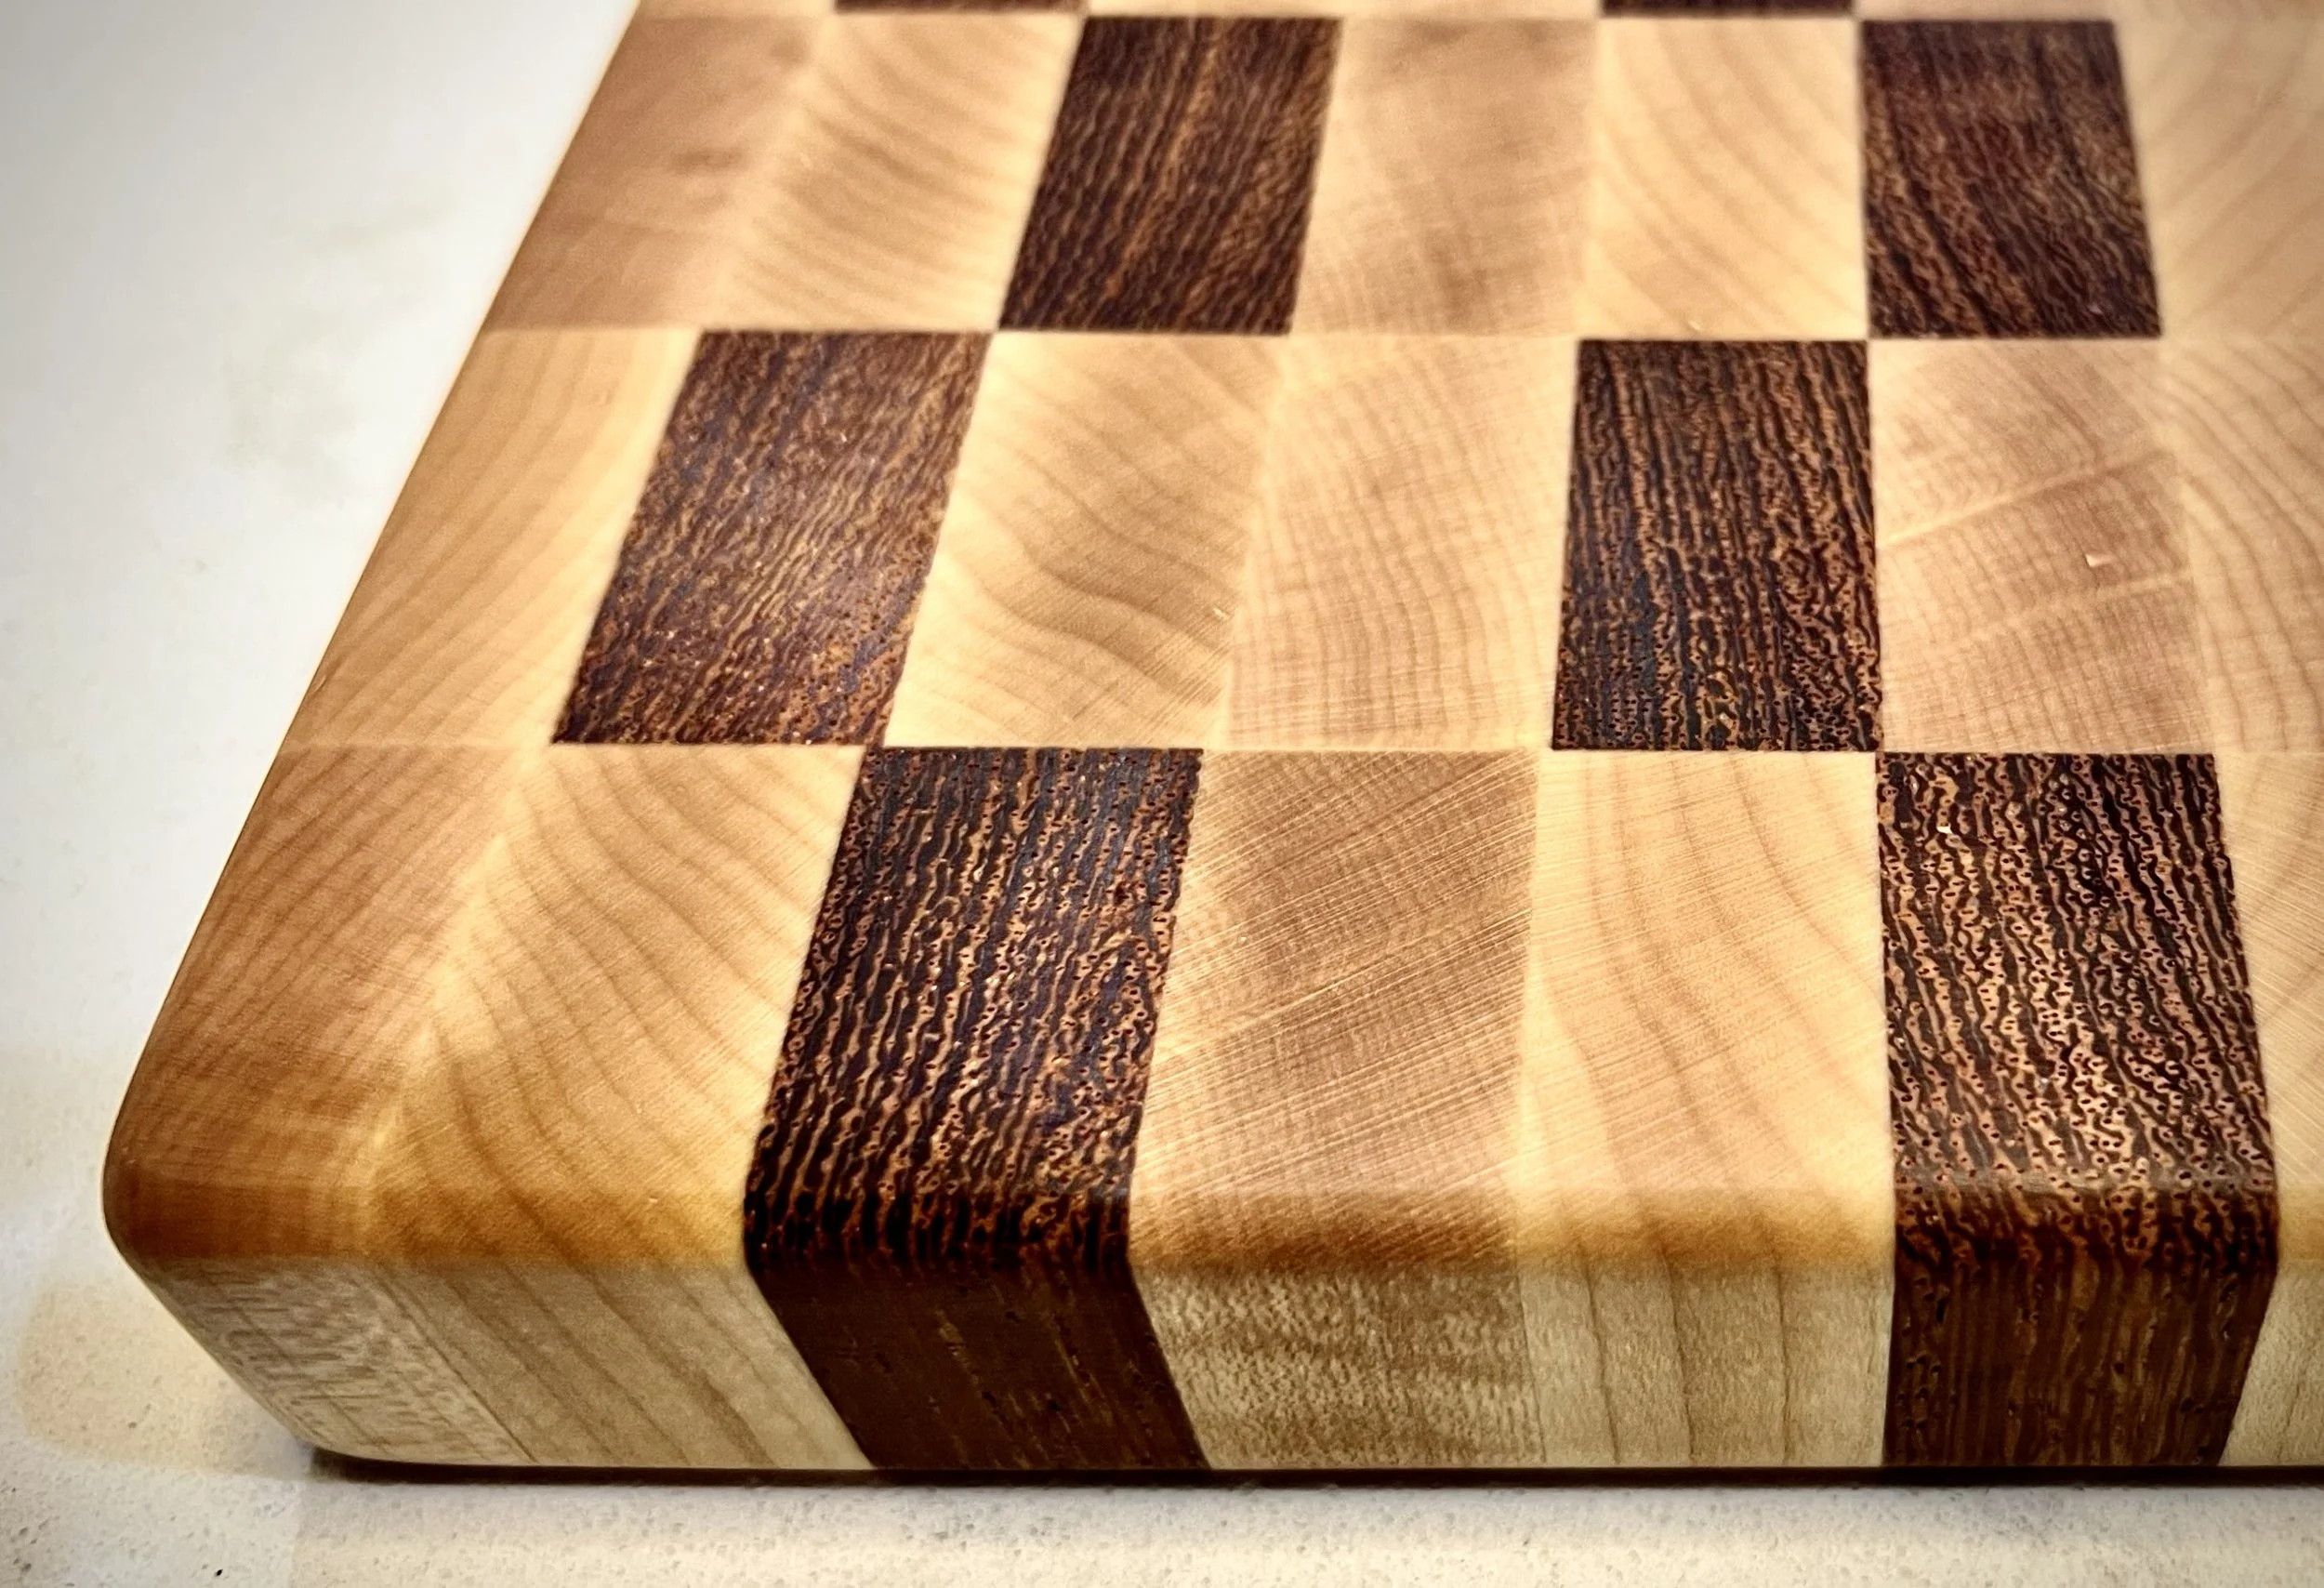
Custom-order end grain cutting boards
-
Wood: A variety of hardwoods arranged in contrasting patterns.
Adhesive: Waterproof, permanent wood glue.
Finishes: Pure linseed oil, Food-grade mineral oil, carnauba wax, pure beeswax.
Hardware: Rubber grip footpads screwed to the bottom for grip and stability and recessed handles for easy lifting.
-
Assembly: Hardwood sections are precisely cut, arranged, glued, and clamped to create an end grain surface.
Surface Prep: The board is flattened with a router sled, sharp edges are rounded, recessed handles are carved in the ends for easy lifting, and then sanded to a smooth finish.
Treating: The wood is saturated with linseed oil, excess is wiped off, left to cure and strengthen the wood fibers, a blend of mineral oil, carnauba wax, and beeswax is applied as a final top coat.
Final Details: The board is finally buffed and polished to shine. Rubber feet are installed on the bottom with stainless steel screws for traction and stability while in use.
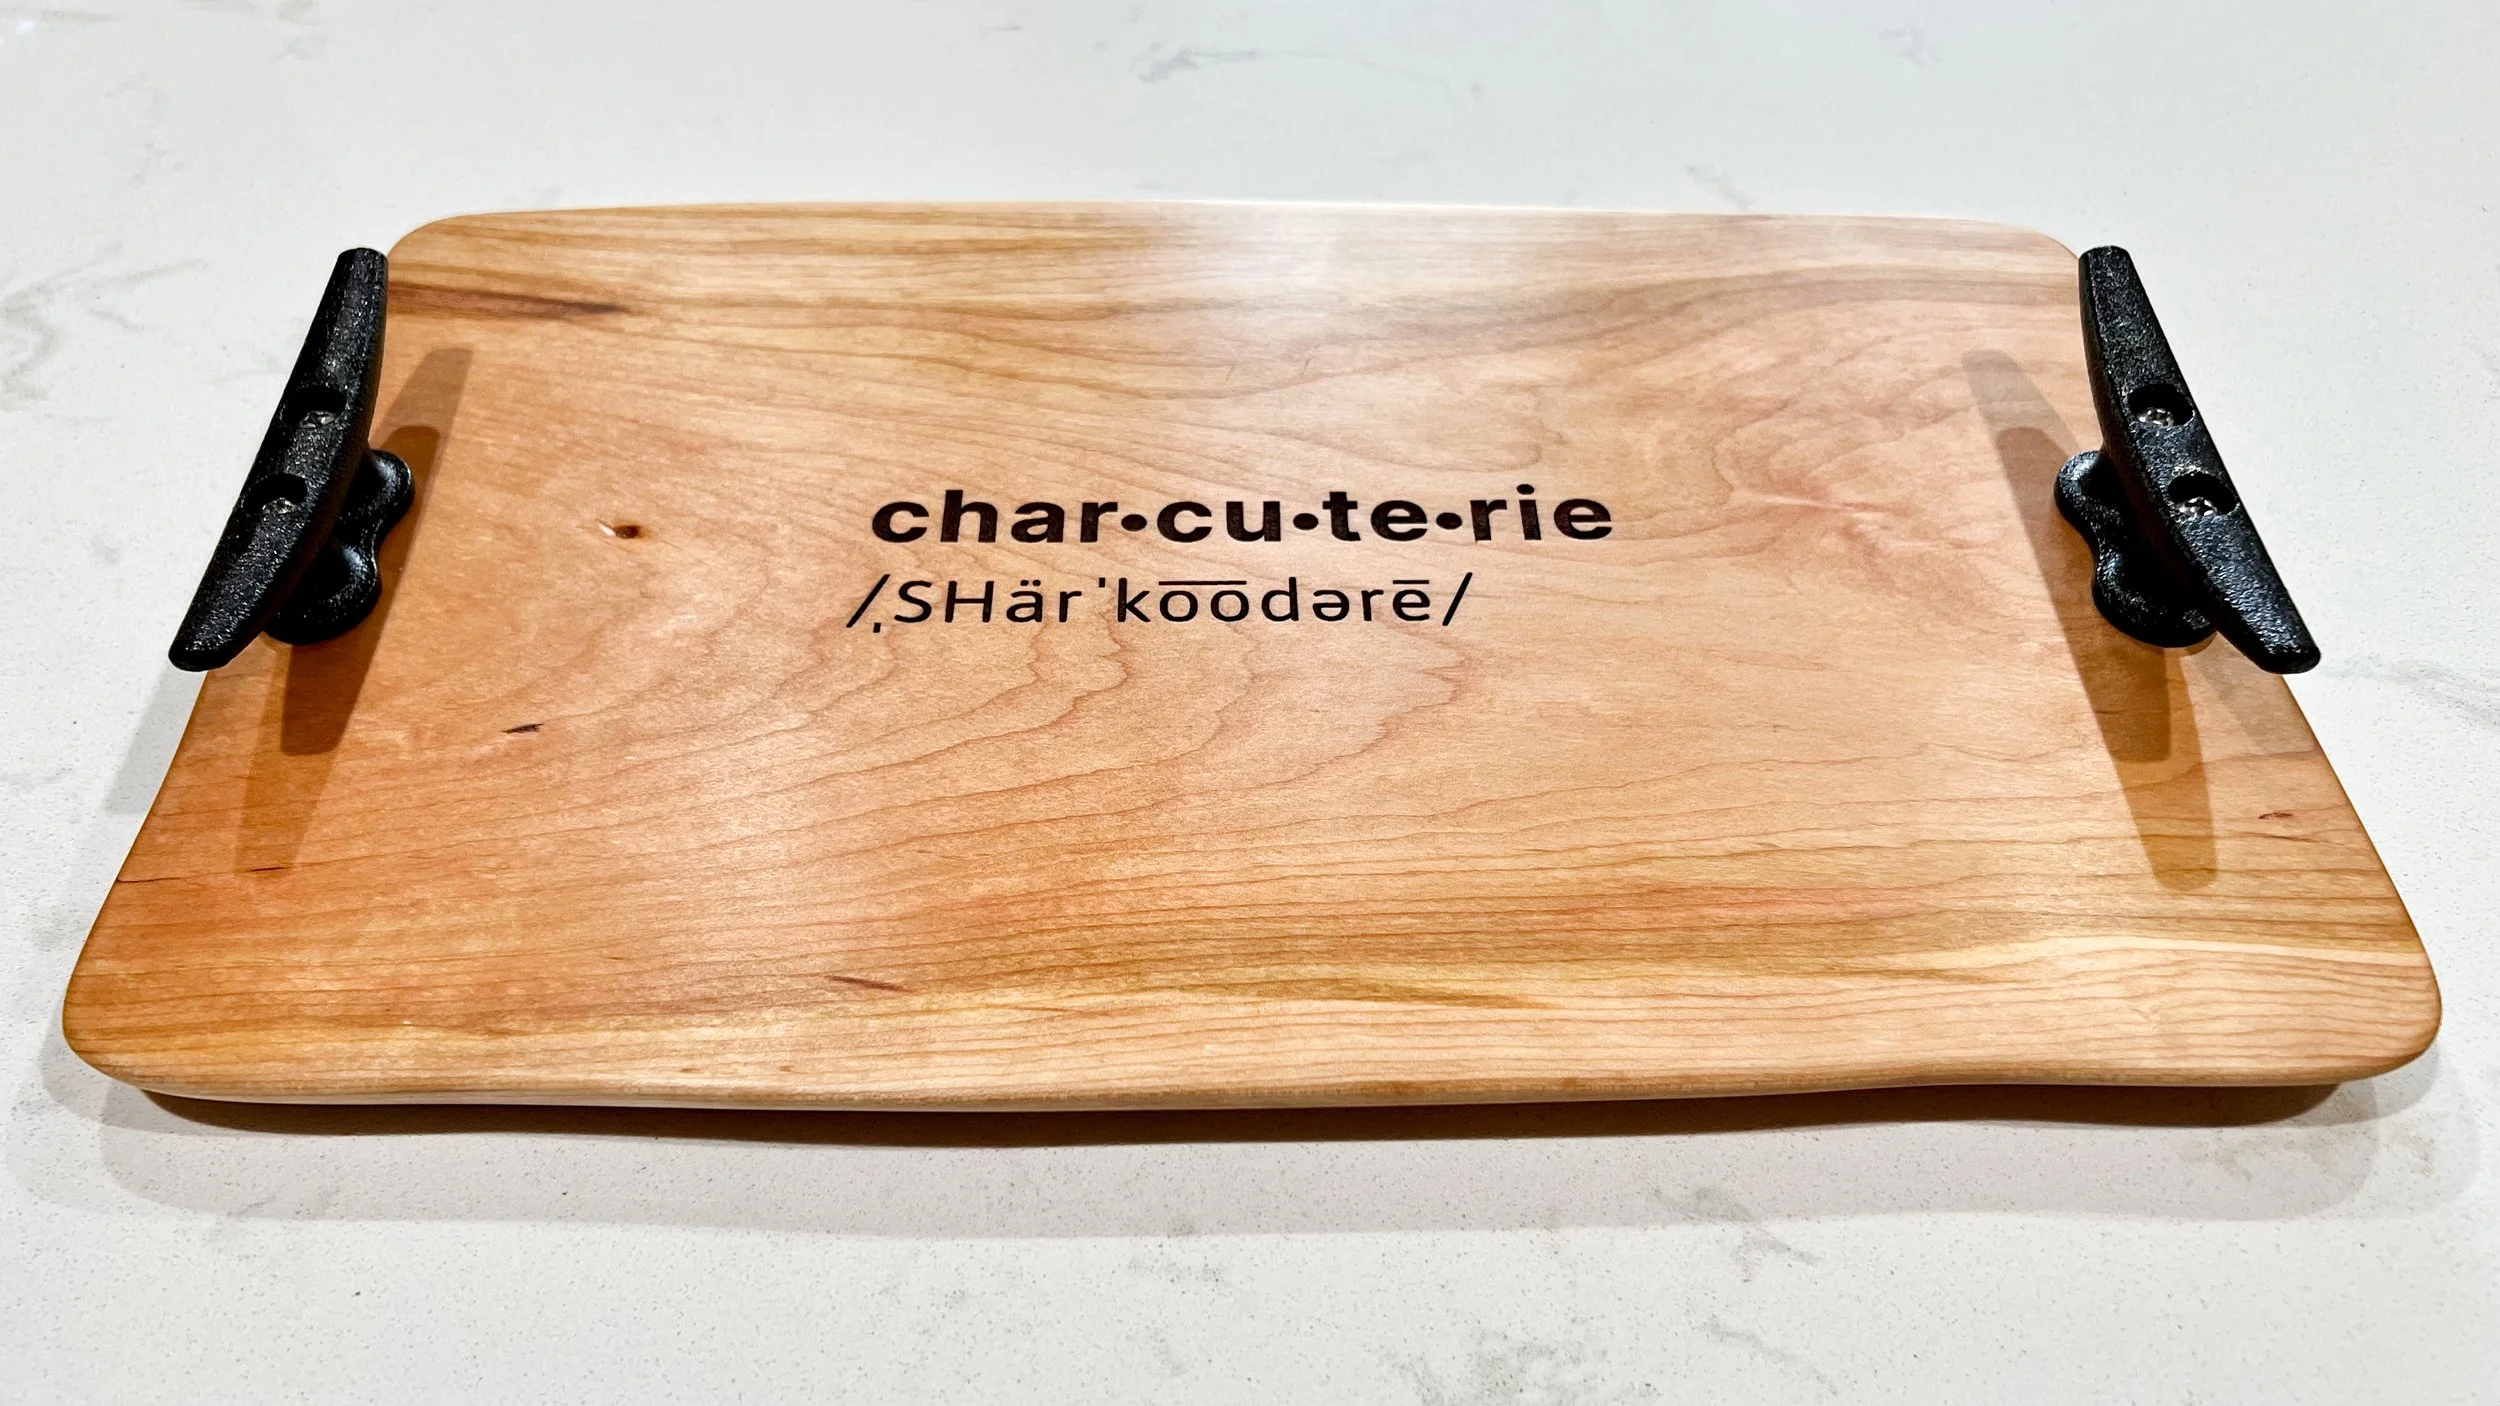
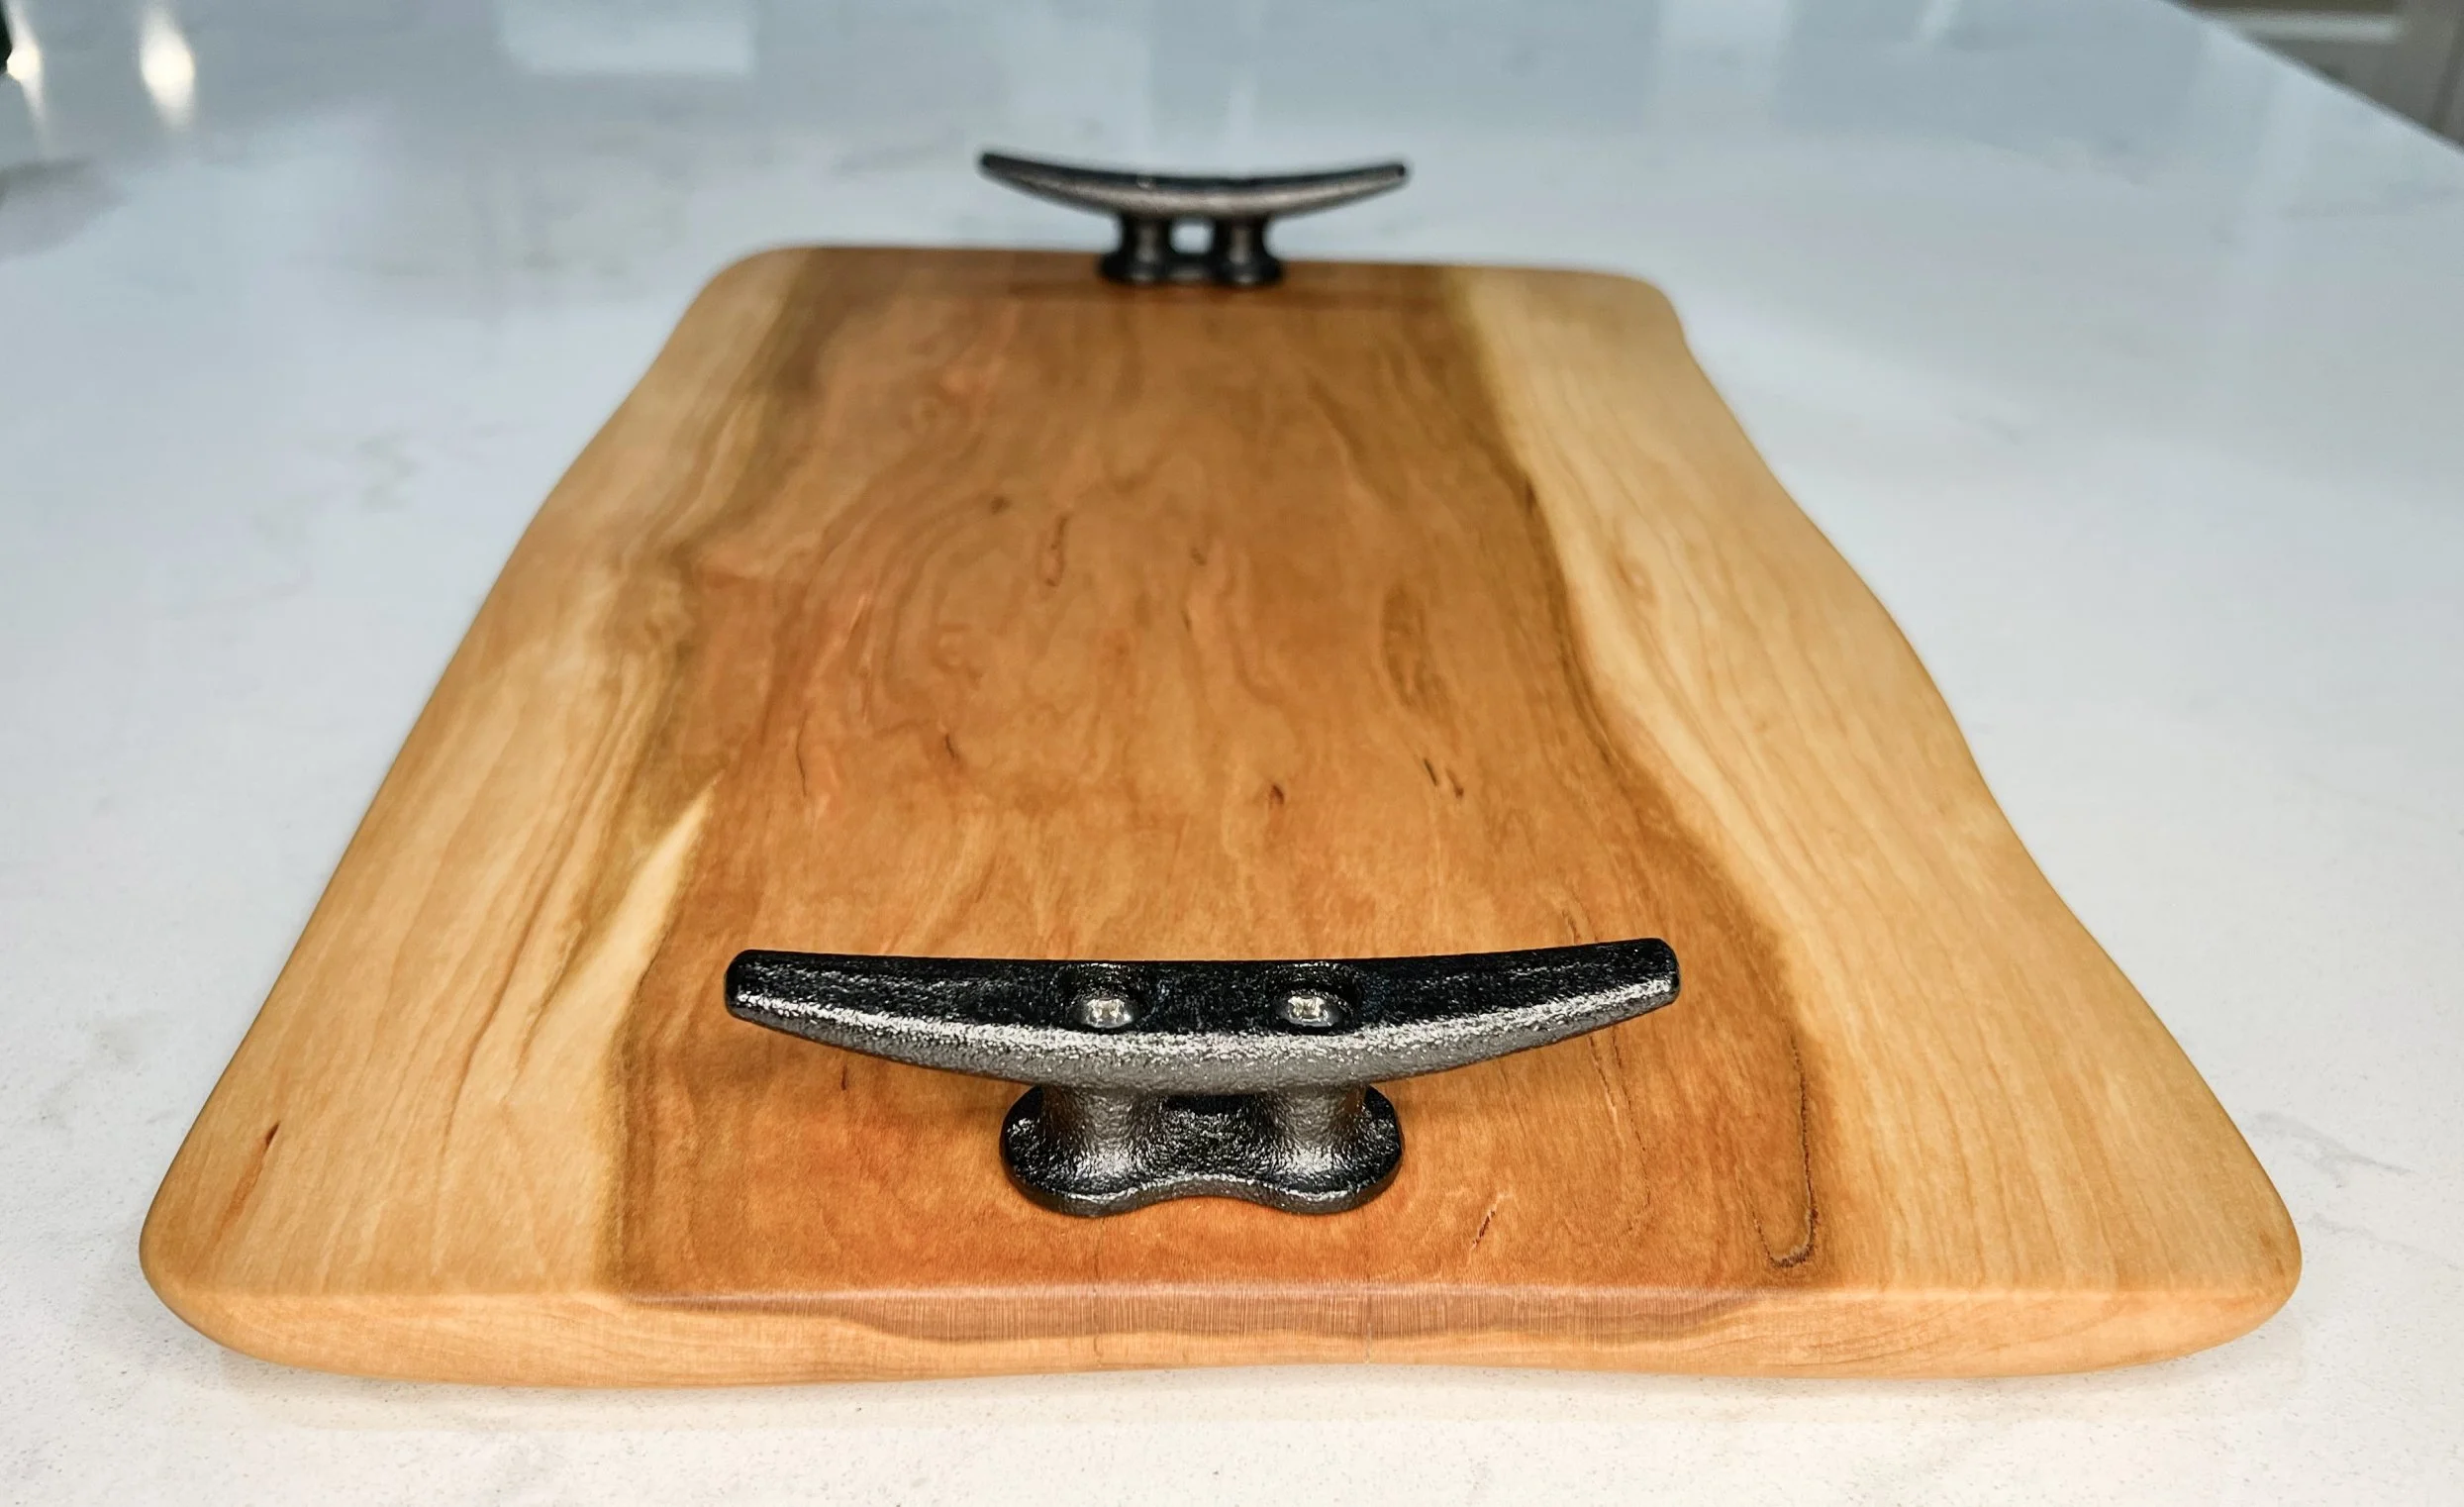
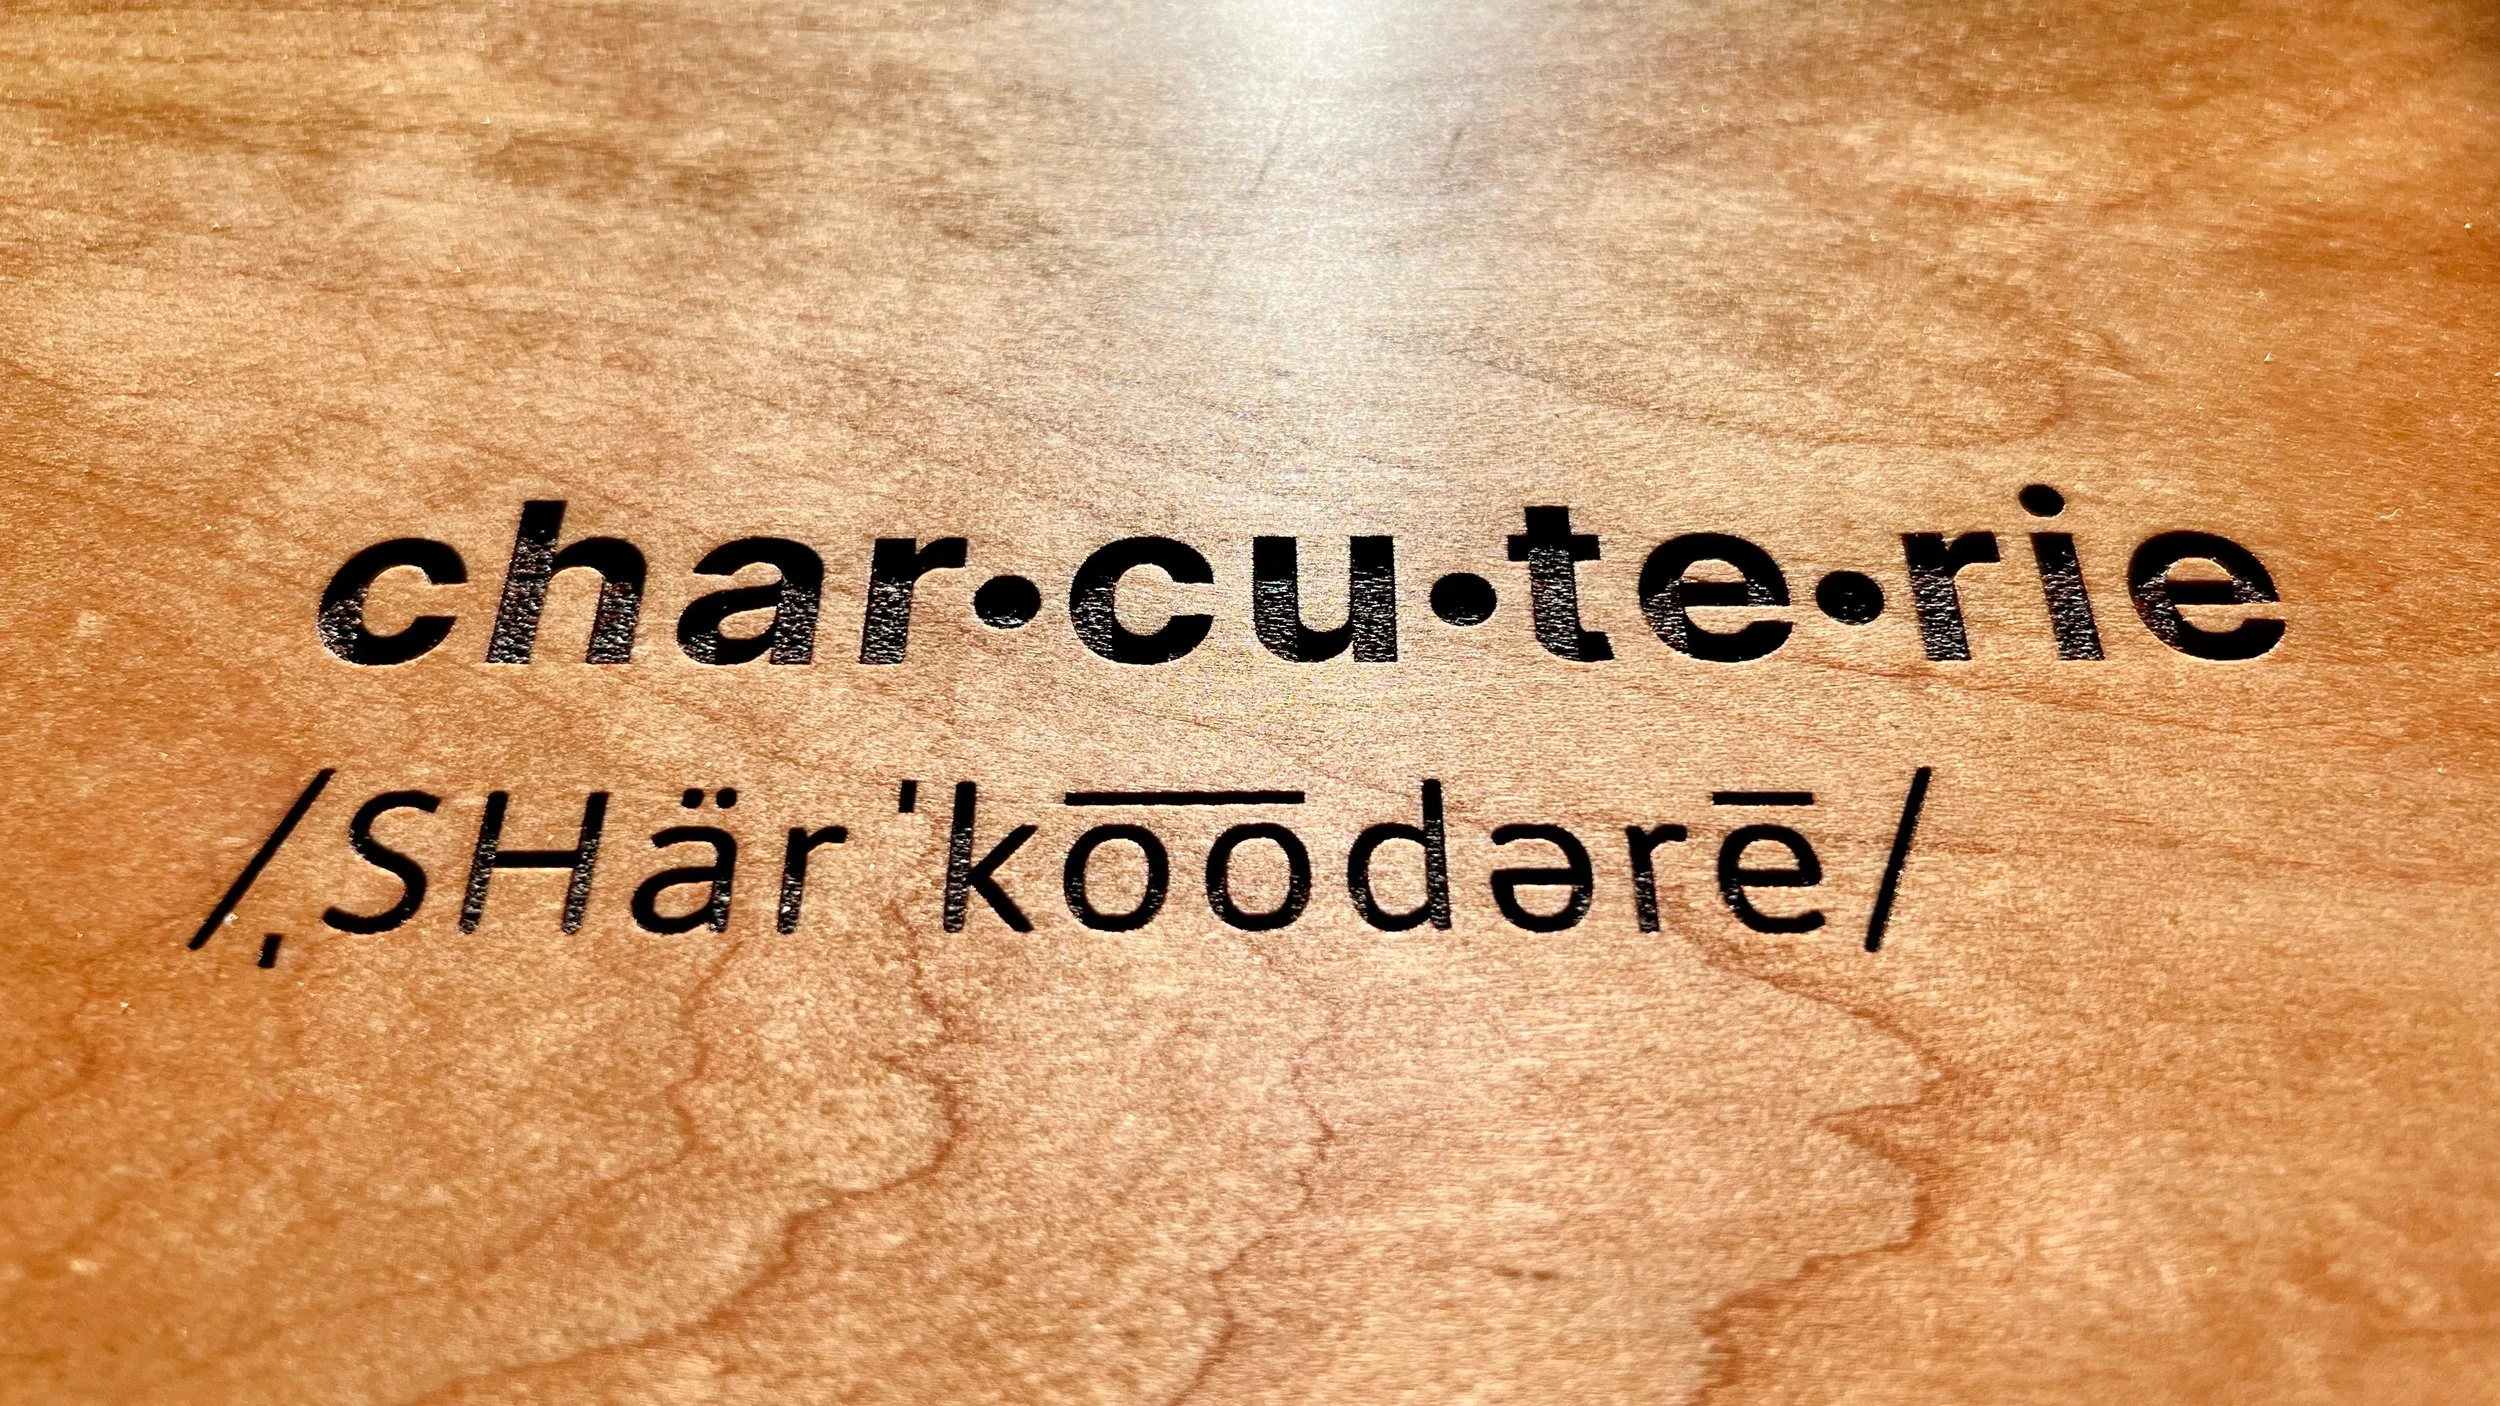
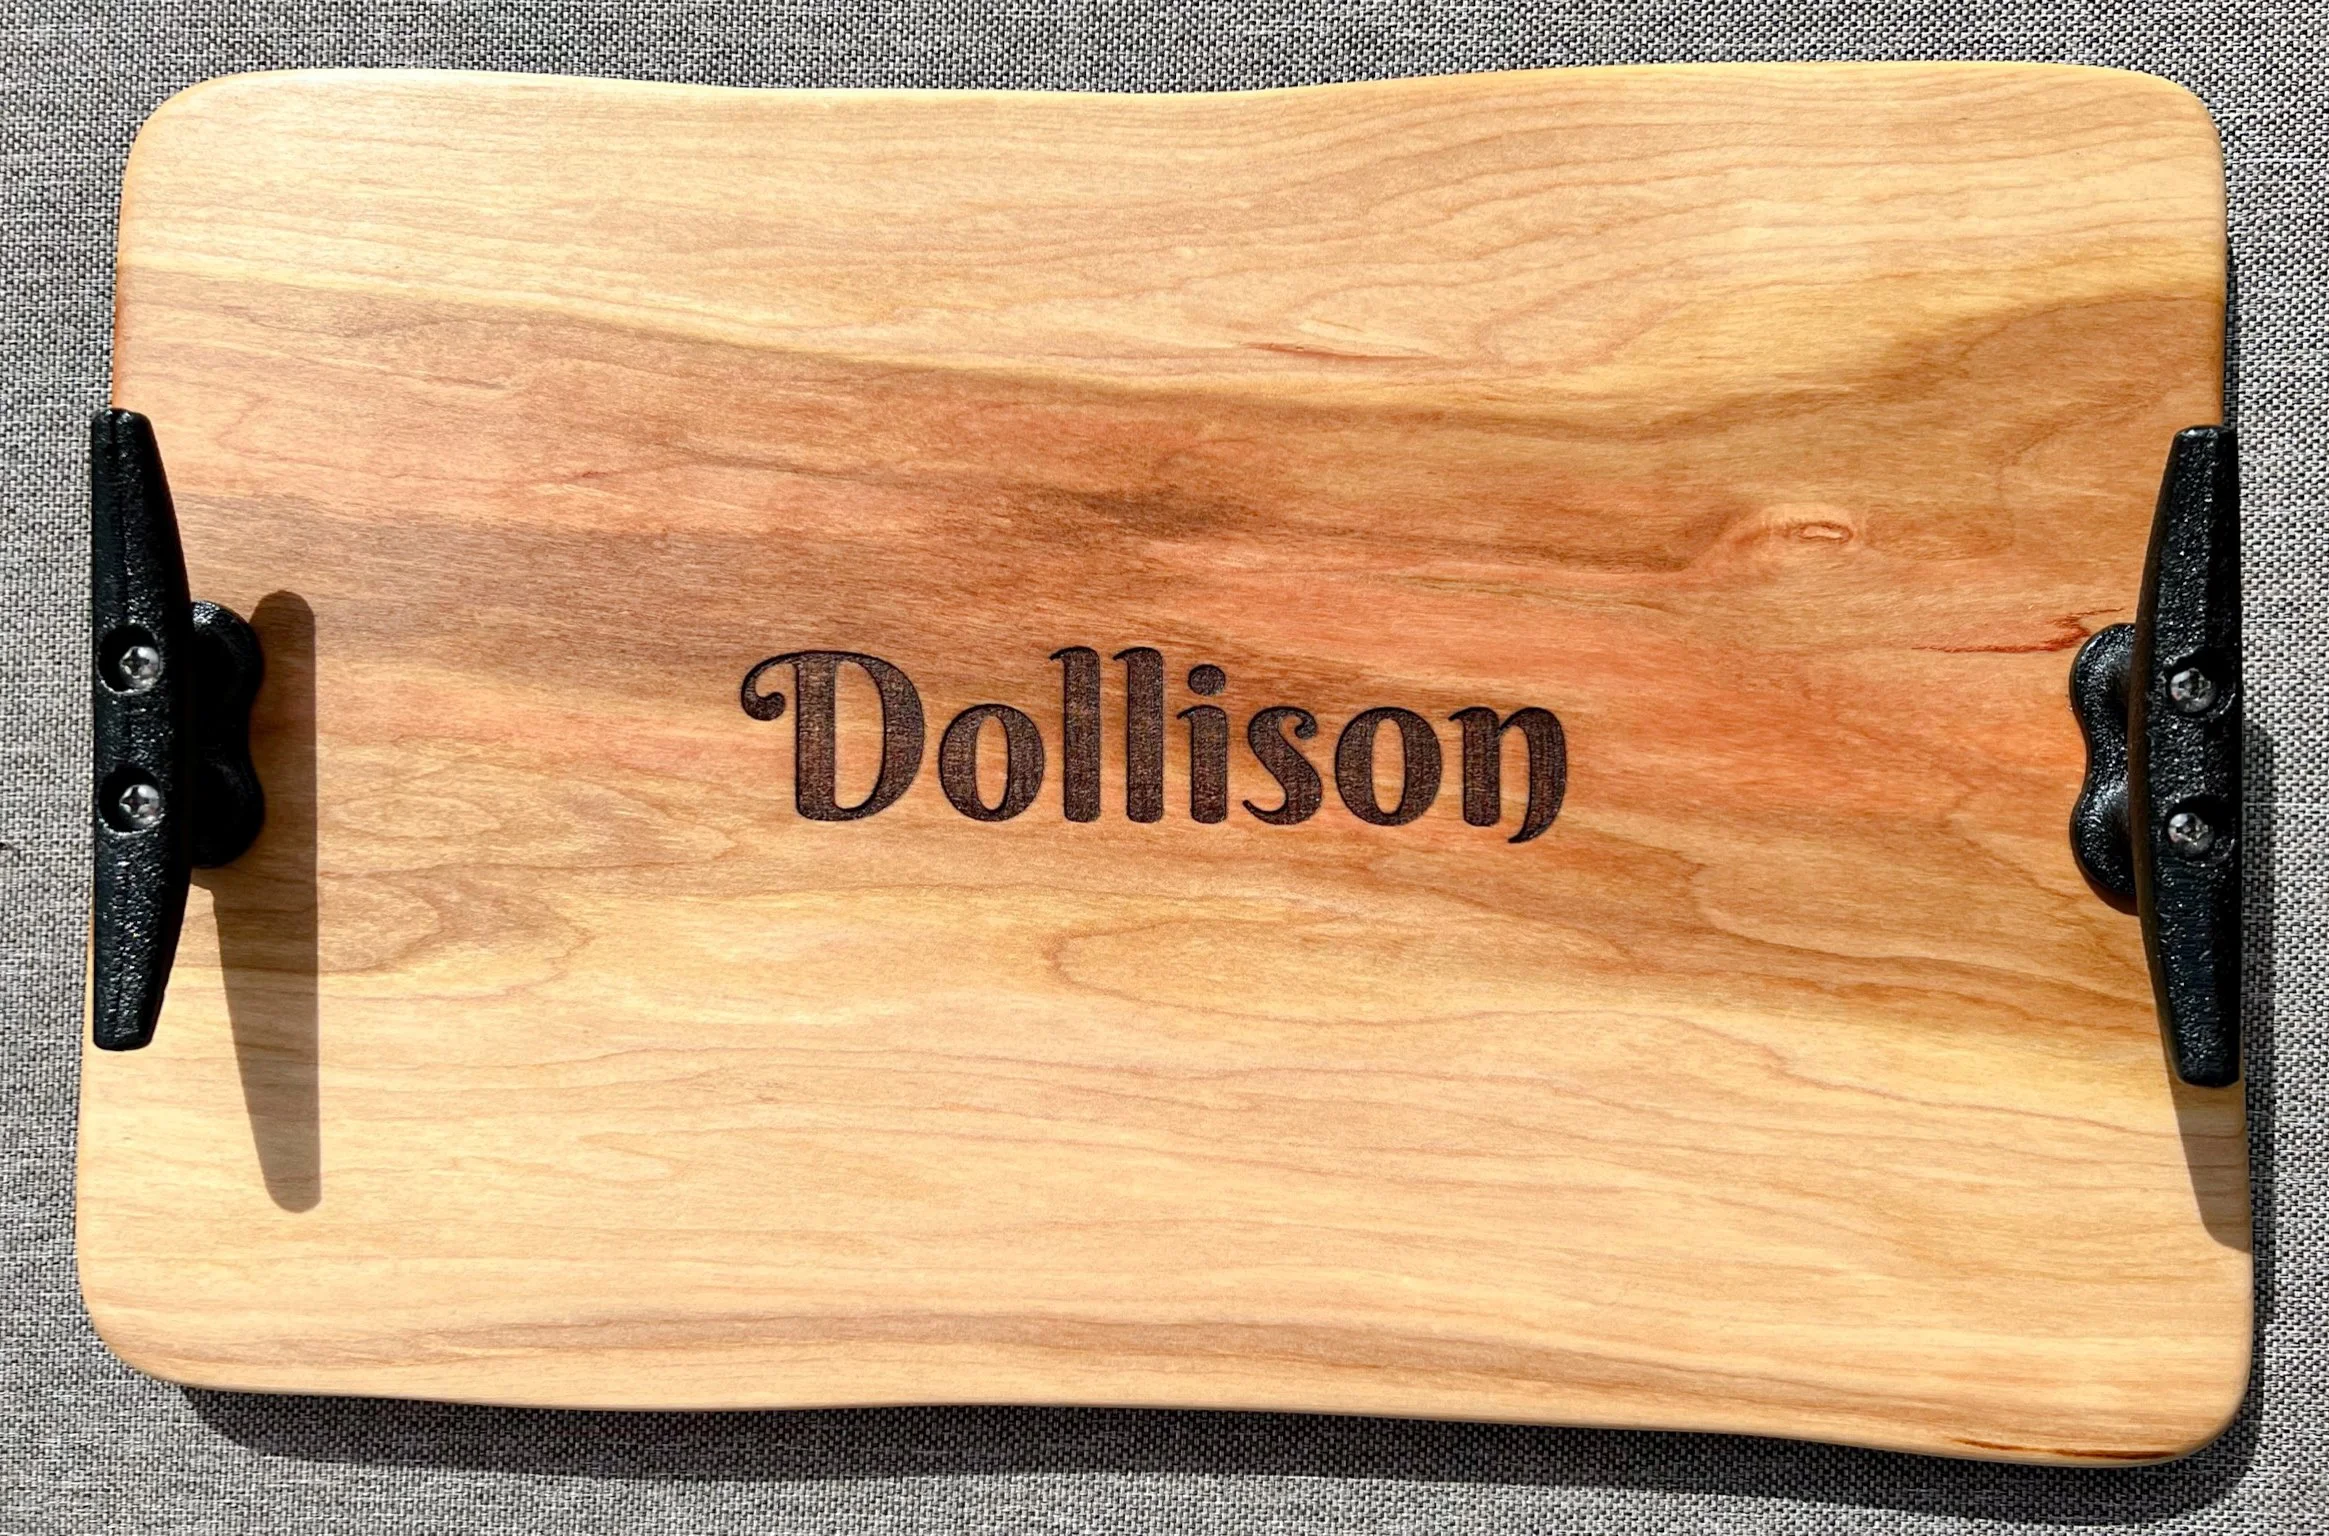
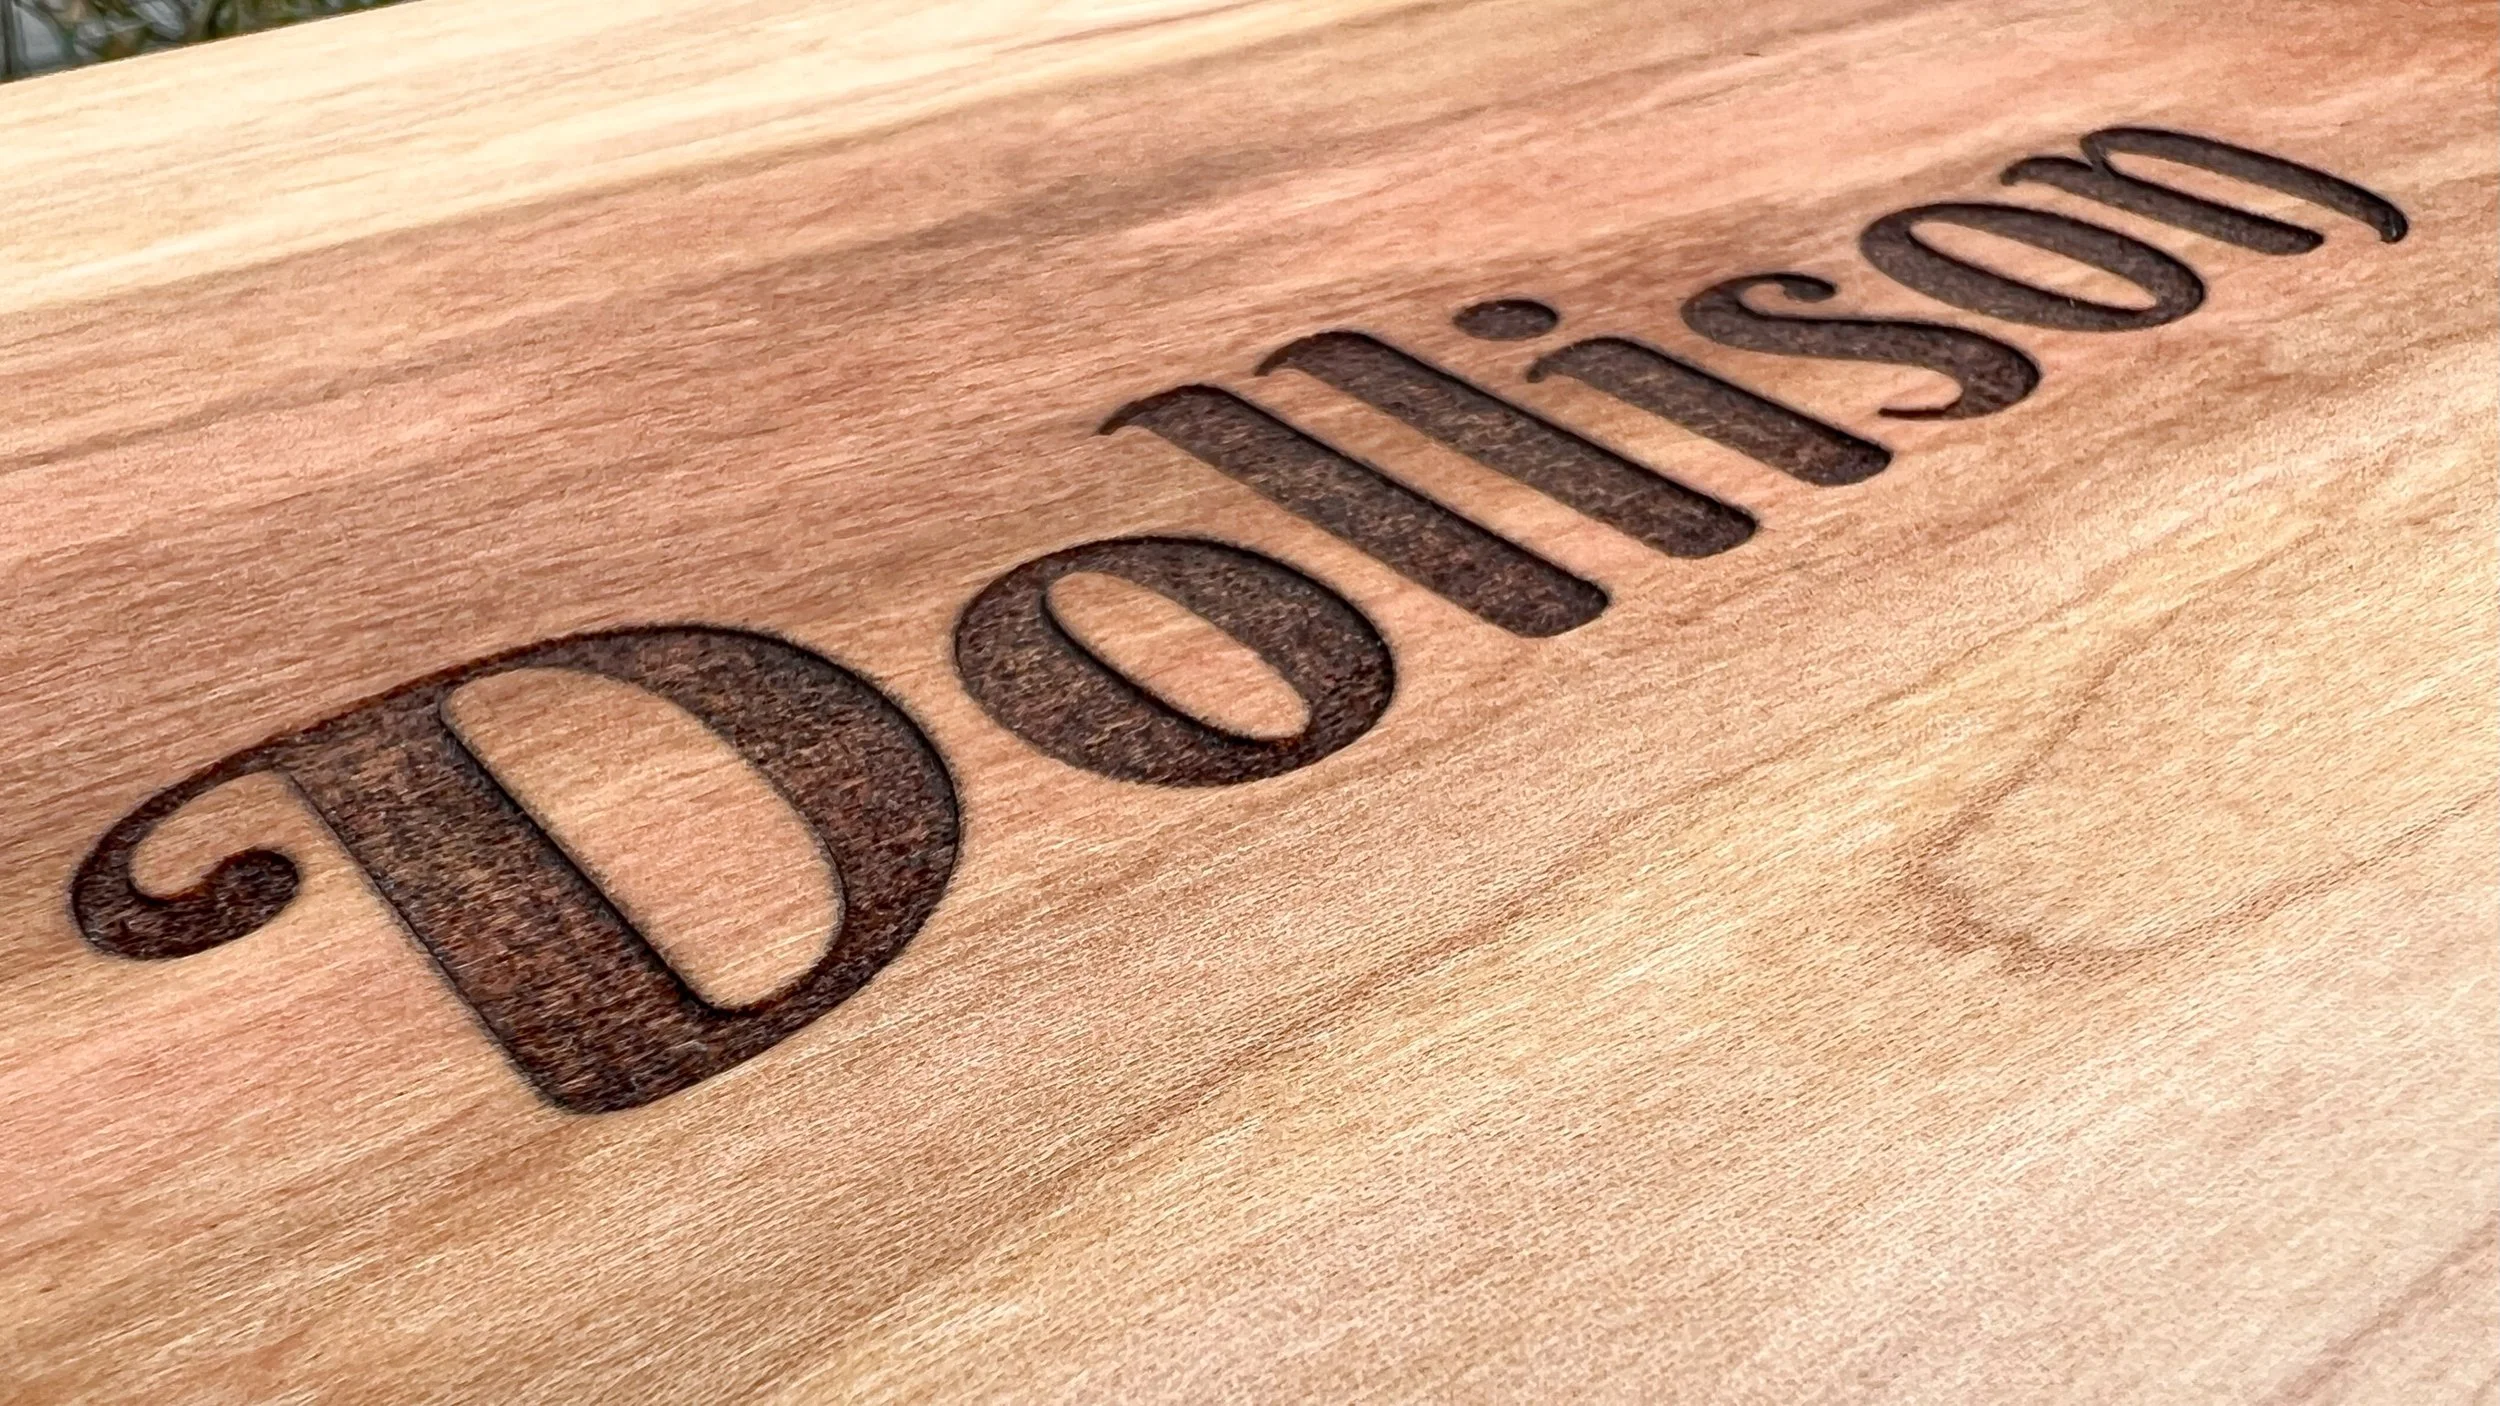
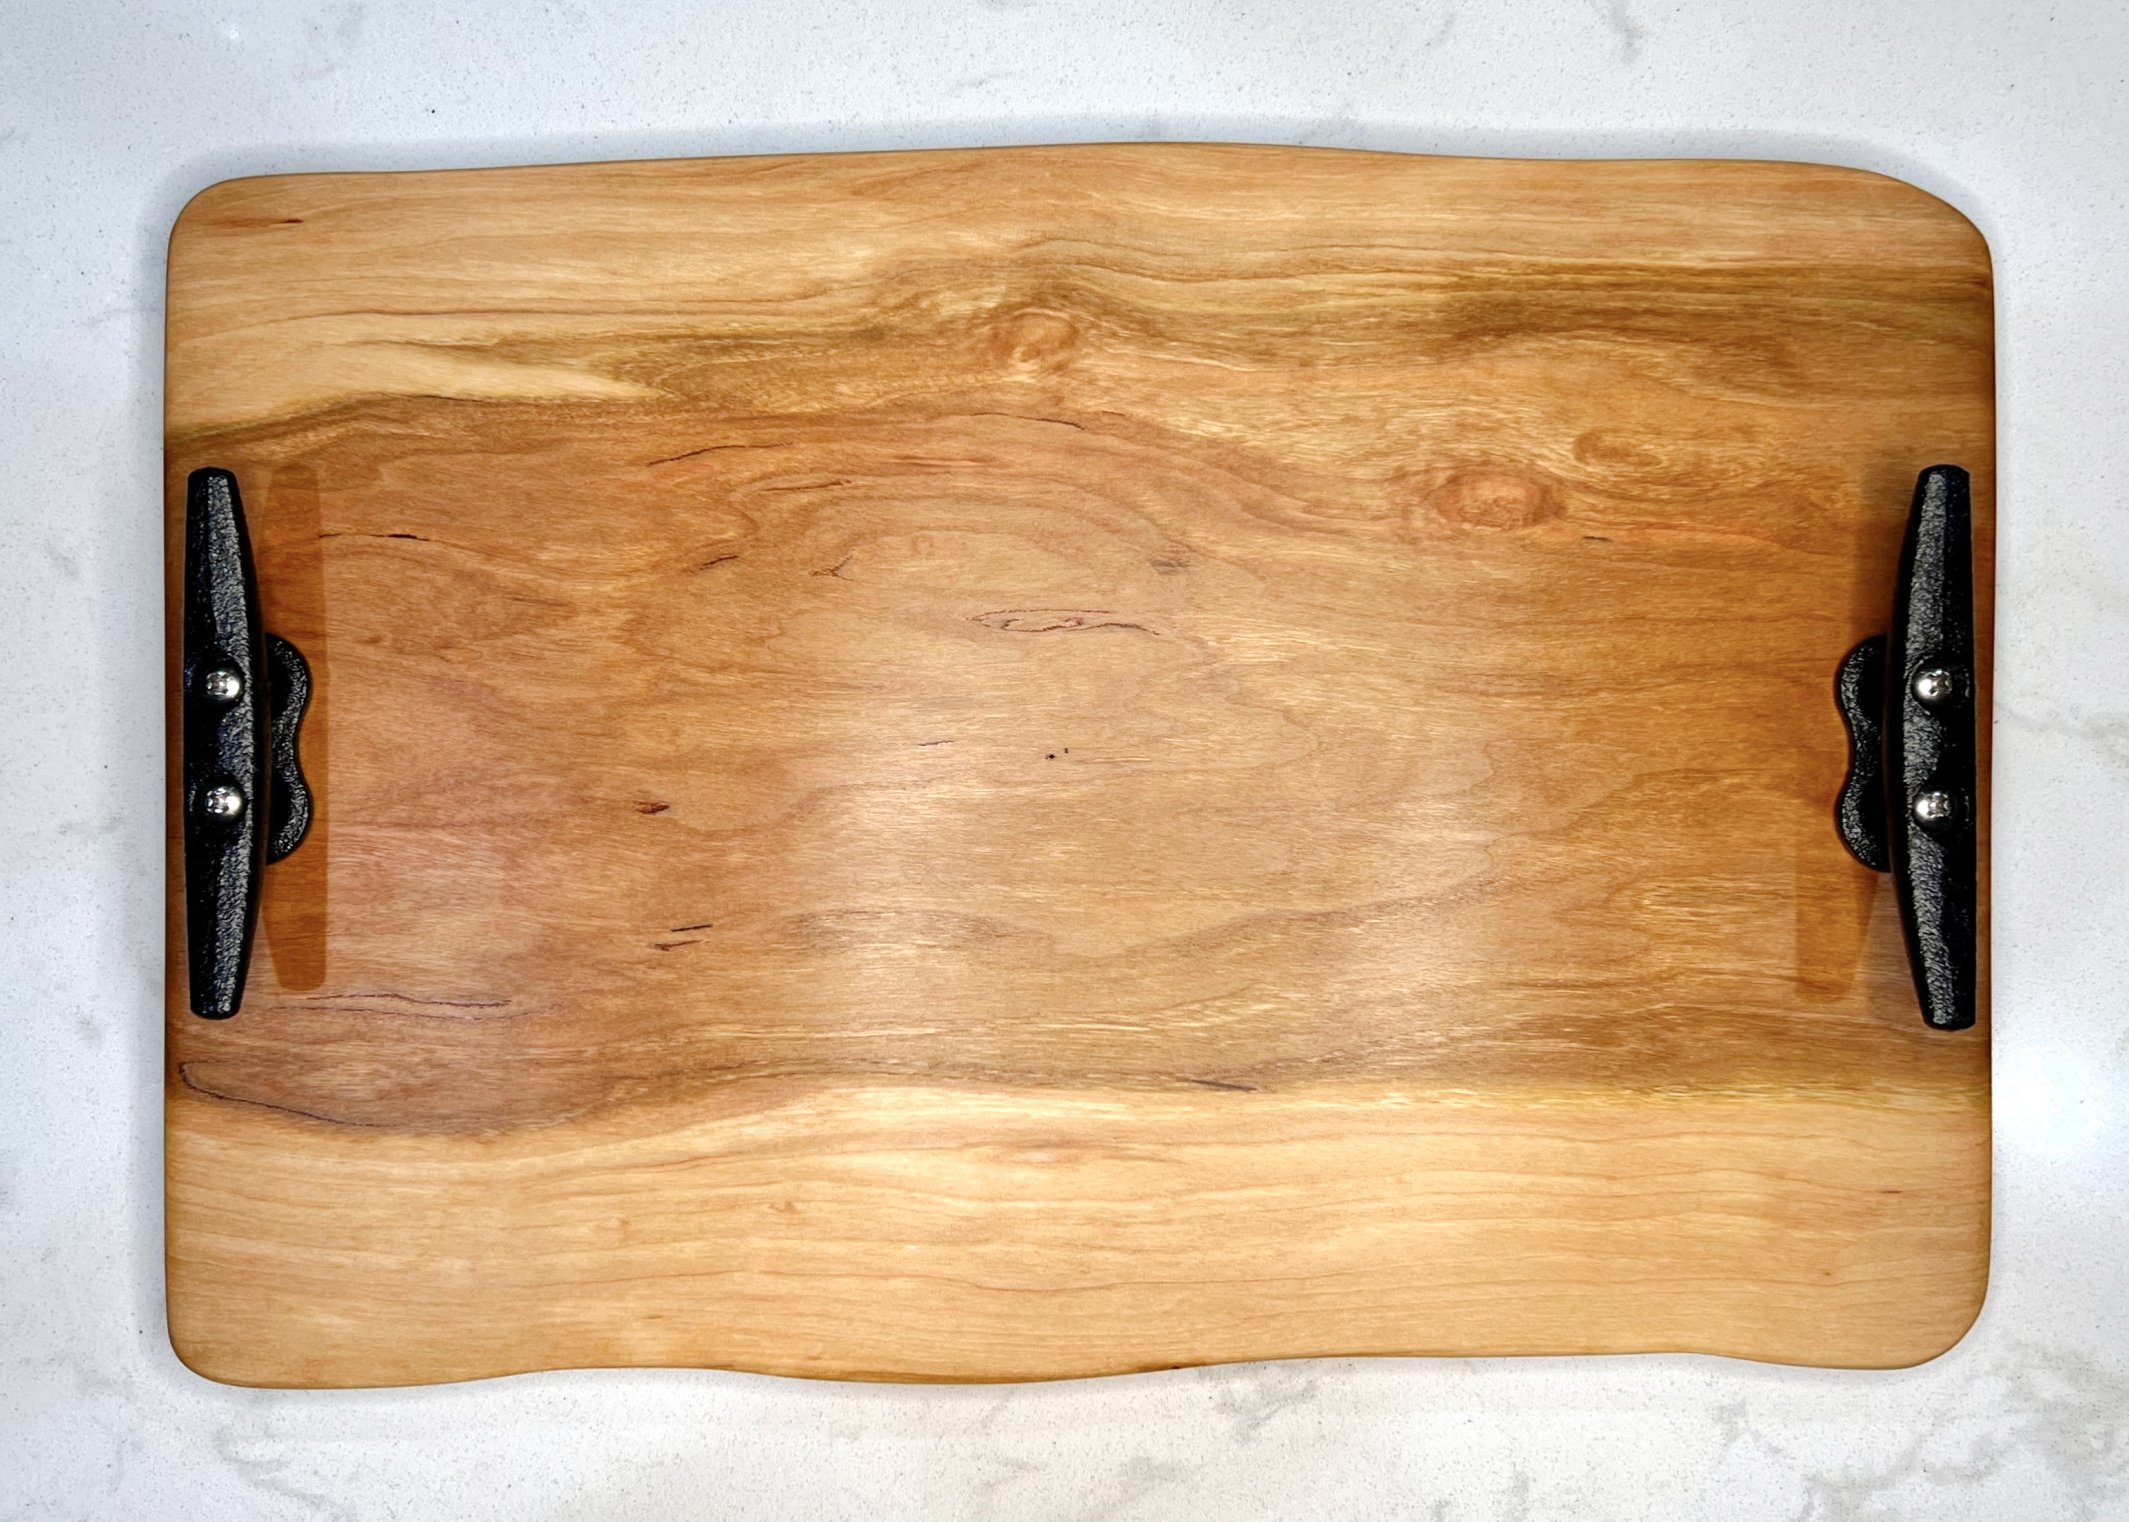
Charcuterie Board with Engraving
-
Wood: Cherry hardwood selected to have lighter colored sap wood edges and red heartwood down the center.
Hardware: Rust proof electro-coated wrought iron boat cleats attached as handles with stainless steel screws.
-
Cutting: The cherry lumber is trimmed to the rough dimensions with a jigsaw following the natural organic lines to simulate a live edge look along the borders.
Surface Prep: The board is flattened with a router sled on the top and bottom, edges are rounded and then the entire board is sanded to a smooth finish.
Treating: The wood is saturated with linseed oil, excess is wiped off, left to cure and strengthen the wood fibers, a blend of mineral oil, carnauba wax, and beeswax is applied as a final top coat.
-
Engraving: Using a laser engraver a graphic and/or stylized lettering is etched into the surface of the wood.
Final Details: The charcuterie board is finished by being fitted with rust proof electro-coated wrought iron boat cleats attached as handles with stainless steel screws.
Custom reception desk
Lorem ipsum dolor sit amet, consectetur adipiscing elit, sed do eiusmod tempor incididunt ut labore et dolore magna aliqua. Ut enim ad minim veniam, quis nostrud exercitation ullamco laboris nisi ut aliquip ex ea commodo consequat. Duis aute irure dolor in reprehenderit in voluptate velit esse cillum dolore eu fugiat nulla pariatur. Excepteur sint occaecat cupidatat non proident, sunt in culpa qui officia deserunt mollit anim id est laborum.
Tabletop Jewelry Armoire
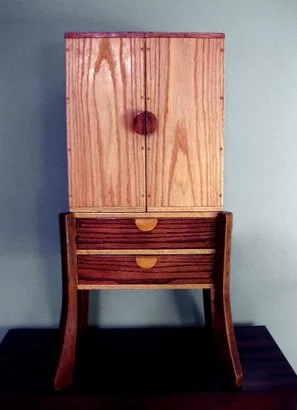
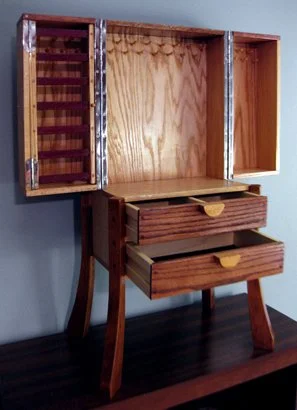
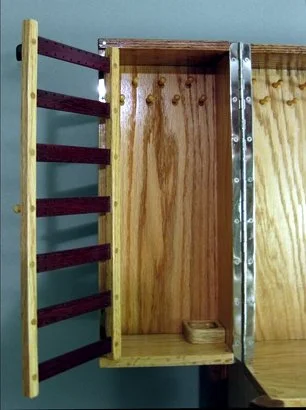
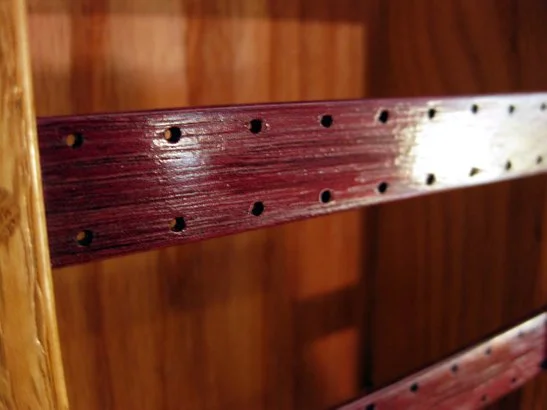
This tabletop jewelry armoire is made from red oak and purpleheart wood. The upper compartment doors open up to reveal spaces fitted with wooden pegs to hang necklaces for storage. The left door has a hinged slatted panel, the slats are made from purpleheart and have multiple holes drilled across them to accommodate earrings. This panel opens up to reveal more space for hanging necklaces. Inside the door is a small carved out removable bowl held in place with neodymium magnets to keep smaller or extra pieces in. It has two handmade drawers below the main compartment doors the upper drawer has a central divider.
Low-profile Entertainment Center
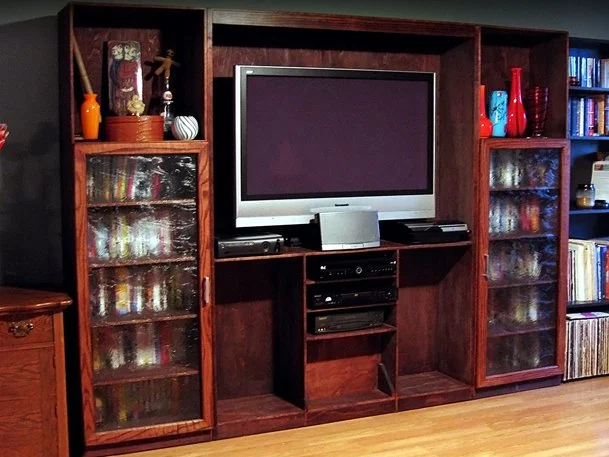
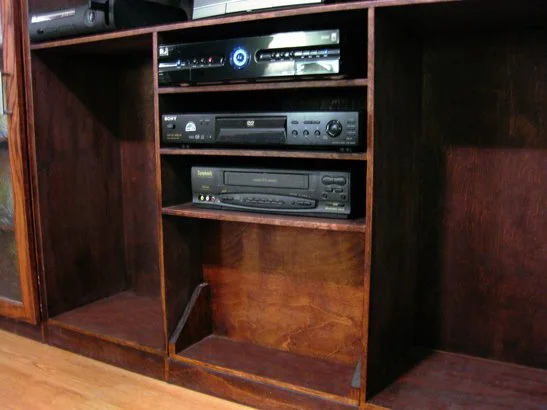
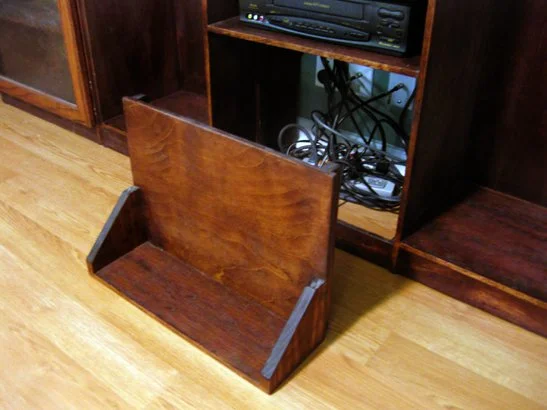
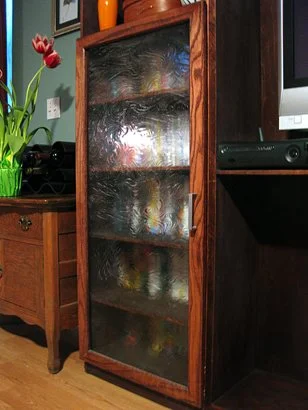
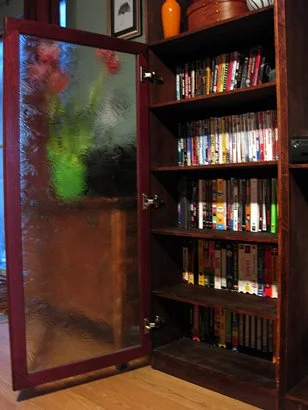
Low profile entertainment center custom made for a narrow family room. It was built in three pieces, the side shelves attached with hidden wooden cleats and bolts from inside the doors. The entire unit had to be well secured to the wall with toggle bolts for safety to prevent it from tipping over. Made mostly from 1/2” thick high grade birch plywood with wood veneer glued to the edges to hide the exposed plies. Solid red oak was used for the door frames, the support over the main opening where the tv is mounted, the base frame, and to build the removable cover to access power cords and wiring at the center of the base. The entire entertainment center was stained with an oil based dark walnut stain followed by two coats of satin oil based polyurethane for protection. The doors to access the side shelving were fitted with a wavy patterned glass which was removable in case it needed to be replaced. Sufficient supports were built on to the back of the main opening to have plenty of strength to attach an articulating tv mount via through bolts and tee nuts installed in the backside and be able to hold the weight of a heavy flat screen plasma tv.